

You can make ceiling tiles look better by painting them, replacing them with decorative drop-in tiles, refreshing or covering the metal grid, removing stains, or adding peel-and-stick panels over the old surface. The right method depends on the condition of your tiles and your budget: stained tiles need cleaning or sealing, dated tiles respond to paint or new panels, and damaged tiles are worth replacing.
How to Choose the Right Fix for Your Ceiling Tiles
Match the method to what is actually wrong with the tiles.
Ceiling tiles usually look bad for a few specific reasons: yellowing and water stains from age or leaks, an outdated fissured or pinhole texture, a dirty or rusted metal grid, or sagging and crumbling edges. Identify which of these applies before you pick a method.
The type of ceiling also decides your options. A drop ceiling holds loose tiles in a metal grid, so you can lift, paint, or swap individual tiles. You can review what an acoustic ceiling is if you are unsure what you have. Tiles glued directly to the ceiling cannot be lifted out, so you either paint them in place or cover them with new panels.
From there the condition points to the method. Tiles that are stained but still solid only need the mark cleaned or sealed with a stain-blocking primer, while tiles that are dated but intact respond to a coat of paint or a set of decorative replacements. A grid that has gone dirty or rusty gets painted or covered with snap-on covers, and tiles that sag, crumble, or hold water are past saving and worth replacing outright. For a rental or any update you may want to undo later, paint paired with grid covers gives the biggest visual change while staying easy to reverse.
Method 1 - Paint the Ceiling Tiles

Painting is the cheapest way to refresh ceiling tiles and works on most mineral fiber and fiberglass tiles.
Whether a tile takes paint well depends on its material. Most acoustic tiles are pressed mineral fiber or fiberglass with a porous, fissured face, so it helps to know what acoustic ceiling tiles are made of before you start.
Paint lowers sound absorption because it fills the pores that let sound into the tile. Manufacturers such as Armstrong estimate a drop of roughly 0.05 to 0.10 in NRC per repaint, and heavy buildup can reduce absorption by far more. Spray thin coats of flat or ultra-matte latex to protect the acoustic function, since a roller loads more paint into the fissures and clogs them.
To paint ceiling tiles:
- Vacuum or brush loose dust off the surface so the paint adheres evenly.
- Prime any water stains with an oil-based or shellac stain-blocking primer, or the mark will bleed through the topcoat.
- Spray a thin, even coat of flat latex, holding the gun perpendicular to the surface and keeping each pass light.
- Let it dry fully, then add a second thin coat only if the color needs it.
For a drop ceiling, lift the tiles out and spray them flat on a drop cloth, which gives cleaner edges and keeps overspray off the room. Paint the grid separately if it also looks tired.
Method 2 - Replace With Decorative Drop-In Tiles
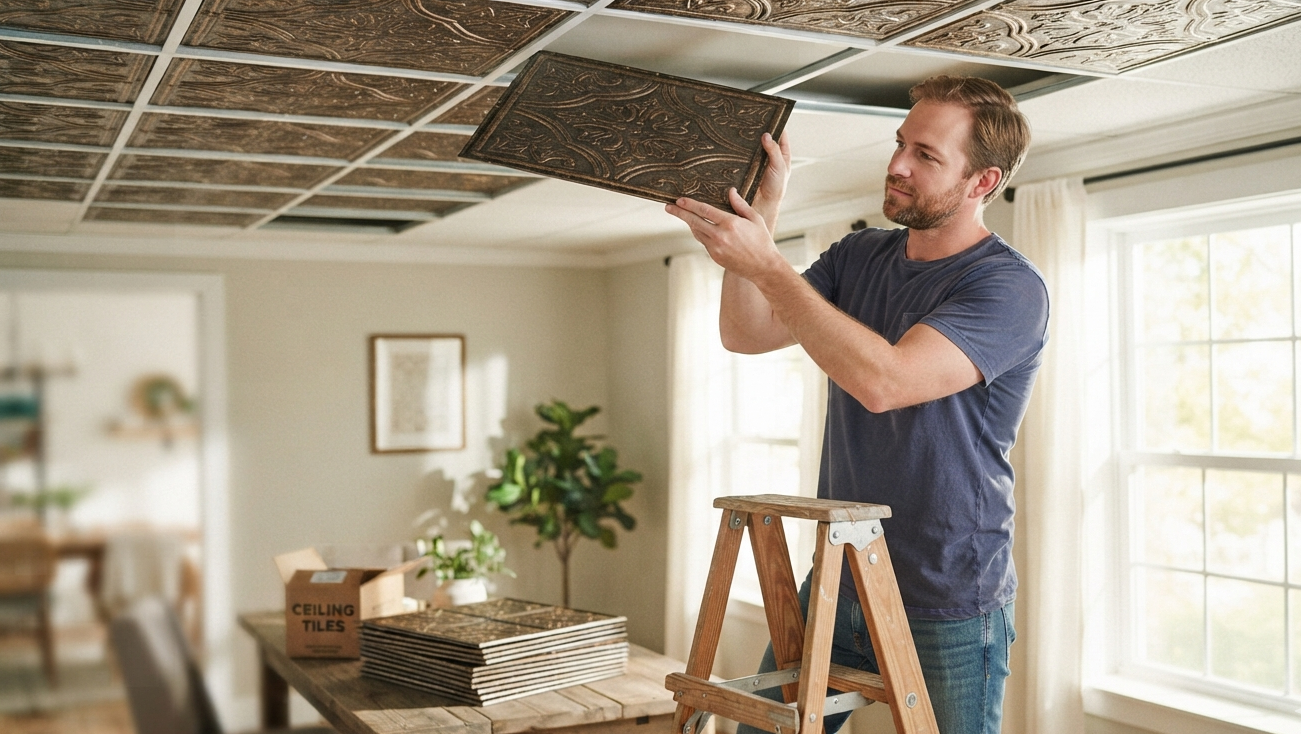
Decorative drop-in tiles replace old suspended tiles in the same grid and change the ceiling's style in an afternoon.
These panels come in faux tin, coffered, beadboard, and smooth matte finishes, and they sit in a standard grid the same way the old tiles did. Measure your grid openings first, since most grids take either 2 by 2 foot or 2 by 4 foot tiles.
You can browse decorative drop-in ceiling tiles and panels by size and finish. Choosing acoustic-rated panels improves the room's acoustics while updating the look, which matters in home theaters, offices, and open-plan spaces.
To replace drop-in tiles:
- Push each old tile up and tilt it out of the grid.
- Set the new panel into the same opening, resting it on the grid flanges.
- Cut edge and corner pieces to fit with a utility knife or scissors, depending on the material.
- Work across the room so cut pieces land at the perimeter where they show least.
Method 3 - Refresh or Cover the Grid

The metal grid often looks more dated than the tiles, and updating it can change the whole ceiling at little cost.
You have two options for the grid: paint it or cover it. Painting suits a grid that is sound but discolored, and snap-on grid covers give a cleaner finish without masking and spraying.
To paint the grid, mask the tiles or remove them, then brush or spray the metal with a latex or metal-friendly paint in white, black, or a color that matches your new tiles.
Snap-on grid covers clip over the existing T-bar. Install the long 4 foot covers along the main runners first, then add the 2 foot cross pieces, and trim the end covers to length. A crisp white or black grid shifts a ceiling from a dated office look to a clean, finished one.
Method 4 - Remove Water Stains and Clean Discoloration
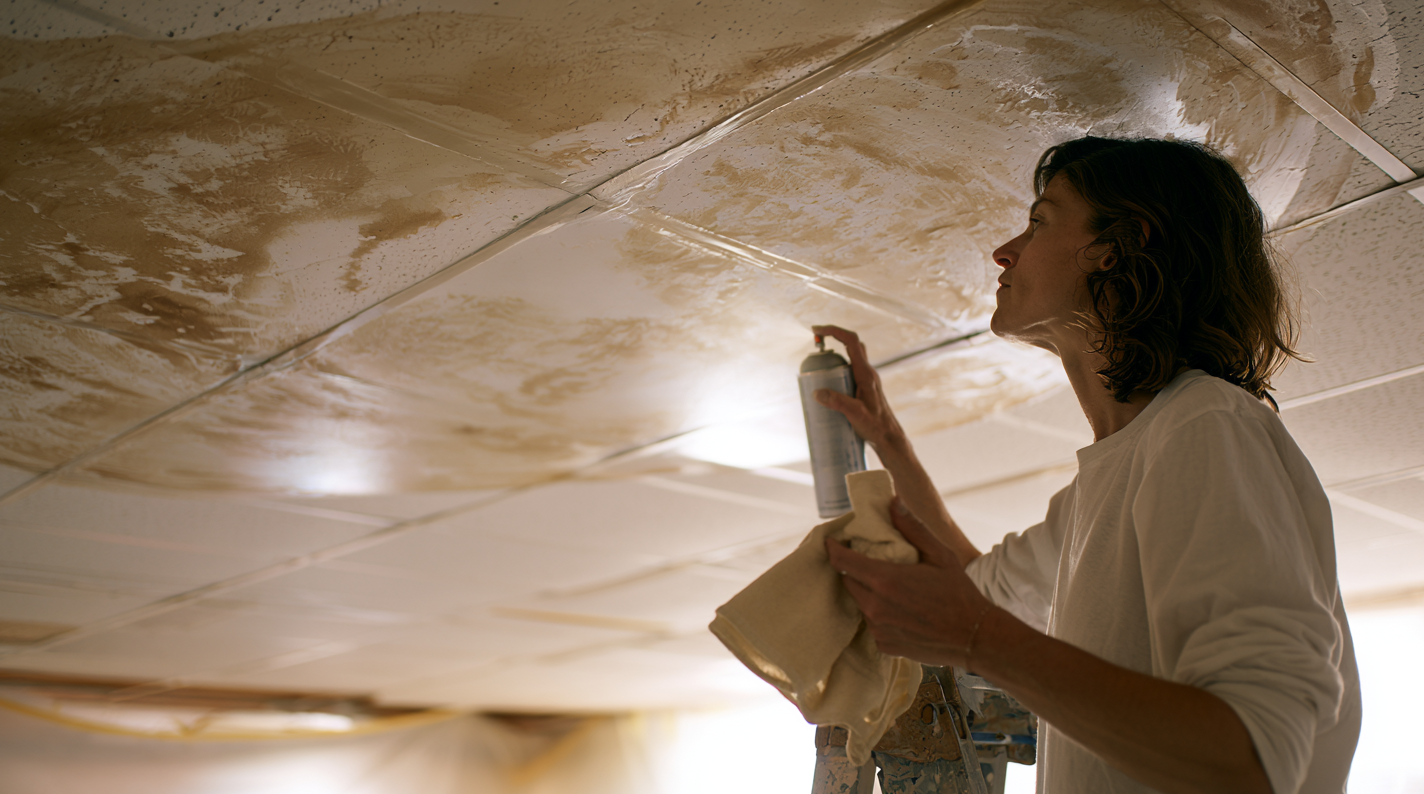
For tiles that are structurally sound but stained, clean or seal the mark to keep the tile in place.
Wipe light dirt and mildew with a cloth dampened with a diluted bleach solution, roughly 1 part bleach to 3 parts water, then let the tile dry completely. This lifts surface mold and the gray discoloration left by humidity.
Water rings from an old leak will not wash off, so seal them with a stain-blocking primer spray before they show through any paint. Fix the leak first, or the stain returns.
Replace a tile when it sags, crumbles at the edges, or stays soft and swollen from water damage. A warped tile will not sit flat in the grid again.
Method 5 - Add Peel-and-Stick or Glue-Up Tiles
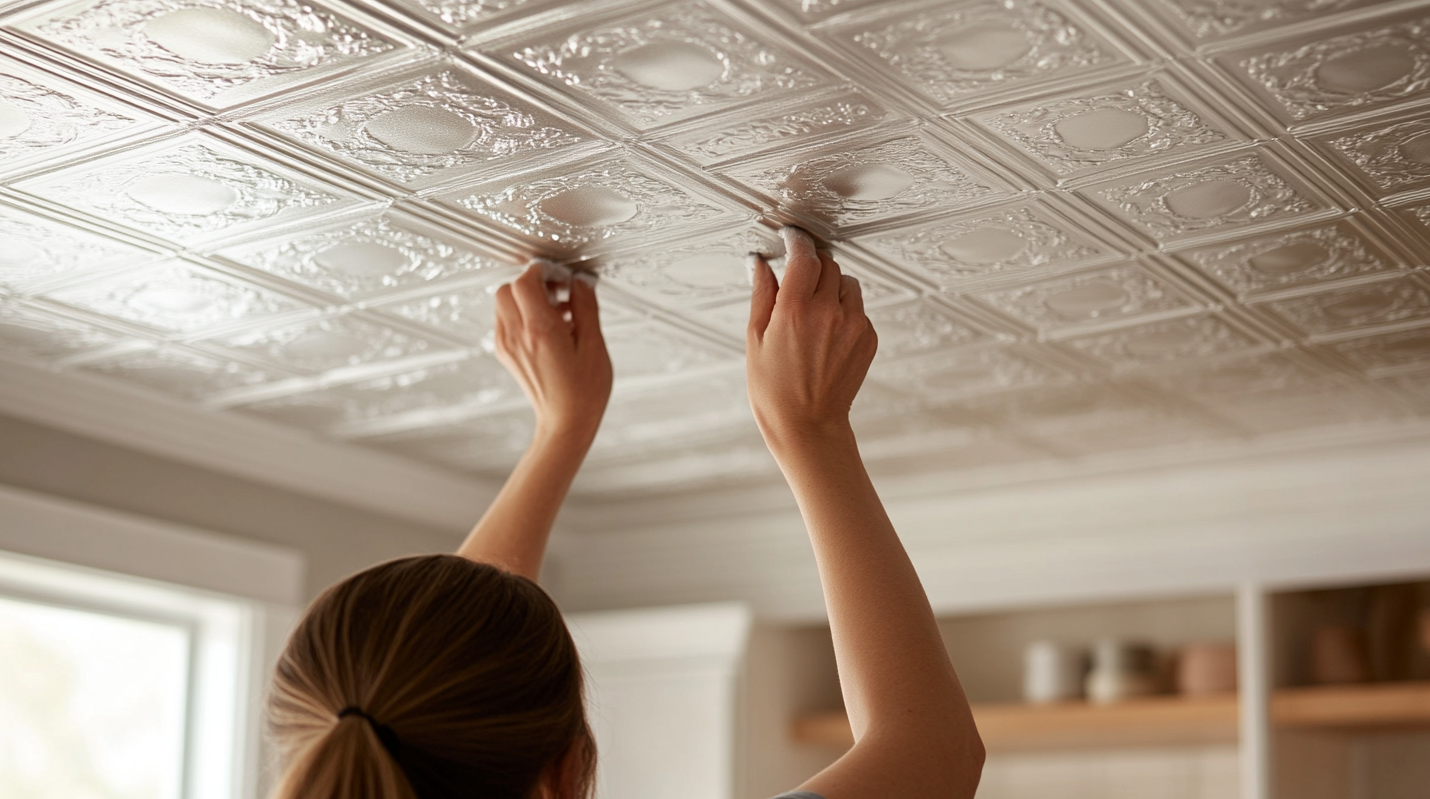
For flat ceiling tiles glued directly to the ceiling, decorative peel-and-stick or glue-up panels cover them without any grid.
These tiles press onto a clean, flat surface with adhesive backing or construction adhesive, and they hide the dated 12 by 12 inch tiles common in older homes. Popular finishes include faux tin, wood plank, and coffered patterns.
When the goal also includes quieting the room, adding acoustic panels over the existing ceiling absorbs sound while it covers the old surface. Our guide on how to install acoustic panels on a ceiling walks through the layout and mounting.
To apply glue-up tiles:
- Clean the existing ceiling so the surface is free of grease and loose paint.
- Snap chalk lines from a center point to keep the rows straight.
- Press each tile into the adhesive, working outward from the center.
- Cut border tiles to fit the walls with a sharp utility knife.
Cost and Effort Comparison
The five methods differ mainly in cost, effort, and the problem they solve. The figures below are typical DIY material costs in the US; hiring a pro adds labor of about $1 to $6 per square foot for painting and $2 to $5 per square foot for tile work.
|
Method |
Typical DIY cost |
Effort |
Best for |
|
Paint the tiles and grid |
$1 to $2 per sq ft (paint) |
Low to medium |
Dated or lightly stained tiles you want to keep |
|
Replace with decorative drop-in tiles |
$2 to $10 per sq ft (tiles) |
Medium |
A full style change in an existing grid |
|
Refresh or cover the grid |
Grid covers $0.45 to $1 per linear ft; grid paint $1 to $2 per sq ft |
Low to medium |
A tired grid over usable tiles |
|
Clean and seal stains |
Under $25 (stain-blocking primer and bleach) |
Low |
Isolated water rings or mildew |
|
Peel-and-stick or glue-up tiles |
$2 to $8 per sq ft (materials) |
Medium |
Flat glued ceilings with no grid |
Painting is the cheapest way to cover a whole ceiling, since a room's worth of flat latex runs a few dollars per square foot at most. Decorative drop-in tiles and glue-up panels cost more because you are buying new material for every square foot, with faux tin, coffered, and wood-look finishes sitting at the top of the range. Cleaning and sealing an isolated stain costs the least of all when the rest of the ceiling is sound.
If you are weighing appearance against acoustic upgrades, the materials you pick change the budget. Our breakdown of what soundproofing a ceiling costs helps when you want the update to cut noise as well.
Choosing the Right Method for Your Ceiling
The best way to improve your ceiling tiles comes down to the tile's condition and how much you want to spend. Painting refreshes a dated or lightly stained ceiling for a few dollars per square foot, decorative drop-in tiles restyle the whole room, and grid covers fix a tired grid on their own. Isolated water stains only need cleaning and a stain-blocking primer, so start there before assuming the tiles have to go. If you want the update to quiet the room as well as brighten it, choose acoustic-rated tiles or panels and treat the look and the sound as one project.
Recent posts


