The best places to put acoustic panels in a home theater are the first reflection points on the side walls, the front wall beside the screen, the ceiling reflection point between the screen and seats, and the corners for bass traps. All placements are measured from the main listening position, where reflected sound converges, and the sound is judged.
This guide works through the room surface by surface and tells you exactly where each panel and bass trap belongs, at what height, and how to find the points that matter.
Start From the Listening Position
The listening position is the main seat or row where viewers sit, and all panel placement is measured from it because that is where reflected sound converges and where audio quality is actually judged. A panel placed without reference to this point may sit on a surface that never reflects sound toward the listener.
Map your primary seat first, then treat the surfaces that send early reflections toward it. The speakers and the listening position together define every reflection point in the room.
Keep treatment symmetrical between the left and right side walls. The left and right speakers should meet matching surfaces, or the stereo image will pull toward the less-treated side.
How to Find the First Reflection Points (Mirror Method)
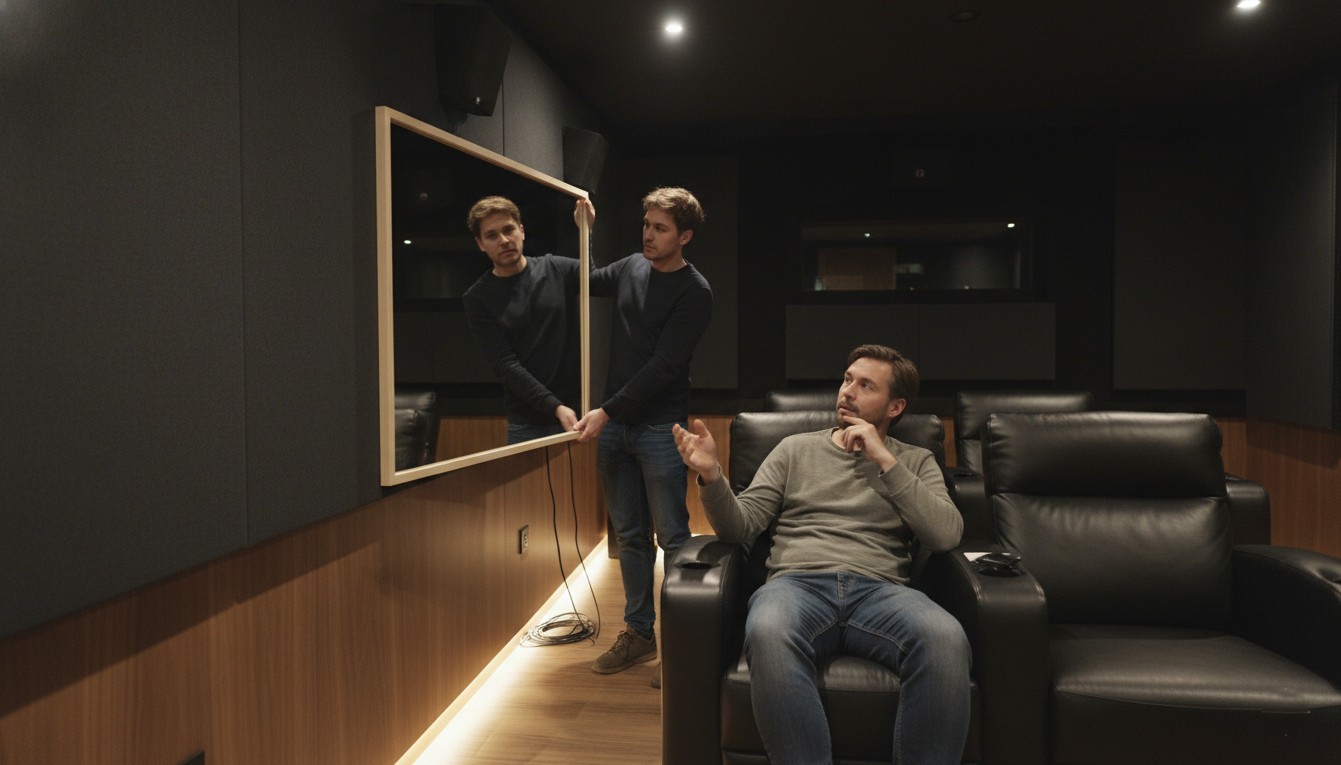
A first reflection point is the spot on a surface where sound from a speaker bounces once before reaching your ears, and you locate it by sliding a mirror along the surface until the speaker becomes visible in it from the listening position. That visible spot is where the panel goes.
Have a helper slide a mirror flat along one of the side walls while you sit in the main seat. Mark every spot where you can see a tweeter (the speaker driver) reflected in the mirror - these are the side-wall reflection points.
Repeat the process on the opposite side wall to keep the treatment symmetrical.
Check the ceiling the same way: slide the mirror across the ceiling between the screen and the seats to find the overhead reflection point.
Check the floor as well. If the spot lands on hard flooring, a thick rug at that point does the same job as a panel.
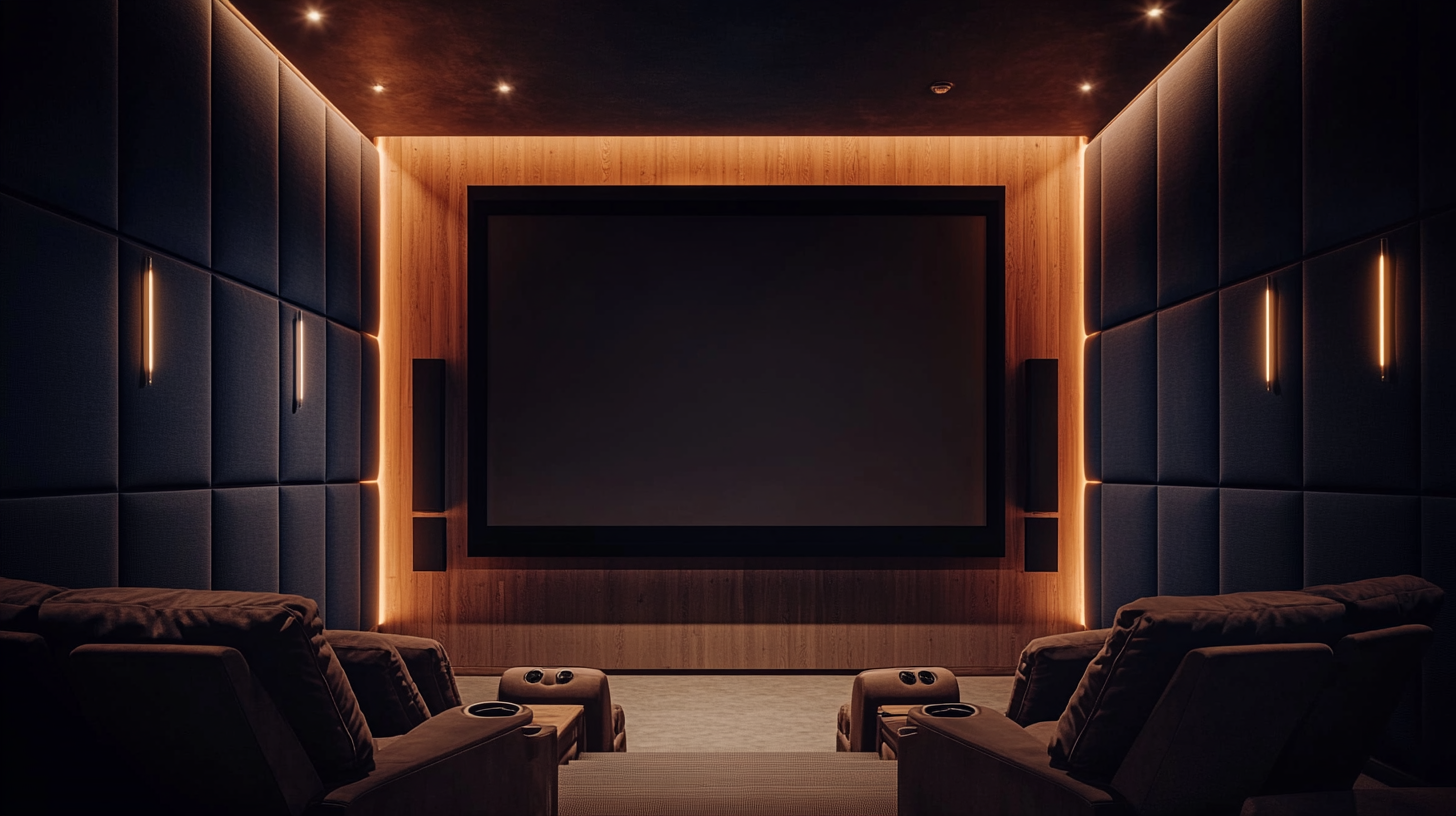
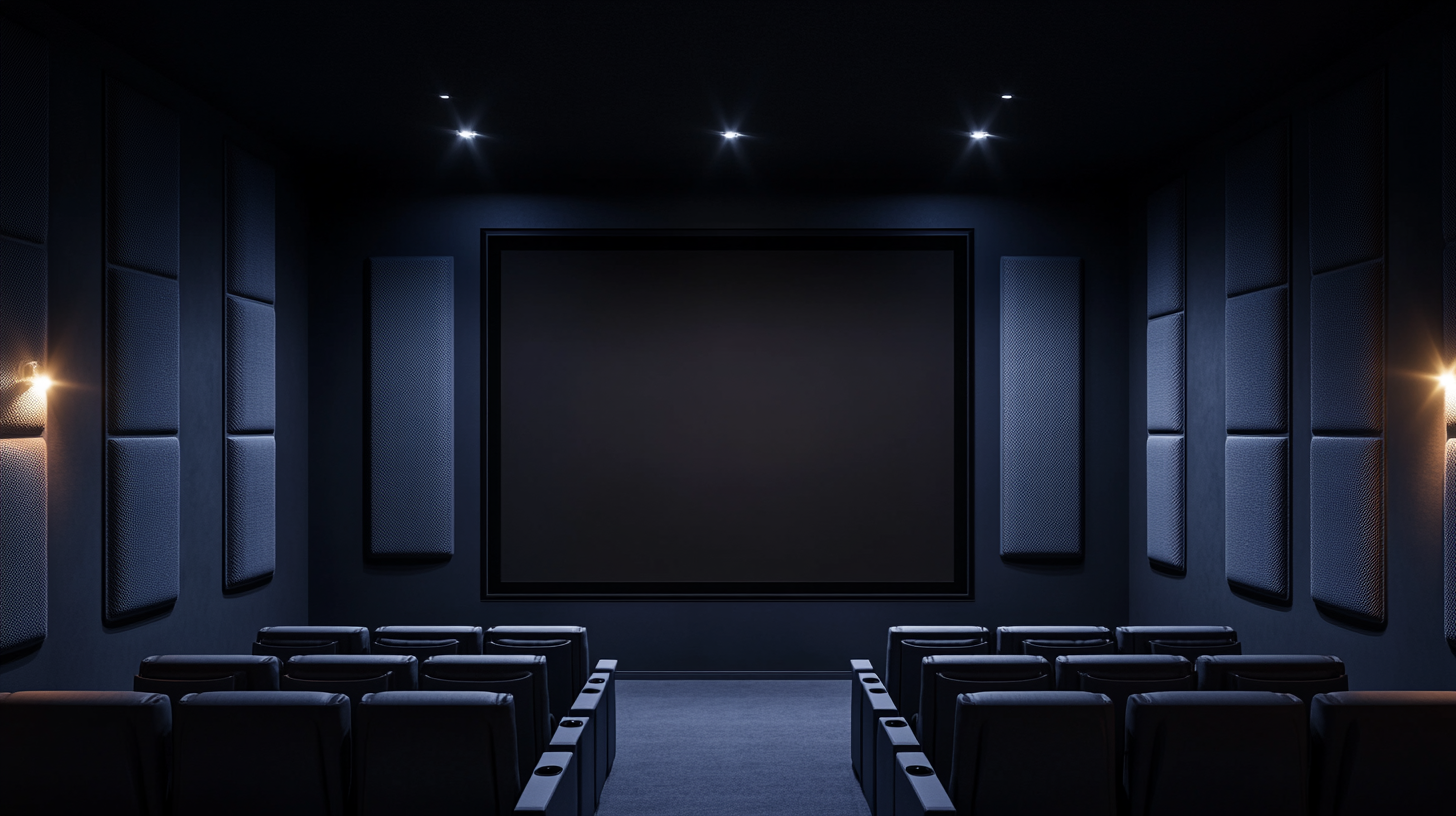
Side Walls (Highest Priority)
Side-wall first-reflection points are the highest-priority locations because side reflections reach the ears earliest and most strongly distort clarity and stereo imaging. Treat these points before anything else in the room.
Place the panels so their center sits at seated ear height, roughly level with the speaker tweeters, since that is the vertical zone where direct sound strikes the wall.
Use your highest-NRC (most absorptive) panels at the side-wall points, because this is where absorption pays back the most.
If a window falls on a side-wall reflection point, hang heavy fabric curtains there. Glass reflects strongly, and you usually cannot mount a panel on it.
Front Wall and Behind the Screen
On the front wall, place panels on both sides of the screen facing the seats, so reflections off the wall around the display do not blur the on-screen sound. The area directly around the screen is a strong early-reflection zone.
Mount one panel on each side of the screen, symmetrically, to keep the left and right channels balanced.
If you use an acoustically transparent (perforated or woven) projector screen, place absorption on the wall behind it. This kills the reflection off the front wall without blocking the speakers mounted behind the screen.
Treat the wall behind the center channel speaker if it sits against the front wall, since reflections there directly affect dialogue clarity.
Rear Wall - Absorption vs Diffusion
On the rear wall, the choice between absorption and diffusion depends on how close the back row sits to the wall. Close seating needs absorption; distant seating benefits from diffusion.
If viewers sit within about 4 ft (1.2 m) of the rear wall, use absorptive panels there. Reflections off a nearby back wall return fast enough to smear dialogue.
If there is more space behind the seats, use diffusion panels instead. Diffusers scatter the sound rather than removing it, preserving a sense of spaciousness and avoiding a dead, lifeless room.
Avoid covering the rear wall entirely with absorption when seats are far from it. Over-absorbing the back of the room flattens the surround effect.
Ceiling - The Overhead Reflection Point
The ceiling reflection point sits between the screen and the seats, and treating it with a panel or cloud removes the overhead bounce that muddies dialogue - especially important with hard ceilings and Dolby Atmos height channels. You find this point with the mirror method described above.
Mount a ceiling cloud (a panel suspended or fixed flat to the ceiling) centered on the overhead reflection point.
Treat the ceiling point carefully if you run Atmos or other height speakers. Overhead channels rely on clean ceiling reflections, so uncontrolled hard-ceiling bounce degrades the height effect.
If the floor below that point is hard - concrete, tile, or hardwood - and there is a thick rug, there is a simpler alternative to ceiling treatment for the floor bounce.
Corners - Where Bass Traps Go
Bass traps go in the room corners, because low-frequency energy builds up where walls meet, and pressure is highest. Corners are where bass problems concentrate, so they are where bass control belongs.
Place vertical bass traps in the wall-to-wall corners, floor to ceiling, where possible. These tackle the strongest low-frequency buildup.
Add traps at wall-to-ceiling and wall-to-floor corners in rooms with heavy bass content, such as action and horror soundtracks.
Treat corners even if midrange already sounds clean. Standard acoustic panels do little for deep bass, so corners need dedicated bass traps rather than ordinary panels.
How Much Coverage and Common Mistakes
A practical target is treating roughly 20-30% of the room's hard surface area, balanced between absorption at reflection points and some diffusion to keep the room from going dead. Coverage should be distributed, not piled onto one wall.
The most common mistake is treating only one wall or one side of the room. This breaks left-right symmetry and leaves reflection points active on the untreated surfaces.
Another mistake is ignoring the ceiling. With a hard ceiling, the overhead reflection point is as important as the side walls.
Skipping bass traps is a frequent error. Without corner traps, low frequencies stay boomy no matter how many flat panels are added.
Over-damping is the opposite mistake. Covering every surface with absorption removes all liveliness, making voices sound flat and muffled.
Final Placement Summary
Place home theater acoustic panels by working out from the listening position: treat the side-wall first-reflection points first, then the front wall beside the screen, the ceiling reflection point, and the rear wall - choosing absorption or diffusion based on how close the seats sit. Put bass traps in the corners to control low frequencies that flat panels cannot.
Keep treatment symmetrical, cover roughly 20-30% of hard surfaces, and avoid the common traps of one-sided treatment, an untreated ceiling, missing bass traps, and over-damping the room into a dead space.
Recent posts


