
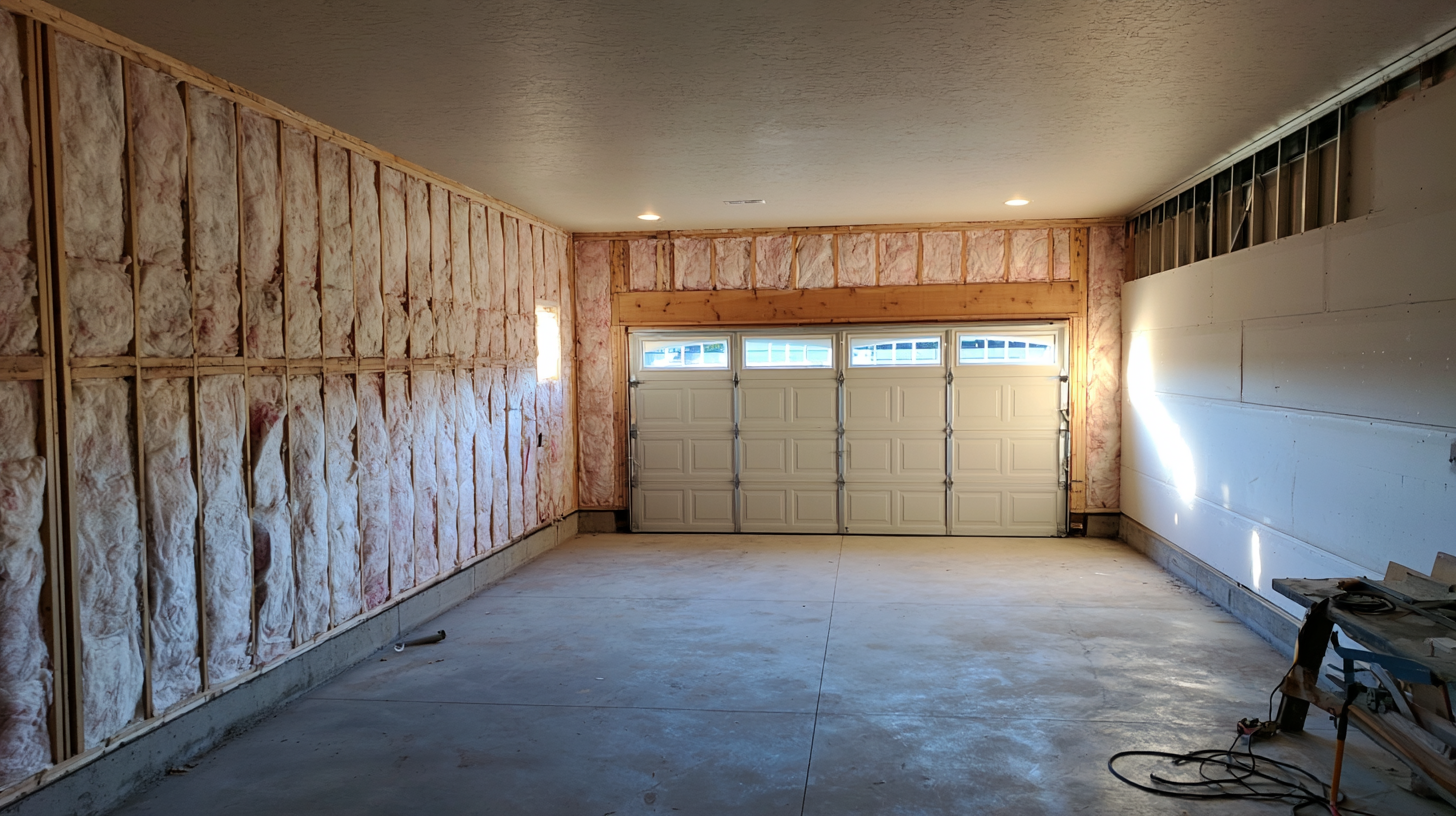
Soundproofing a garage means stopping sound from traveling through the building shell in either direction. Four physical actions do the work: sealing air paths, filling wall and ceiling cavities, decoupling surfaces from the framing, and adding mass. Everything sold as a garage soundproofing product falls into one of those four buckets, and skipping any of them limits what the others can achieve.
First, Work Out Where the Sound Is Going
Three situations need different work in a different order, and most garage projects fall into one of them.
Noise leaving toward neighbors
Band rehearsal, table saws, compressors. Priority runs door first, then the exterior walls facing the property line, then any shared attic space.
Noise reaching a room above or beside the garage
Weights dropping, machinery vibration, late-night practice under a bedroom. The ceiling assembly and the common wall matter most, and the door into the house usually leaks more than the wall around it.
Street noise coming in
A garage converted to an office or a rehearsal space where recordings pick up traffic. Sealing and mass on the door and windows deliver almost all of the improvement here.
Write down which one applies before buying anything. The three lists barely overlap.
Safety and Code Checks Before You Start
Sealing a garage changes how air moves through it, and that has consequences beyond acoustics.
Never run an engine, generator, or fuel burning equipment inside a garage you have air sealed. Carbon monoxide accumulates in a tight space with no route out. If a furnace, boiler, or atmospherically vented water heater sits in the garage, its combustion air supply may depend on the leakage you are about to eliminate, and an HVAC professional should confirm the arrangement before you seal anything.
Attached garages carry separation requirements. Under IRC Table R302.6, walls separating an attached garage from the residence and its attic require at least 1/2 inch gypsum board applied to the garage side, and ceilings below habitable rooms require at least 5/8 inch Type X gypsum board. Section R302.5.1 covers the connecting door: solid wood or solid or honeycomb core steel at least 1-3/8 inches thick, or a 20 minute rated assembly, fitted with a self-closing device.
Soundproofing layers add to that separation rather than replace it. Adding a decoupled second layer over compliant gypsum board is generally fine; substituting plywood, OSB, or a barrier membrane for the required board is not. Jurisdictions amend the model code, so confirm requirements locally before the work starts, and check whether your scope needs a permit.
Step 1 - Seal Every Air Path
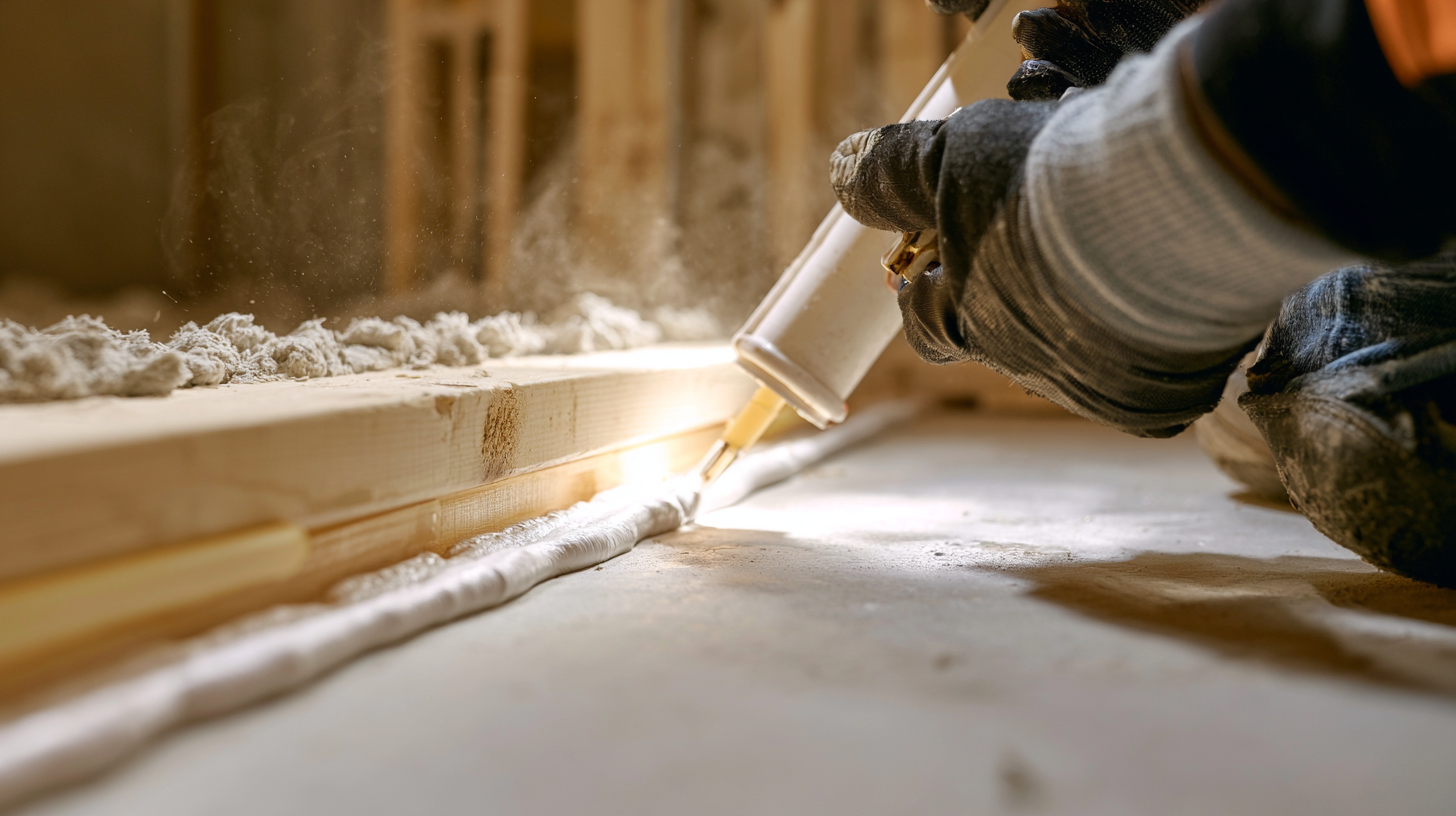
Air and sound travel through the same openings, which makes sealing the cheapest improvement available and the one skipped most often.
Work through the shell in this order:
- Perimeter of the garage door, including the bottom seal against the slab
- Where the sill plate meets the concrete slab
- Service penetrations: hose bibs, electrical conduit, dryer vents, plumbing
- Electrical boxes and switch plates on shared walls
- Attic hatches and pull down stairs
- Gaps around the entry door frame and any window frames
Use a non-hardening acoustical sealant rather than standard silicone caulk, which cures rigid and cracks as the structure moves. Wide gaps get backer rod first, then sealant over the top. Electrical boxes take putty pads.
Leave intentional ventilation openings alone. Combustion air vents and mechanical ventilation are there for a reason.
Step 2 - Fill the Wall and Ceiling Cavities
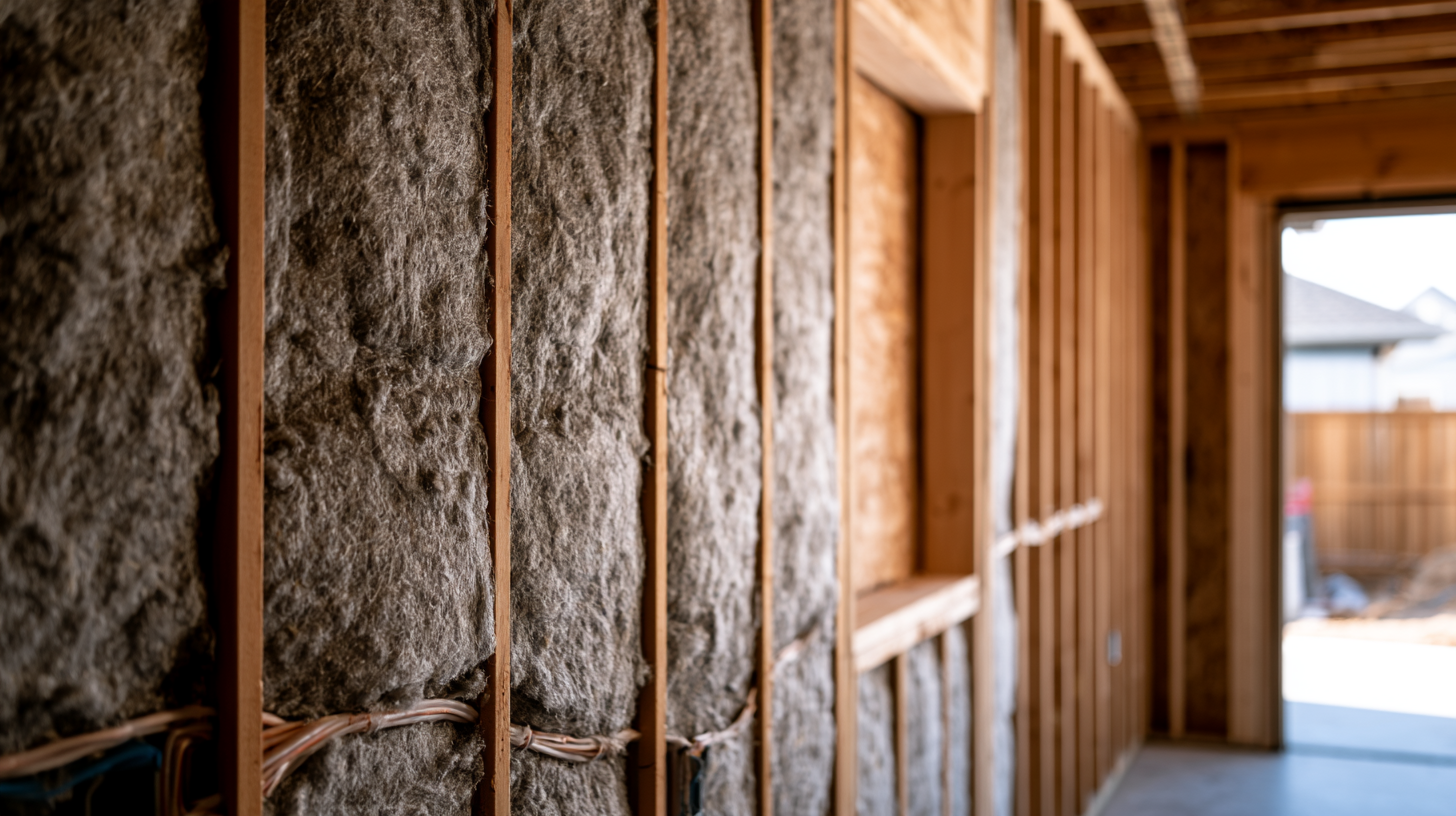
An empty stud bay resonates and works against every layer you add on top of it. Filling the cavity with fibrous insulation typically lifts a wall assembly by five to eight STC points, and it costs less per square foot than any other stage.
Mineral wool and fiberglass both work. Mineral wool is denser and non-combustible, which matters in a garage storing fuel and solvents; fiberglass is lighter and cheaper for large ceiling areas. The acoustic difference between them inside a finished wall is small enough that most people cannot hear it.
Fit batts snugly without compressing them. A batt squeezed into an undersized bay loses both thermal and acoustic performance, and gaps at studs and around wiring cost more than the choice of material ever will.
Step 3 - Decouple and Add Mass
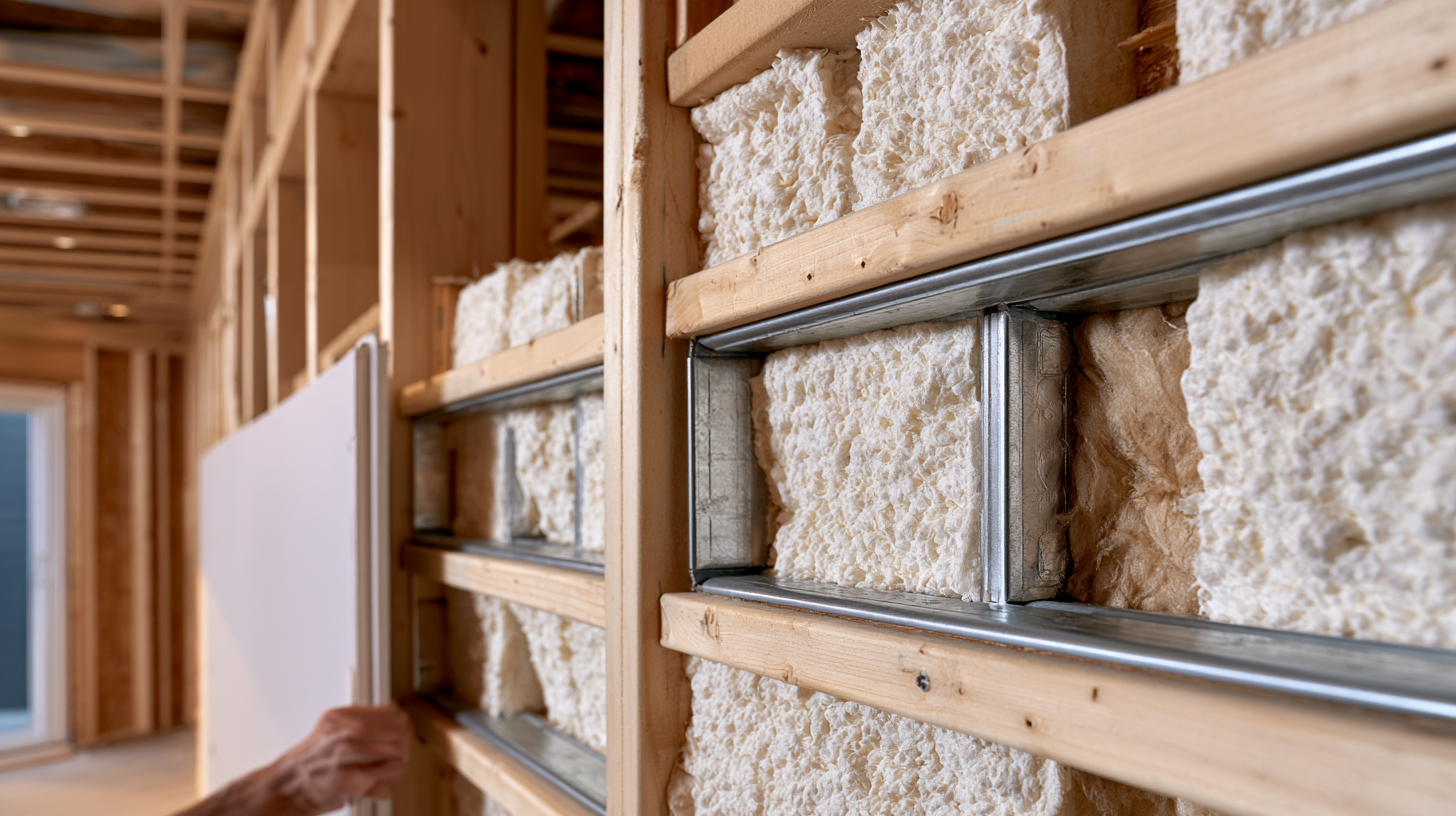
Filling the cavity gets you partway. The remaining gains come from breaking the mechanical connection between the framing and the finish surface, then loading that surface with weight.
Walls
Resilient isolation clips screw into the studs and hold a metal hat channel on rubber isolators. Drywall attaches to the channel and never touches the framing, which interrupts the vibration path that carries low frequencies straight through a rigidly attached wall.
Two layers of 5/8 inch drywall over that channel, with a damping compound such as Green Glue spread between them, convert vibration energy into a small amount of heat. Material cost for the compound runs around a dollar per square foot, which puts it among the better value upgrades in the assembly.
Where framing depth is tight, mass-loaded vinyl adds roughly the acoustic mass of a second drywall layer in about an eighth of an inch. Applied on its own over an existing wall, it contributes only a few STC points; combined with decoupling and cavity fill, it earns its place. SONOpan panels offer another route where a full clip and channel build is impractical.
Budget for the space this consumes. A clip, channel, and double drywall build takes roughly two inches off each treated wall.
The Ceiling Under Living Space
When there is a bedroom or office above the garage, the ceiling outranks every wall in the room. Sound reaching that space travels through the floor assembly, and treating the walls first is money spent on the wrong surface.
The same clip and channel approach applies, with the code required 5/8 inch Type X layer staying in place beneath habitable rooms. Headroom is usually the constraint, since a decoupled ceiling costs two to three inches of clearance.
Impact noise behaves differently from airborne noise. Dropped weights, a hammer, or a router table transmit vibration into the structure directly, and no amount of ceiling mass fully solves that. Rubber mats and isolation pads under the source do more than another layer of board.
Step 4 - The Garage Door
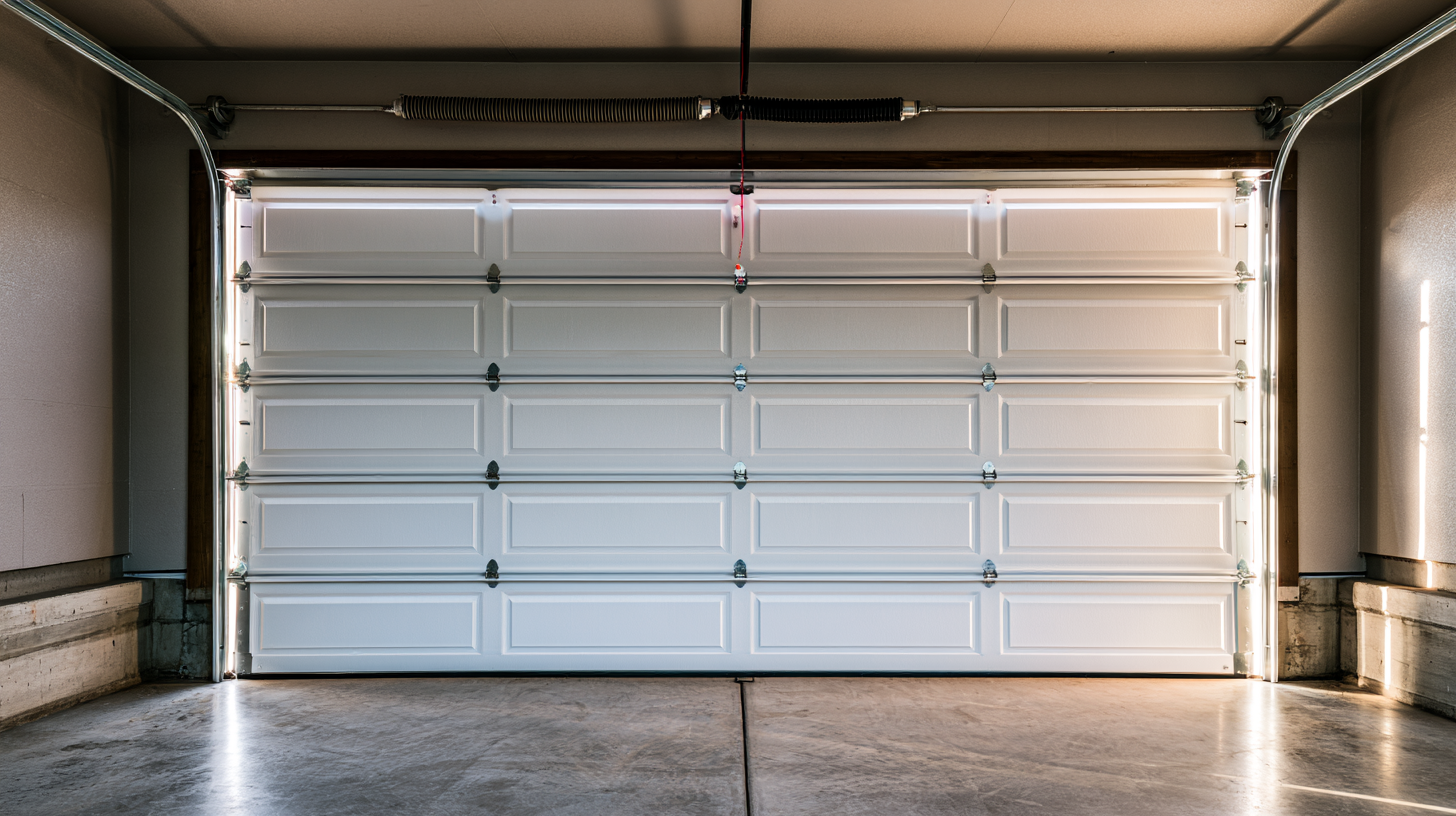
The garage door limits results in almost every project, and there are three honest approaches to it.
Seal the perimeter
New side and top weatherstripping plus a fresh bottom seal against the slab. Cheap, quick, and worth doing regardless of what follows, though it moves the needle by a few points at most.
Build a wall in front of it
A framed, insulated, decoupled partition inside the door opening brings that section of the shell up to the level of the rest of the garage. This means the door stops functioning as a door, which suits a converted studio or workshop and rules out vehicle parking.
Replace with an insulated sectional door and accept the ceiling it sets
Better than a single-skin steel door, still the weakest surface in the room.
One warning that most guides skip: do not attach mass-loaded vinyl, sound blankets, or drywall to the panels of a working sectional door. Torsion springs are balanced to the weight of the door as manufactured. Added mass throws that balance off, strains the opener, and creates a genuine hazard if a spring fails.
Step 5 - The Entry Door and Windows
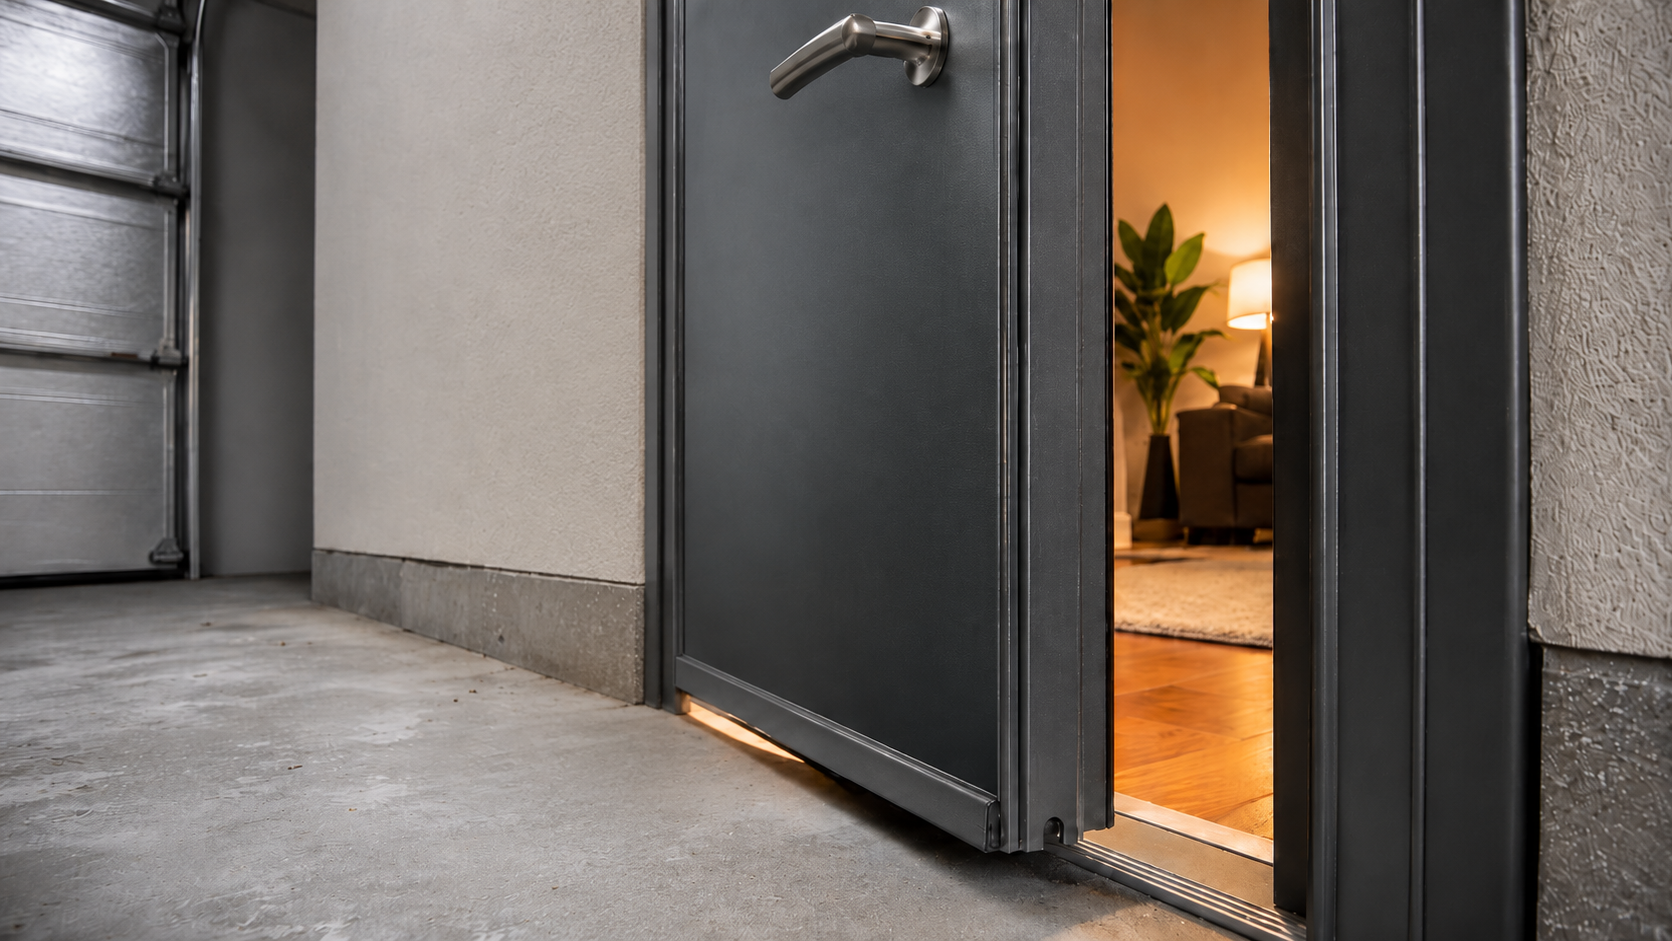
The door between garage and house frequently leaks more sound than the entire wall it sits in. A hollow core door performs around STC 15 to 20 against roughly STC 30 to 35 for a solid core equivalent.
Perimeter door seals and an automatic door bottom close the gap that remains once the slab itself is solid. Any hardware you fit has to keep the self-closing function intact, since that door forms part of the required separation.
Windows in garages are usually single glazed and poorly sealed. Sealing the frame perimeter costs little. An interior storm panel or a removable acoustic plug adds real mass where a window sits in a wall facing neighbors, and neither requires replacing the unit.
Does the Garage Floor Matter?
A slab on grade transmits very little airborne sound to neighboring properties, which makes floor treatment the lowest priority in most garage projects.
Two situations change that. Where living space sits above the garage, impact energy entering the slab and framing reaches it through the structure. Where the garage shares a wall with the house, heavy equipment vibrating against the slab can excite that wall.
Treat the source rather than the whole floor in both cases. Rubber gym flooring under a lifting platform, isolation pads under a compressor or table saw, and dense mats where tools get dropped cost a fraction of a floating floor and address the actual path.
Absorption Is Not Blocking
Acoustic panels change how the room sounds to people inside it. They have close to no effect on how much sound reaches the neighbors, because absorption and transmission loss are separate mechanisms.
A bare garage has concrete, steel and drywall on every surface, so speech and instruments smear into a long reverberant wash. That makes recording difficult and rehearsal fatiguing, and it is exactly what sound-absorbing panels fix.
Add absorption after the blocking work is finished, or alongside it if the room will be used for recording or practice. Acoustic curtains suit renters and anyone who needs a reversible option, since they hang without permanent fixings.
Where to Spend First
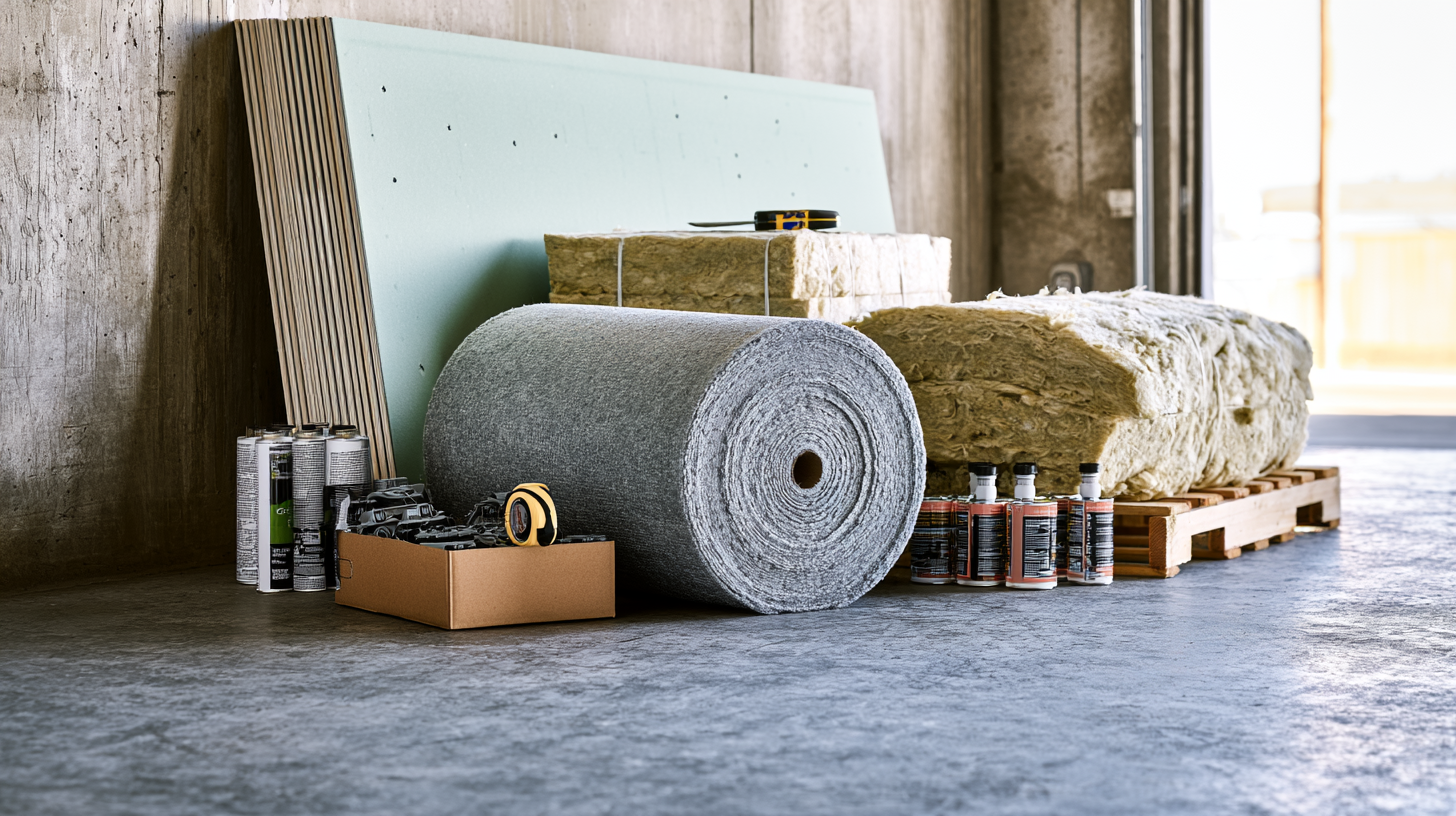
Published figures put DIY garage soundproofing anywhere from roughly $800 to $4,500 depending on how many surfaces get treated, with materials for a full two car garage build commonly landing between $3,500 and $5,500. Professional installation adds substantially on top.
Under $500. Full air sealing of the shell, garage door perimeter weatherstripping, perimeter seals and an automatic bottom on the entry door. Expect a modest but audible reduction, and a noticeably quieter room in cold weather.
$1,500 to $3,000. Cavity insulation throughout, a second layer of 5/8 inch drywall with damping compound on the walls facing neighbours or the house, sealed penetrations, and treatment of the ceiling if there is living space above. This range delivers most of the practical improvement available.
$3,500 and up. Clip and channel decoupling on walls and ceiling, double drywall with damping throughout, and a framed insulated wall inside the garage door opening. STC 50 to 55 is realistic here. Our breakdown of what soundproofing costs covers the individual line items in more detail.
Planning Your Garage Assembly
Sequence decides the outcome as much as material choice does: seal, fill, decouple, add mass, then treat the openings. Work done out of order usually has to be undone.
If you are planning a garage conversion and want the assembly checked before you buy anything, our team can walk through your layout and identify which surfaces will actually pay back. Browse the sound isolation materials we supply, or call +1-888-661-7233, Monday through Friday, 8 am to 4 pm EST.
Recent posts


