
Acoustic panels absorb sound at the points where it first reflects off a surface. Placement matters more than quantity - panels installed in the wrong locations produce little to no improvement regardless of their NRC rating. Effective bedroom treatment starts with identifying first reflection points: the specific surfaces where sound bounces from its source toward the listener. This guide walks through each location in order of acoustic priority.
What Are First Reflection Points and Why They Determine Panel Placement
A first reflection point is the surface - wall, ceiling, or floor - where a sound wave makes its first bounce after leaving the source. In a bedroom, sound from a TV, speaker, or voice reaches these surfaces before it reaches the listener. When those surfaces are bare and hard, the reflected sound arrives at the listener's ears a few milliseconds after the direct sound, producing echo, flutter echo, and a reverberant quality that reduces clarity.
How to identify first reflection points: the mirror trick
Sit or lie in your normal position on the bed. Have someone slide a mirror slowly along each wall. Every spot where you can see the TV, speaker, or other sound source reflected in the mirror is a first reflection point. That surface needs a panel. The same test works for the ceiling: move a mirror overhead until the sound source appears in the reflection.
How a bedroom differs acoustically from a studio or office
The bed - mattress, pillows, bedding - absorbs a meaningful amount of mid-frequency sound near the floor, which reduces the need for treatment on the lower third of walls. Parallel opposing walls are standard in most bedrooms and cause flutter echo: a rapid, buzzing decay between two hard surfaces. Residential ceiling heights of 8-9 ft mean overhead reflections arrive quickly and are clearly audible without treatment.
The Wall Behind the Bed - Primary Treatment Zone
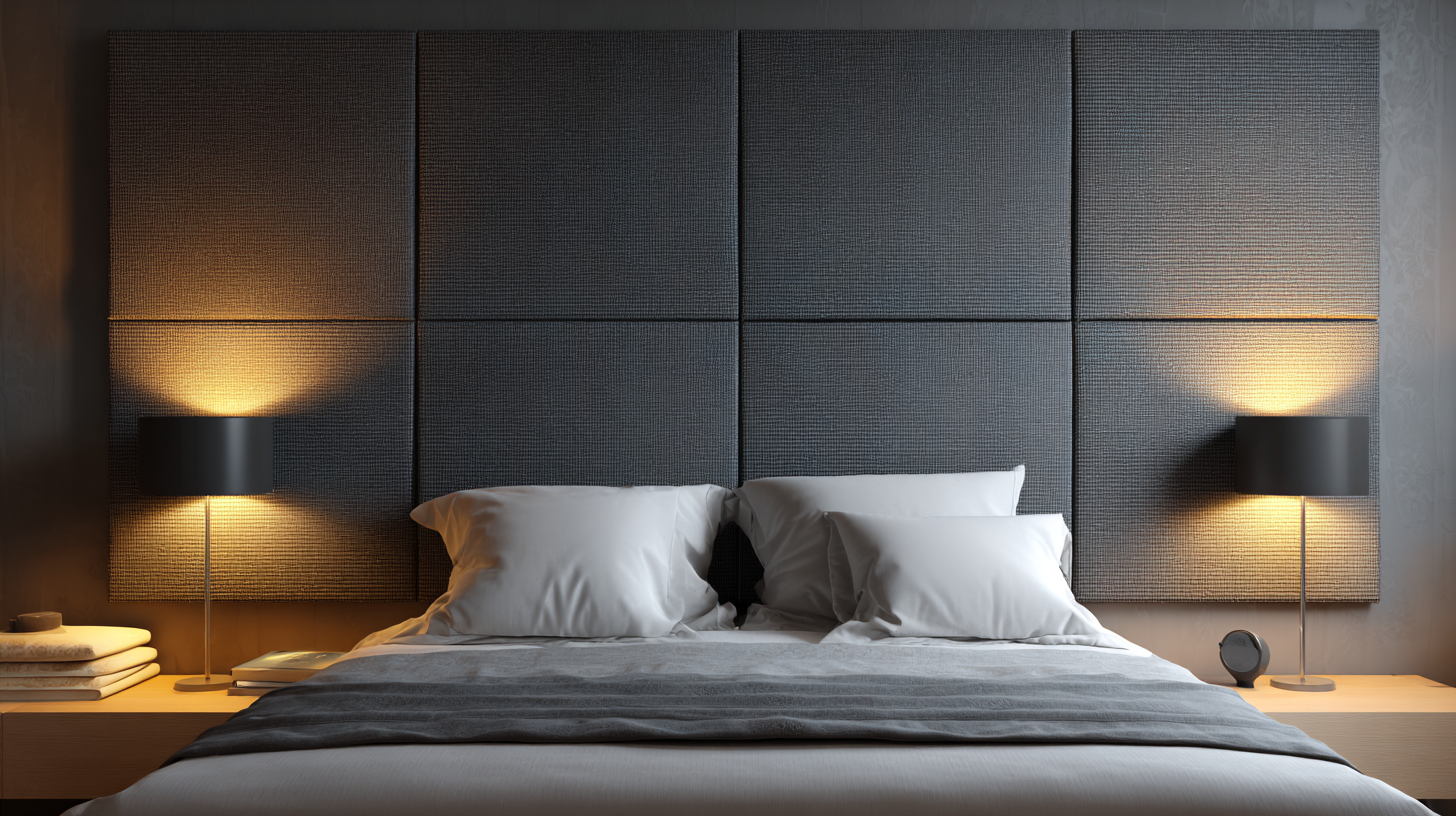
The wall behind the bed is the first surface to treat in any bedroom. Sound from a TV or speakers reflects off this wall and returns directly to the listener at the bed. It is typically the largest bare, hard surface in the direct sound path.
Untreated, that reflection reaches the listener's ears within milliseconds of the direct sound and causes comb filtering - a pattern of frequency cancellations that makes audio sound hollow, thin, or phasey.
Coverage area
The entire wall does not need to be covered. Treat the central zone aligned with the bed width, from pillow height (roughly 3-3.5 ft from the floor) up to about 6 ft. This covers the direct path between the sound source and the listening position without over-treating the surface.
Panel type and size
Fiberglass or mineral wool panels with NRC 0.85 or higher are appropriate for this location. A cluster of 2-4 panels in the 2×4 ft format covers the target zone for a queen or king bed. Panels 2 inches thick or more provide better low-mid frequency absorption than thinner options.
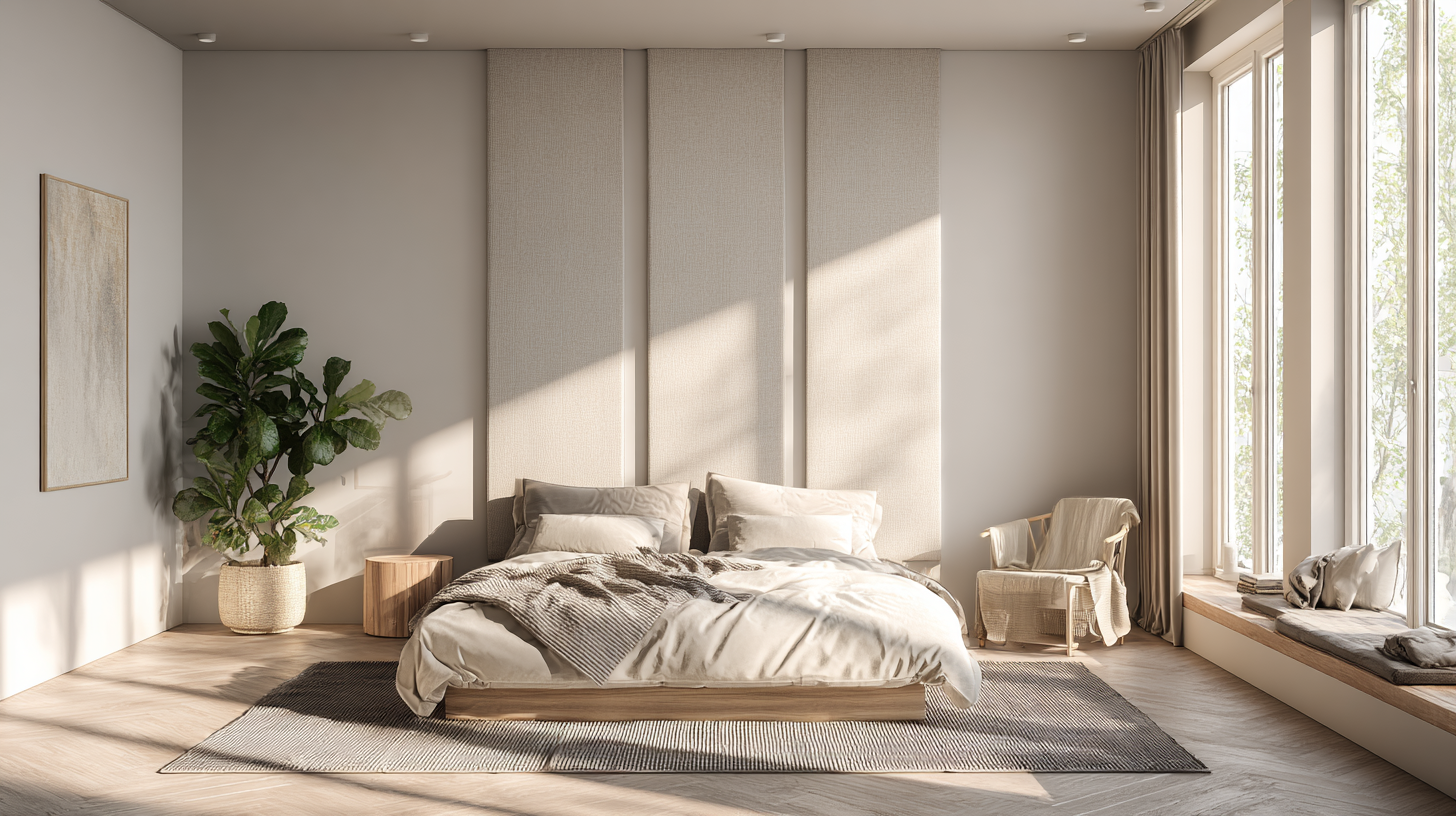
Side Walls - Secondary Reflection Points
Side walls produce lateral reflections - sound that bounces sideways before reaching the listener. The problematic zone on each side wall is the point parallel to the head position on the bed, at approximately ear height when lying down: roughly 2.5-4 ft from the floor.
Locating the reflection point
With the listener in position on the bed, slide a mirror along each side wall at ear height. Mark where the primary sound source first appears in the mirror. That is the first reflection point for that wall and the correct panel location.
Symmetry
Both side walls need to be treated at the same height and with panels of the same size. If only one side is covered, the room produces an uneven acoustic decay - a directional imbalance that is audible during playback or speech. One to two 2×4 ft panels (NRC 0.85+) per side is sufficient for most bedrooms.
When the reflection point falls on a window or door
Place the panel on the nearest available wall section beside the obstruction. Heavy floor-length curtains over windows provide partial absorption and are an acceptable substitute in that specific zone.
The Ceiling - Overhead Reflection Control
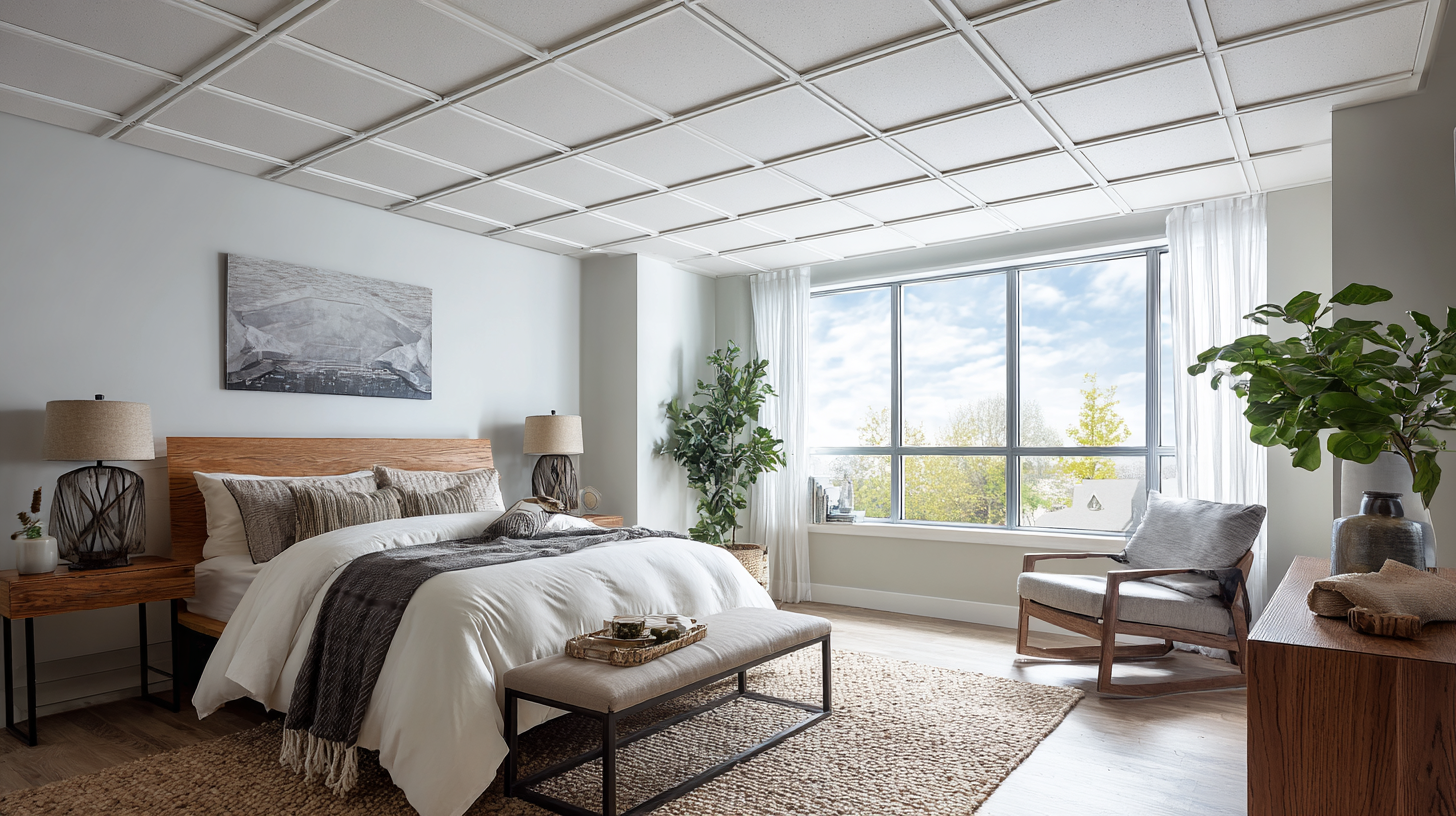
Ceiling treatment is needed when the primary sound source is at or below ear level - a TV on a low dresser, a Bluetooth speaker on a nightstand, or a voice during calls. Sound from these sources travels upward, reflects off the ceiling, and returns to the listener. In rooms with ceilings below 8 ft, that reflection arrives fast enough to cause a clearly audible degradation in clarity.
Ceiling treatment is not needed in every bedroom. If the TV is wall-mounted at or above seated ear height, or the ceiling exceeds 9 ft, the overhead reflection arrives with enough delay to blend into background reverb without causing problems.
Placement on the ceiling
One panel centered directly above the bed - above the listening position - addresses the primary overhead reflection point. A 2×4 ft or 4×4 ft panel is sufficient for a standard bedroom.
Mounting
A ceiling cloud - a panel suspended horizontally on cables or rigid brackets - is the most effective and adjustable option. Where drilling is not practical, a lightweight panel adhered flush with construction adhesive works as an alternative. Both produce equivalent results when the panel is correctly positioned.
Where Not to Place Acoustic Panels in a Bedroom
Panels installed in acoustically inactive zones absorb sound without addressing the actual problem. These locations produce little to no audible improvement.
Corners
Corners accumulate low-frequency energy - bass - due to wave interference physics. The correct treatment for corners is bass traps, not flat acoustic panels. A standard absorption panel placed in a corner does not address low-frequency buildup and contributes negligible improvement elsewhere.
The wall behind the TV or speaker
Sound radiates forward from a speaker, not backward. The wall directly behind a sound source receives almost no acoustic energy. Panels placed there treat a surface that doesn't need treatment while leaving actual reflection points uncovered.
Below 2.5 ft on any wall
In a furnished bedroom, the lower third of wall surface is already partially absorbed by the bed frame, nightstands, and dressers. Panels mounted below 2.5 ft have minimal effect on audible reflections.
Full wall coverage
Covering every wall surface creates an overdamped room. Overdamping removes natural room character: voices lose body, music sounds flat and airless, and the space becomes uncomfortable for extended listening. Treating targeted reflection points delivers better acoustic results with fewer panels than covering everything.
For a full breakdown of panel quantities based on room size and coverage percentage, see: How Many Sound Panels Do I Need?
Bedroom Panel Placement Order
Apply treatment in this sequence - highest-impact surface first. This order applies to a standard rectangular bedroom with one primary listening position at the bed.
- Establish your listening position - head position at the bed.
- Use the mirror trick on the wall behind the bed; mark the first reflection zone.
- Install 2-4 panels (2×4 ft, NRC 0.85+) centered on that zone, from pillow height to 6 ft.
- Use the mirror trick on both side walls at ear height; mark each reflection point.
- Install 1-2 panels per side wall at the marked points; match height and panel size on both sides.
- If the ceiling is below 8 ft and the sound source is at or below ear level, install one ceiling cloud panel centered above the listening position.
- Clap once between the two longest parallel walls. If rapid flutter echo is audible, add panels to the less-covered wall.
- Do not exceed 20% total wall coverage before completing and assessing steps 1-7.
Acoustic Panels for Bedroom Treatment - Sound Pro Solutions
Sound Pro Solutions carries acoustic panels for bedroom treatment in standard sizes (1×1 ft, 2×2 ft, 2×4 ft) with verified NRC ratings from 0.75 to 1.00.
Fabric-wrapped fiberglass panels (NRC 0.85-1.00) in 2-inch and 3-inch thickness are the standard choice for the wall behind the bed and side wall reflection points. Mineral wool panels (NRC 0.90-1.00) are a higher-density option for rooms with harder surfaces or ceilings above 9 ft. For overhead placement, ceiling tiles kits include a suspended panel and mounting hardware sized for residential installation. Bass traps address low-frequency corner buildup where standard panels are not effective.
For product recommendations based on your room dimensions, contact Sound Pro Solutions at (888) 661-7233 or visit soundprosolutions.com.
Recent posts


