Acoustical sealant is a permanently flexible, latex-based compound used to seal gaps, joints, and penetrations in walls, ceilings, and floors to prevent sound from passing through construction assemblies. It is a required component of any sound-rated partition system and is specified by architects and contractors whenever a wall, floor, or ceiling assembly must achieve a defined STC rating.
What Is Acoustical Sealant?
Acoustical sealant is a construction sealant formulated to remain permanently flexible after curing, maintaining an airtight seal at joints and penetrations in sound-rated building assemblies. It is also referred to as acoustic caulk, sound caulk, or soundproofing sealant - all terms describe the same category of product.
The fundamental principle behind acoustical sealant is straightforward: if air can pass through a gap in a wall or ceiling assembly, sound can pass through it as well. Sound travels as pressure waves through air, and any continuous air path between two spaces - regardless of how small - creates a direct channel for sound transmission that bypasses the mass and isolation of the surrounding construction.
Acoustical sealant eliminates those air paths. It is applied at every location where building materials meet, overlap, or are penetrated by utility infrastructure: the perimeter of drywall panels, around electrical boxes, at pipe and conduit penetrations, and at the floor and ceiling runners of partition walls.
Acoustical sealant is used in residential construction, commercial office buildings, schools, healthcare facilities, hotels, recording studios, and home theaters - anywhere that controlling sound transmission between spaces is a design or code requirement.
How Acoustical Sealant Works
Sound transmission through a building assembly is controlled by the mass, stiffness, and decoupling of the construction materials. A properly built double-stud wall with resilient channels and acoustic insulation can achieve STC 55-65. However, that performance is only realized if the assembly is fully airtight. A single unsealed gap at the perimeter or around a penetration can reduce the effective STC of the entire assembly by 7 to 10 points.
A standard, well-sealed residential wall achieves STC 37-39. The same wall construction with unsealed perimeter gaps and penetrations typically measures STC 28-32, a difference that represents the ability to understand speech clearly through the wall at normal conversation volume.
The mechanism is acoustic leakage: sound energy finds the path of least resistance through a construction assembly. Even a gap of 1/16 inch at the perimeter of a wall panel allows a disproportionate amount of airborne sound to pass - the acoustic mass of the surrounding drywall becomes irrelevant at the location of the gap.
A related phenomenon is flanking noise - sound that reaches an adjacent space by traveling around, over, or under a barrier rather than directly through it. Common flanking paths include the gap between the bottom plate of a partition and the structural floor, the junction between a partition and an exterior wall, and the space around utility penetrations. Acoustical sealant applied to these flanking paths closes the indirect transmission routes that structural mass alone cannot address.
Acoustical Sealant vs. Regular Caulk
Acoustical sealant differs from standard silicone, acrylic, and latex caulks in one critical property: it remains permanently flexible after curing. Standard caulks harden over time, and hardened caulk is acoustically ineffective.
When a caulk hardens, two failure modes develop. First, the hardened material becomes brittle and eventually cracks, particularly at joints subject to thermal movement or structural settlement. Second, the hardened caulk shrinks and separates from one or both substrate surfaces, creating a gap that allows air - and sound - to pass. Both failure modes recreate the acoustic leak that the sealant was applied to prevent.
Acoustical sealant maintains its elasticity throughout its service life. It accommodates the normal expansion and contraction of building materials with humidity and temperature changes, and it withstands the minor shear stress caused by structural settlement, without losing adhesion or developing cracks.
|
Property |
Acoustical Sealant |
Silicone Caulk |
Acrylic/Latex Caulk |
|
Base material |
Latex (water-based) |
Silicone |
Acrylic or latex |
|
Flexibility after curing |
Permanently flexible |
Flexible but shrinks |
Hardens over time |
|
Shrinkage |
Low (15-20%) |
Moderate (20-30%) |
High (25-35%) |
|
Adhesion to drywall |
Excellent |
Poor |
Good |
|
Paintable |
Yes (after 24-48 hrs) |
No (most formulas) |
Yes |
|
Acoustic rating |
ASTM E90 tested |
Not acoustically rated |
Not acoustically rated |
|
Primary use |
Sound-rated assemblies |
Wet areas, exterior |
General interior joints |
|
Cleanup |
Soap and water |
Solvent required |
Soap and water |
Silicone caulk is not appropriate as a substitute for acoustical sealant in sound-rated assemblies. Although silicone remains flexible, it does not adhere well to gypsum board surfaces, shrinks more than acoustical sealant, and is not tested or rated for acoustic applications. Standard latex caulk hardens and cracks, making it ineffective for long-term acoustic sealing.
Where to Apply Acoustical Sealant
Acoustical sealant must be applied at every location where an air path could exist through or around a sound-rated assembly. The following locations require treatment in any partition system designed to achieve a specific STC rating.
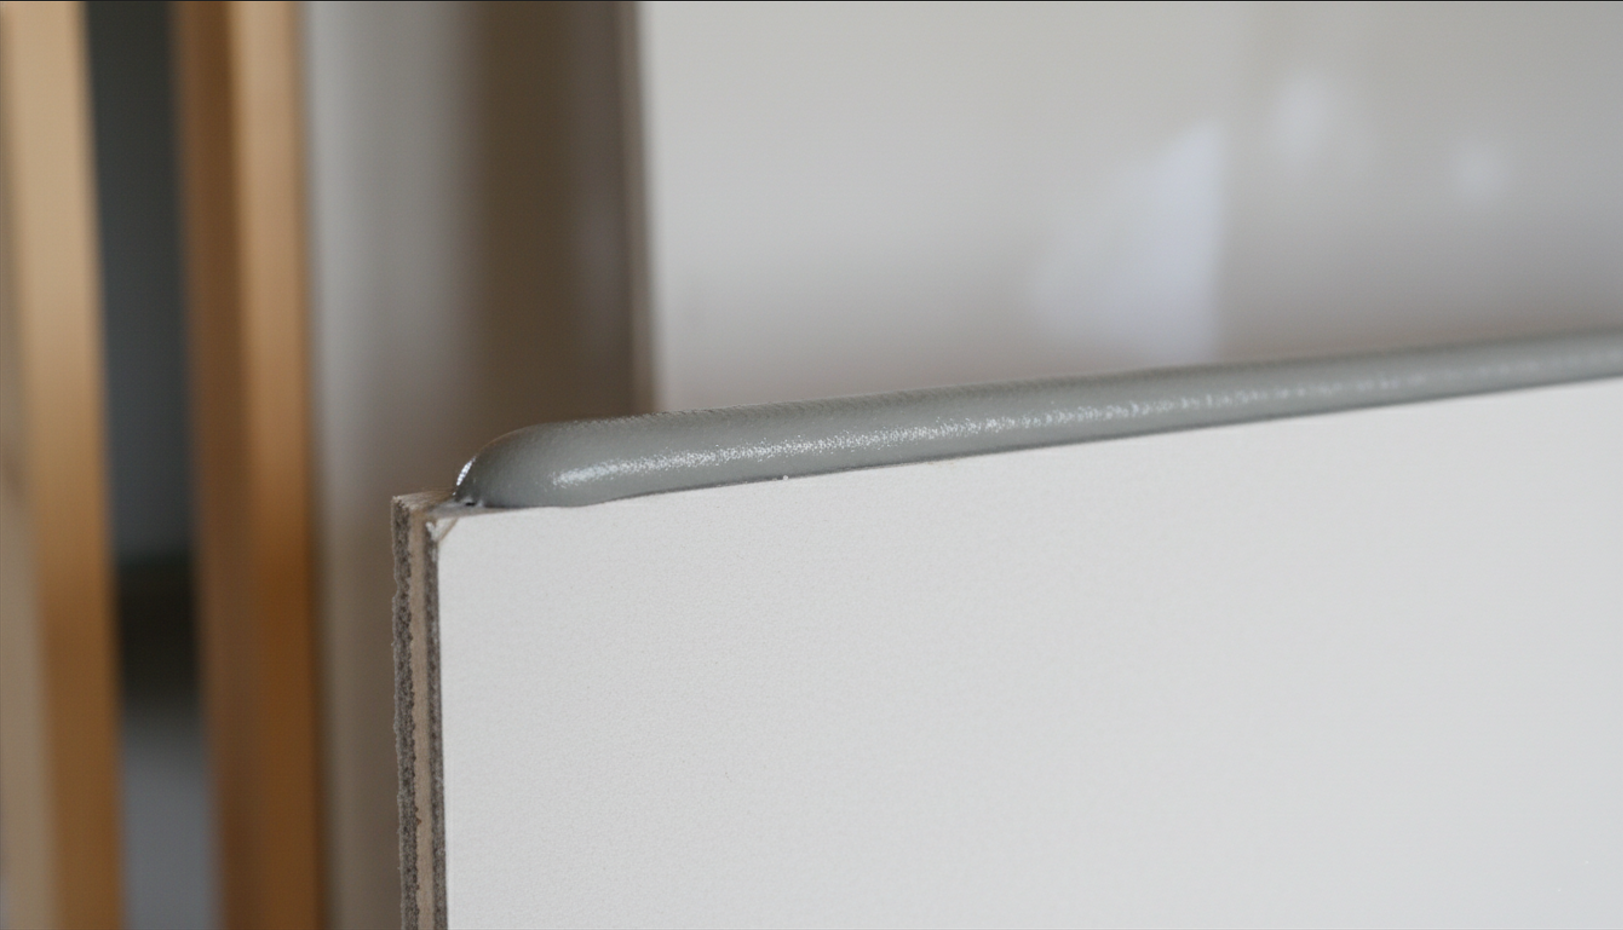
Perimeter joints of partition walls are the most critical application location. A continuous bead of acoustical sealant is applied to the underside of the floor runner (bottom plate) before it is fastened to the structural floor, and to the top runner before it contacts the ceiling. This seals the joint between the partition and the structural floor and ceiling slabs - two of the most common flanking paths in partition construction.
Perimeter edges of drywall panels require a bead of sealant at every edge where a drywall sheet meets a floor, ceiling, perpendicular wall, or window/door frame. The sealant is applied before the panel is installed, embedding the panel edge in a continuous acoustic seal.
Electrical boxes and outlet cutouts are among the most acoustically significant penetrations in residential construction. A standard electrical box creates an opening through the drywall that allows direct air transmission between stud cavities. The back and sides of all electrical boxes installed in sound-rated walls must be coated with acoustical sealant before the panel is finished. Putty pads are an alternative for fire-rated assemblies.
Pipe, conduit, and duct penetrations through walls, floors, and ceilings must be sealed where the penetration passes through the assembly. The annular space between the pipe or conduit and the surrounding construction is filled with acoustical sealant or, for larger gaps, first packed with backer rod and then sealed.
Junction of partitions with exterior walls is a common flanking path that is frequently overlooked. The joint where an interior partition meets an exterior wall or a structural column should be sealed with acoustical sealant on both sides of the assembly.
Door and window frames in sound-rated assemblies require sealant at the joint between the frame and the surrounding drywall. The gap between a door frame and the partition framing is a direct flanking path if left unsealed.
Gaps larger than 1/4 inch should first be filled with backer rod - a flexible foam rod sized to approximately twice the gap width - before acoustical sealant is applied over it. Applying sealant alone to large gaps results in insufficient contact depth and potential sealant failure.
Acoustical Sealant and STC Ratings
STC (Sound Transmission Class) is the standard metric used in the US to rate how effectively a building assembly reduces airborne sound transmission. It is measured according to ASTM E90, a laboratory test that measures sound transmission loss across 16 one-third-octave frequency bands from 125 Hz to 4,000 Hz. The results are converted to a single STC value using the ASTM E413 classification procedure.
Every published STC rating for a wall, floor, or ceiling assembly - including those in the UL Fire Resistance Directory and the Gypsum Association Fire Resistance Design Manual - assumes the assembly is installed with acoustical sealant at all specified locations. The tested and published STC is the maximum achievable value for that assembly. Unsealed assemblies consistently measure 7-10 STC points lower than the rated value.
This means that specifying a high-STC partition system without requiring acoustical sealant at all penetrations and perimeter joints guarantees the installed performance will fall short of the design intent. Acoustical sealant is not an optional finishing step - it is a required component of the tested assembly.
The standard governing acoustical sealant application in construction is ASTM C919 - Standard Practice for Use of Sealants in Acoustical Applications. It defines where sealant must be applied, what bead dimensions are required, and what preparation and installation conditions must be met for a sealant to maintain the STC rating of the assembly.
How to Apply Acoustical Sealant: Step-by-Step
Acoustical sealant application requires no specialized training and is appropriate for DIY soundproofing projects as well as professional construction. The tools required are a standard caulking gun, a utility knife, and a smoothing tool - either a finger, a putty knife, or a caulk finishing tool.
Step 1 - Prepare the surface
All surfaces receiving sealant must be clean, dry, and free of dust, grease, old caulk, and loose material. Residue from previous sealants can prevent adhesion and compromise the seal. If a cleaning solution is used, allow the surface to dry completely before applying the sealant. Optimal application temperature is 70°F (21°C); minimum is 40°F (4°C). Do not apply acoustical sealant to frozen surfaces.
Step 2 - Load the caulking gun
Insert the sealant tube into a standard quart-size caulking gun. Cut the nozzle tip at a 45-degree angle to allow precise bead placement in corners and against edges. The cut diameter should match the required bead size for the application.
Step 3 - Select the correct bead size
Bead size determines coverage per tube and sealant depth in the joint. Standard bead sizes and approximate coverage per 28 fl. oz. tube:
|
Bead Diameter |
Coverage per Tube |
|
1/8 inch |
~343 linear feet |
|
1/4 inch |
~86 linear feet |
|
3/8 inch |
~38 linear feet |
|
1/2 inch |
~21 linear feet |
For standard perimeter joints and drywall edges, a 1/4-inch bead is the typical specification. For larger gaps at penetrations, a 3/8-inch bead or larger is appropriate.
Step 4 - Apply in a continuous bead
Apply sealant in a single, uninterrupted bead along the joint. Gaps in the bead create acoustic leak points. For runner plates and floor/ceiling perimeter joints, the bead is applied to the plate before the panel is installed - the panel is then pressed into the sealant to embed the edge.
Step 5 - Tool the sealant
Within approximately 15 minutes of application, smooth the bead with a wet finger, putty knife, or caulk tool. This ensures full contact between the sealant and both substrate surfaces and removes air pockets. Clean excess sealant from the surrounding surface immediately with a damp cloth - uncured acoustical sealant cleans up with soap and water.
Step 6 - Allow to cure before finishing
Acoustical sealant typically skins over within a few hours and reaches full cure within 48 hours. Do not apply drywall joint compound, tape, or paint over the sealant until it has fully cured. Painting is acceptable after 24-48 hours, depending on the product specification.
Step 7 - Inspect for continuity
Before closing the assembly, visually inspect all sealed joints for gaps, voids, or areas where the bead has not contacted both substrate surfaces. Gaps in the sealant bead at this stage are simple to correct - they become inaccessible once drywall is installed.
Common Acoustical Sealant Products and Specifications
Three acoustical sealant products are most widely specified in US construction, each suited to slightly different applications and performance requirements.
USG Sheetrock Brand Acoustical Sealant is a water-based, highly elastic sealant tested at Riverbank Acoustical Laboratories in accordance with ASTM E90. It carries a UL flame-spread/smoke-developed rating of 0/0, making it appropriate for fire-rated partitions rated 1 to 3 hours. It is suitable for full-load-bearing steel-stud partitions and is the standard specification for USG drywall system assemblies. It adheres to all standard construction substrates: drywall, metal studs, concrete, masonry, and wood.
OSI SC-175 Acoustical Caulk is a latex-based, non-flammable sealant designed for all types of wall systems requiring a sound-rated assembly. It is tested to ASTM C734 for low-temperature flexibility after artificial weathering, making it appropriate for assemblies subject to temperature variation. It adheres to wood, metal studs, concrete, and gypsum board, and is paintable after 24 hours. Application gap size should not exceed 5/8 inch wide by 1/2 inch deep.
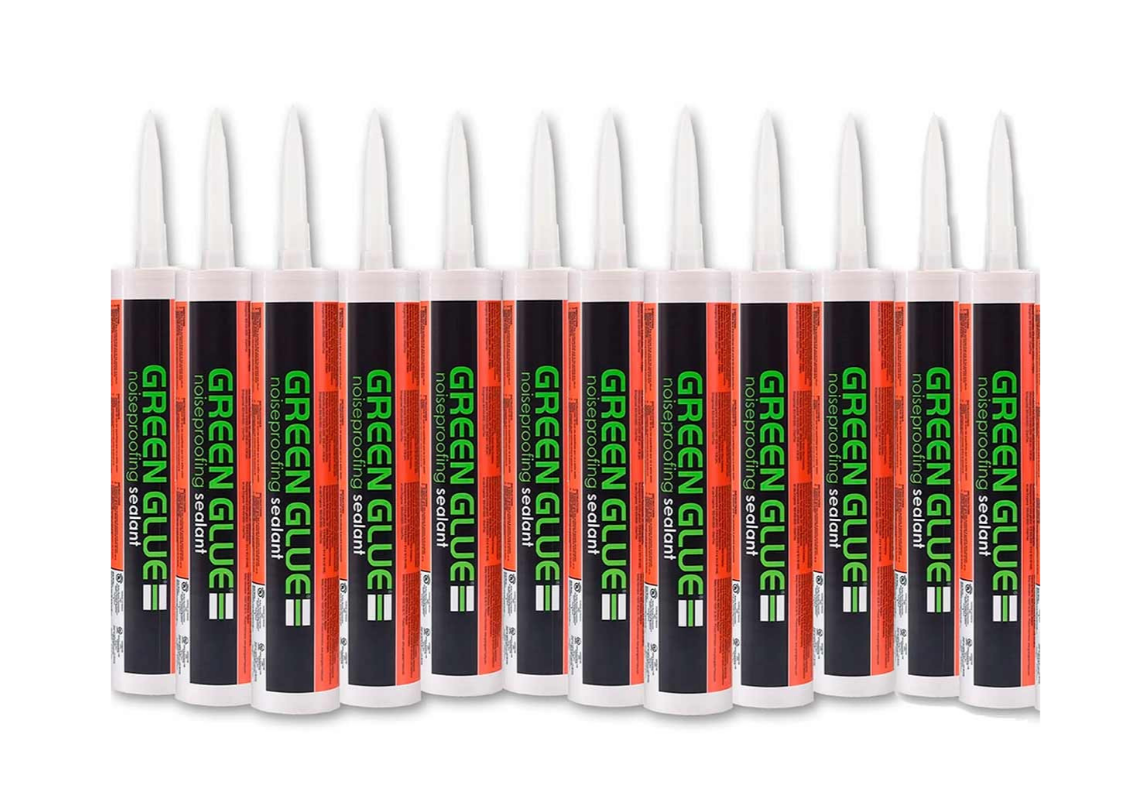
Green Glue Noiseproofing Sealant is a latex-based sealant that meets LEED green building requirements and has been independently tested by Underwriters Laboratories for fire safety and environmental impact. It is commonly used in residential renovation and DIY soundproofing applications. It cures fully in 48 hours and is paintable after drying. It is available in standard caulking gun tubes and is distributed through major building supply retailers.
All three products share the following general characteristics: water-based formula, permanent flexibility, low VOC, paintability after cure, and soap-and-water cleanup during application. The primary differentiators are fire-rating certification, substrate-specific adhesion performance, and availability through commercial vs. retail channels.
Recent posts


