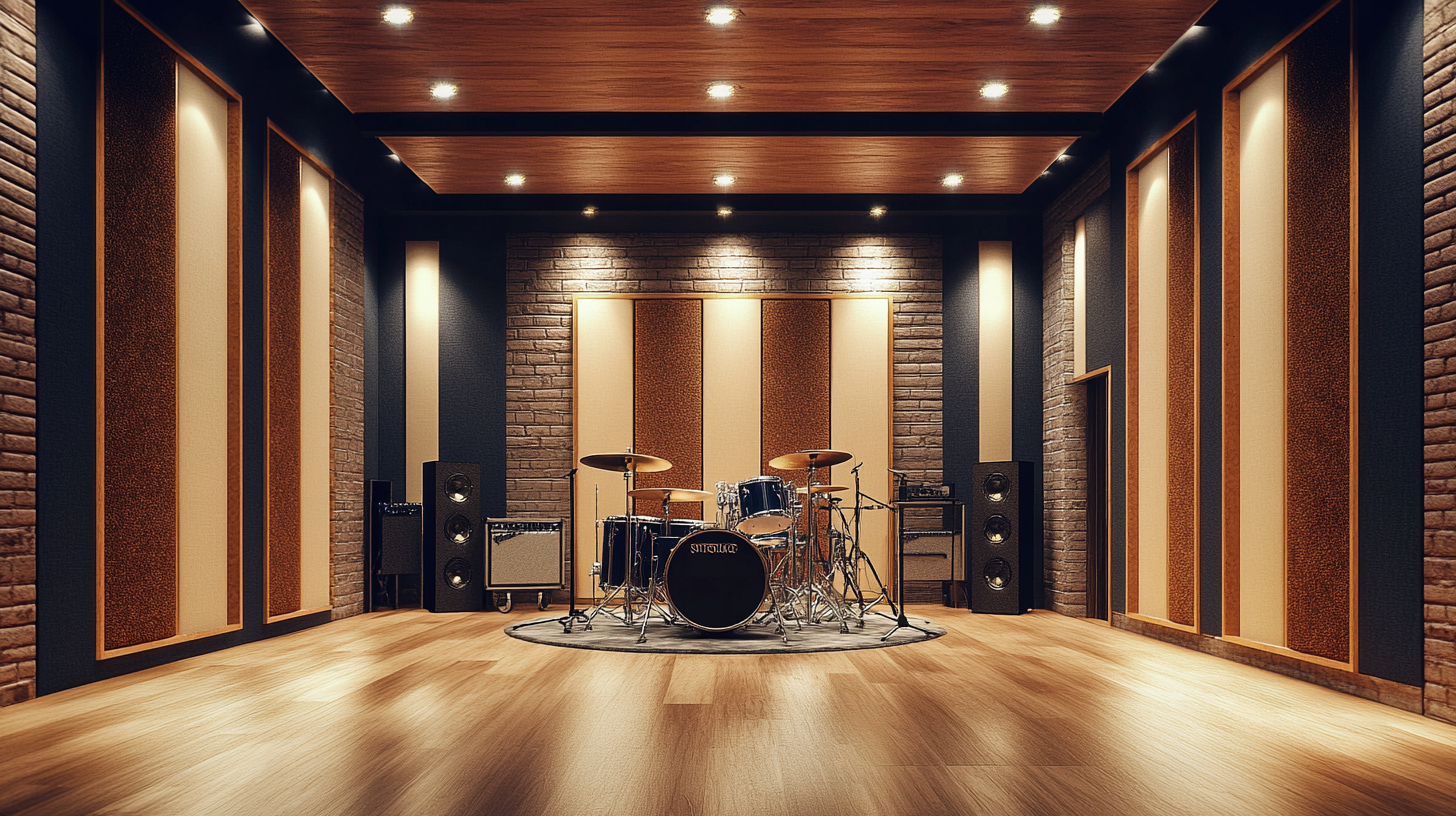
Soundproofing a music room is more demanding than soundproofing an office or bedroom because musical instruments generate both airborne noise and structural vibration simultaneously. A drum kit, guitar amplifier, or bass cabinet transfers energy directly into the floor and walls through physical contact - that vibration travels through the building structure and bypasses any mass-based barrier you install. Effective music room soundproofing requires treating both transmission paths in the correct sequence.
How Much Isolation Does Your Music Room Need
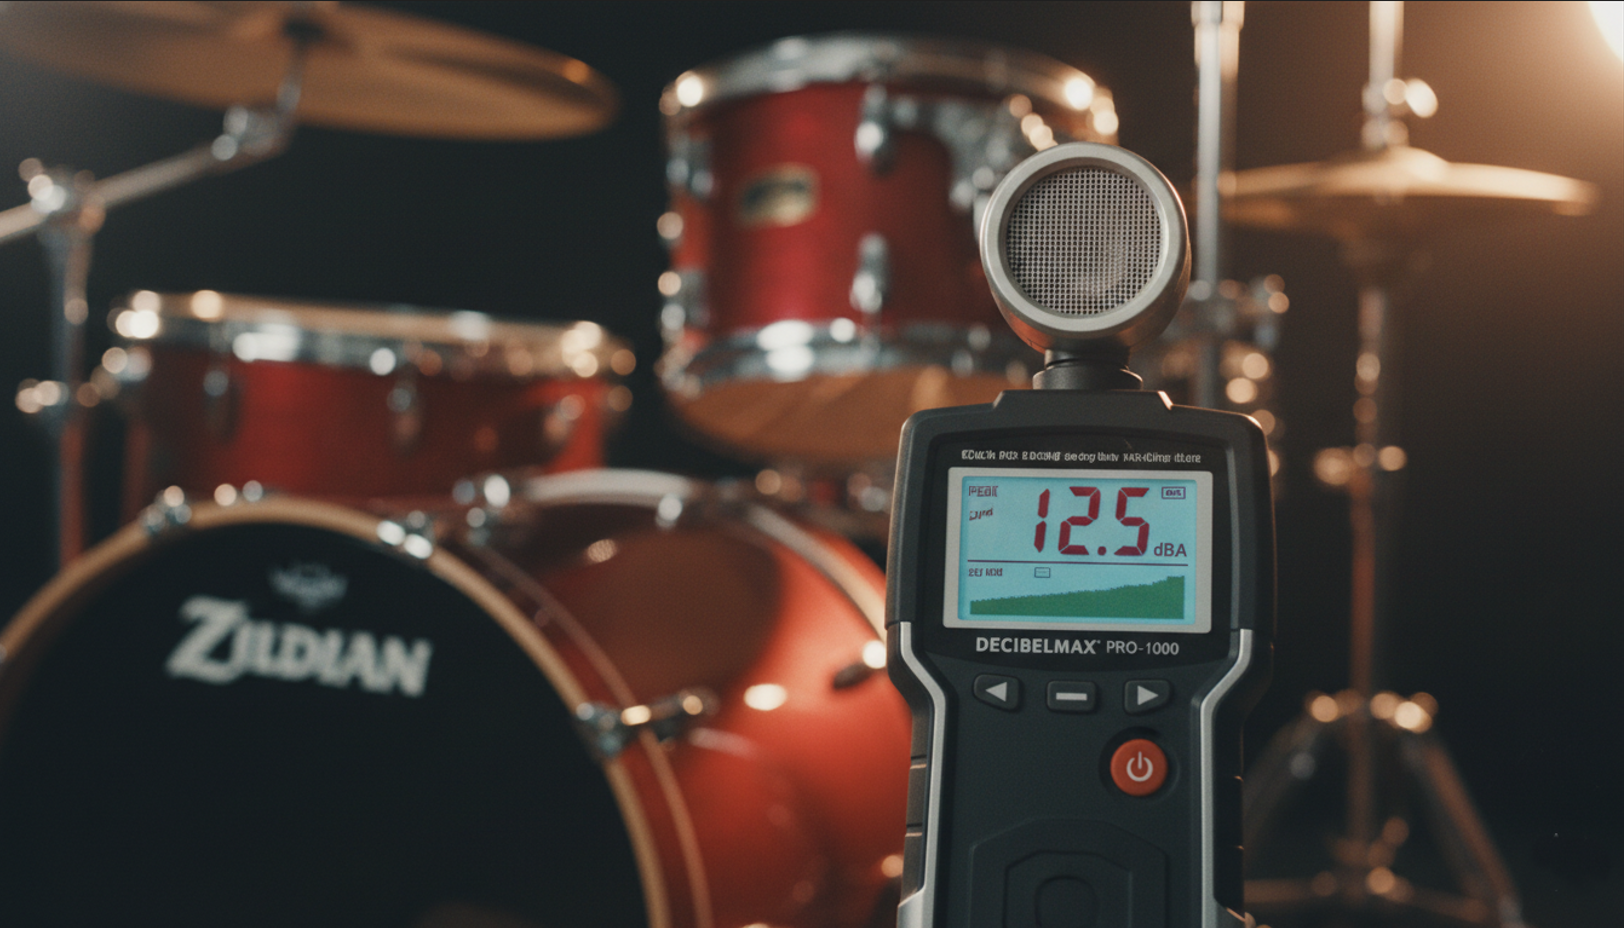
The required level of soundproofing is determined by the difference between the sound pressure level (SPL) of the loudest instrument and the acceptable noise level in the adjacent space. For a bedroom next door, the acceptable nighttime level is approximately 30-35 dB. For a living room during the day, it is approximately 45-50 dB.
|
Instrument |
Typical SPL at Source |
|
Acoustic drum kit |
100-130 dB |
|
Electric guitar with amplifier |
90-110 dB |
|
Bass amplifier |
95-115 dB |
|
Electronic keyboard / piano |
60-80 dB |
|
Acoustic guitar |
60-75 dB |
|
Vocals |
65-80 dB |
To achieve 35 dB in a bedroom next to a drummer playing at 110 dB, the wall assembly needs to reduce sound by 75 dB, which requires a composite STC rating of approximately STC 65 across the entire room envelope, including walls, floor, ceiling, door, and window.
This is why STC 45 - sufficient for office speech privacy - is not adequate for drums or high-wattage amplifiers. A music room for drums requires STC 60-65. A room used only for vocals and acoustic instruments can be built to STC 50-55. Electronic instruments through headphones require no soundproofing at all.
How to Soundproof a Music Room - 6 Steps

Each step addresses a distinct noise pathway. Complete Steps 1 through 4 before treating doors and windows in Step 5 - the weakest points last, once the strongest barriers are already in place.
Step 1 - Isolate the Instruments from the Structure
Instrument isolation is the first step and the one most often skipped - and the one that determines whether every other investment performs as expected.
A drum kit sitting directly on a concrete or wood subfloor transfers impact energy into the structure with every stroke. That vibration travels through floor joists, wall framing, and ceiling connections throughout the building, appearing as audible sound in rooms with no direct line of sight to the music room. No amount of wall insulation stops structure-borne vibration that bypasses the walls entirely through the framing.
Drum risers
Drum risers are platforms that decouple the kit from the subfloor using vibration-absorbing mounts. DIY risers use multiple layers of high-density rubber and plywood separated by isolation mounts or tennis balls - effective for moderate use. Professional isolation platforms use engineered rubber-steel mounts rated for specific load and frequency ranges and reduce low-frequency transmission by 15-25 dB. A proper drum riser is the single highest-return investment in a music room soundproofing project.
Amplifier isolation pads
Amplifier isolation pads placed under combo amps and speaker cabinets prevent direct floor coupling. High-density foam or rubber pads ($20-$80) reduce the structure-borne component of amplifier vibration without affecting sound quality.
Subwoofer decoupling platforms
Subwoofer decoupling platforms are essential for any room with a bass amplifier or PA subwoofer. These units produce frequencies below 80 Hz that travel through floors with minimal attenuation - a decoupling platform with a resonant frequency below 10 Hz is required to isolate them effectively.
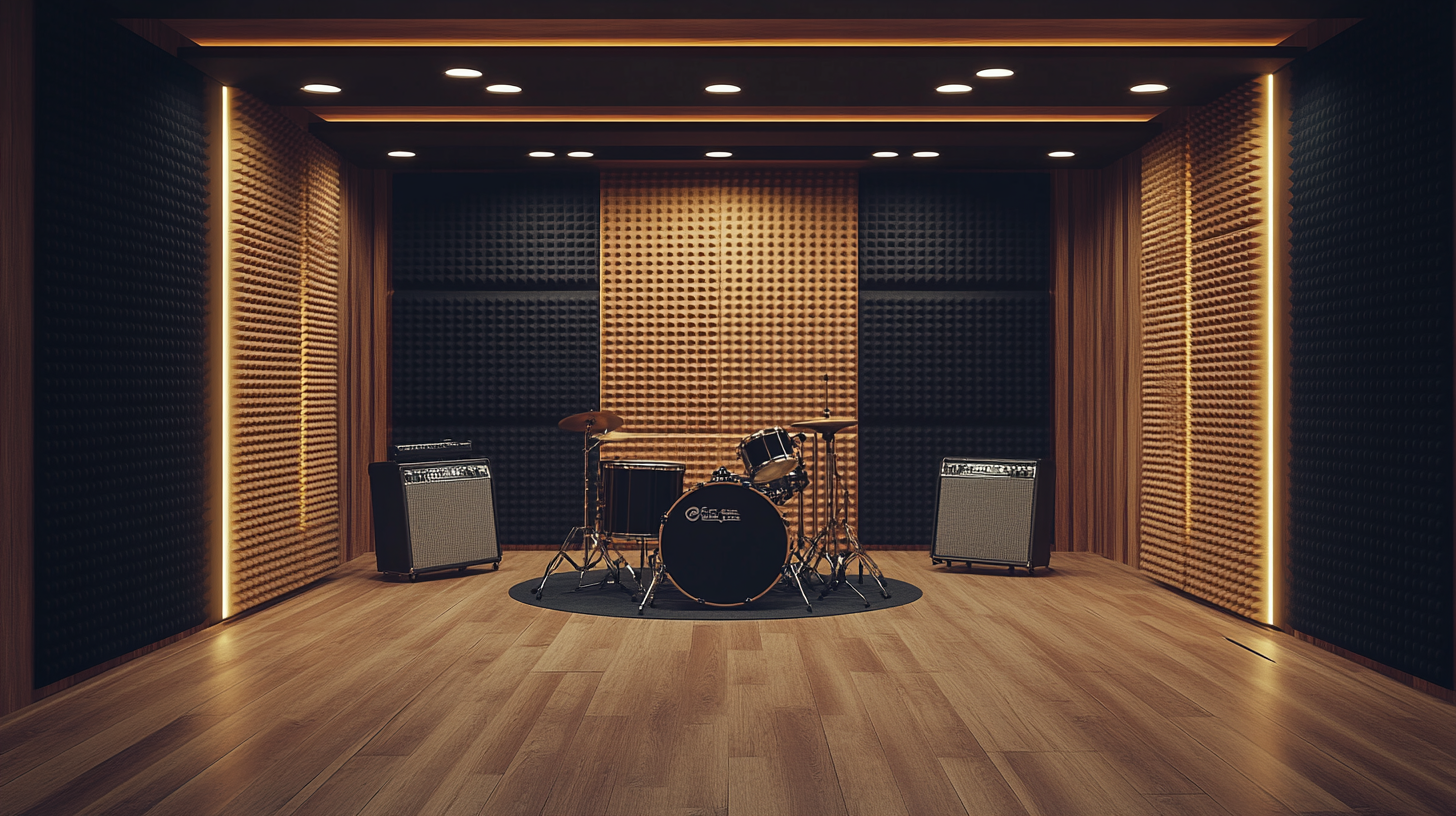
Step 2 - Soundproof the Walls
Walls in a music room must reach STC 55-65. Standard office-grade walls (STC 42-45) are not sufficient for amplified instruments. There are three build approaches - choose based on your instrument and budget: the first works for vocals and acoustic instruments, the second for amplified bands, and the third for drums at full volume.
Resilient channel + MLV + double gypsum (STC 52-55)
Add resilient channels to existing studs, apply Mass Loaded Vinyl (1 lb/sq ft) across the stud faces, then attach two layers of 5/8-inch Type X gypsum board with Green Glue damping compound between them. Green Glue is a viscoelastic compound applied between gypsum layers that converts sound energy to heat - it adds 3-5 STC points to any double-layer assembly. Seal all perimeter joints, outlets, and penetrations with acoustic sealant.
Double-stud wall (STC 60-65)
Two independent rows of studs with no shared framing, separated by a 1-inch air gap, each side drywalled with two layers of 5/8-inch gypsum and Green Glue between layers. Mineral wool insulation fills the cavity. This is the correct wall construction for a drum room. It requires 6-8 inches of additional floor space per wall.
Room within a room (STC 65+): Covered in Step 6.
Regardless of the build method, the wall is only as effective as its weakest point of penetration. Every electrical outlet on a shared wall requires an acoustic putty pad inside the box. Every pipe and conduit penetration requires acoustic sealant. A single unsealed 1/4-inch gap reduces an STC 60 wall to approximately STC 40 in effective performance.
Step 3 - Soundproof the Floor
The floor transmits two noise types simultaneously: airborne sound through the floor assembly (STC) and impact noise from instrument contact (IIC). For a music room, the drum riser in Step 1 handles the highest-energy impact source - the floor treatment handles everything else.
The critical rule before installation: the finished floor must not touch the walls at any point. A 1/4-inch perimeter isolation strip - a thin rubber or foam strip installed between the floating floor edge and the wall base - prevents the floor from transmitting vibration into the wall framing. Without it, the floor becomes a flanking path regardless of how well the underlayment performs.
A floating floor system is the standard approach: an acoustic underlayment layer installed beneath the finished floor surface, completely separated from the walls with the perimeter isolation strip. Products made from recycled rubber or composite MLV (such as FloorMuffler Ultra or Acoustimat) add 18-25 IIC points and 8-12 STC points to the assembly.
For a concrete slab subfloor, install a vapor barrier followed by the acoustic underlayment, then the finished floor - do not fasten the finished floor to the slab. For a wood subfloor, the same principle applies: underlayment must not be bridged to the joists by fasteners through the finished floor.
Step 4 - Soundproof the Ceiling
The ceiling is the most technically demanding surface in a music room because it must be fully decoupled from the structure above without rigid connections.
A decoupled ceiling on resilient clips is the correct approach for most music rooms. RSIC-1 clips mount to the existing ceiling joists and hold a furring channel that supports the new gypsum board assembly. The rubber isolators inside each clip break the rigid path between the gypsum and the framing, preventing vibration from transferring through the mechanical connection. This adds 8-15 STC points compared to a direct-attached ceiling.
The ceiling assembly, from structure to interior:
- RSIC-1 resilient clips mounted to existing joists
- Hat channel attached to the clips
- First layer of 5/8-inch Type X gypsum board
- Green Glue damping compound applied in a random pattern
- Second layer of 5/8-inch Type X gypsum board
- Mineral wool insulation filling the cavity above (not fiberglass - mineral wool provides 2-4 dB more attenuation at low frequencies)
The ceiling perimeter is the most common failure point. The new ceiling assembly must not touch the walls - leave a 1/4-inch gap and fill it with acoustic sealant. If the ceiling is mechanically connected to the walls at any point, vibration bypasses the clips entirely.
Step 5 - Soundproof Doors and Windows
A door or window with STC 26-32 embedded in a wall with STC 60 reduces the composite room STC to approximately STC 28-32. The weakest surface controls the overall result.
Doors
A hollow-core door (STC 26-28) must be replaced as a minimum. A solid-core door with compression gaskets on all four sides and an automatic door bottom achieves STC 42-45 - adequate for keyboards and acoustic instruments but not for drums. An acoustic door assembly (STC 50-55) from manufacturers such as Krieger or ASSA ABLOY is the correct solution for drum rooms. A double-door vestibule - two independent door assemblies with a 3-6 foot airlock between them - achieves STC 55-65 and is standard in professional recording studios.
Windows
Secondary glazing - an independent pane mounted 4-8 inches inside the existing window on a separate frame - raises the assembly from STC 28-32 to STC 44-48 without replacing the original window. For higher performance, a laminated glass secondary pane with asymmetric thicknesses (e.g., 1/4-inch + 3/8-inch) reduces the coincidence dip that causes standard glass to underperform at mid-frequencies. All window frame gaps must be sealed with silicone acoustic sealant before any glazing upgrade.
Step 6 - Room Within a Room
A room within a room is an independently built interior box - floor, walls, and ceiling - with no rigid connection to the outer building structure. Every surface of the inner room floats on vibration mounts, creating complete decoupling from the outer room.
This construction achieves STC 65-80 and is the only method that reliably isolates a full drum kit played at high volume from adjacent living spaces in a residential building. It is justified when the instrument SPL regularly exceeds 100 dB and adjacent spaces require nighttime quiet.
The wide cost range - $5,000 to $50,000 - reflects three variables: room size, target STC, and whether the build is DIY or professionally contracted. A small DIY room (100 sq ft, target STC 65) built with engineered isolation mounts and double-stud construction runs $5,000-$15,000 in materials. A professionally built room (200+ sq ft, target STC 75+) with certified STC-rated assemblies runs $25,000-$50,000. For electronic kits, keyboards, and acoustic guitars - where the room only needs STC 50-55 - Steps 1-5 are sufficient, and a room within a room is unnecessary.
Acoustic Treatment Inside the Room
Soundproofing keeps sound from leaving the room. Acoustic treatment controls how sound behaves inside it. A fully soundproofed room with no acoustic treatment sounds acoustically dead, flat, lifeless, and fatiguing to play in for extended sessions.
Target RT60 by Room Type
RT60 is the time it takes for sound to decay by 60 dB after the source stops - the standard measure of how "live" or "dead" a room sounds. A rehearsal room sounds best with RT60 of 0.3-0.5 seconds: enough liveliness for instruments to blend naturally. A recording room for tracking vocals and acoustic instruments performs best at RT60 of 0.2-0.3 seconds. A room treated only with absorption panels and no diffusion often falls below 0.2 seconds and sounds uncomfortably dry.
Bass Traps
Bass traps are installed floor-to-ceiling in all four vertical corners and the ceiling corners absorb low-frequency energy that accumulates due to room mode buildup. For a music room, 4-inch thick mineral wool or rigid fiberglass panels (NRC 0.95+) in the corners are the highest-priority acoustic treatment item.
Acoustic Panels
Acoustic panels on the first reflection points - side walls at instrument height and the ceiling above the playing position - absorb mid and high-frequency reflections that cause comb filtering and reduce clarity. A typical music room of 200-300 sq ft benefits from 20-30% wall coverage with panels rated NRC 0.8 or higher.
Diffusers
Diffusers on the rear wall scatter reflections rather than absorbing them, maintaining liveliness and preventing the room from feeling dead. Quadratic residue diffusers (QRD) or wooden skyline diffusers provide effective scattering for rooms 12 feet or wider.
Where to Start and What to Expect
Every music room soundproofing project follows the same sequence regardless of budget: isolate the instruments from the structure first, then treat the surfaces, then address doors and windows last. Reversing that order - buying acoustic panels before sealing the door, or treating walls before putting the drum kit on a riser - means the most expensive investments underperform because the easiest problems were never fixed.
A room built to Steps 1-5 with double-stud walls and an acoustic door assembly will contain a full band rehearsal to a level inaudible in adjacent rooms at normal conversational distance. A room built to Steps 1-4 with a standard solid-core door will reduce a drum kit from clearly audible to a low background presence in the next room. Both outcomes are achievable in a residential space without room-within-a-room construction - the difference is the door, and the door is the last thing most people think to treat.
Recent posts


