
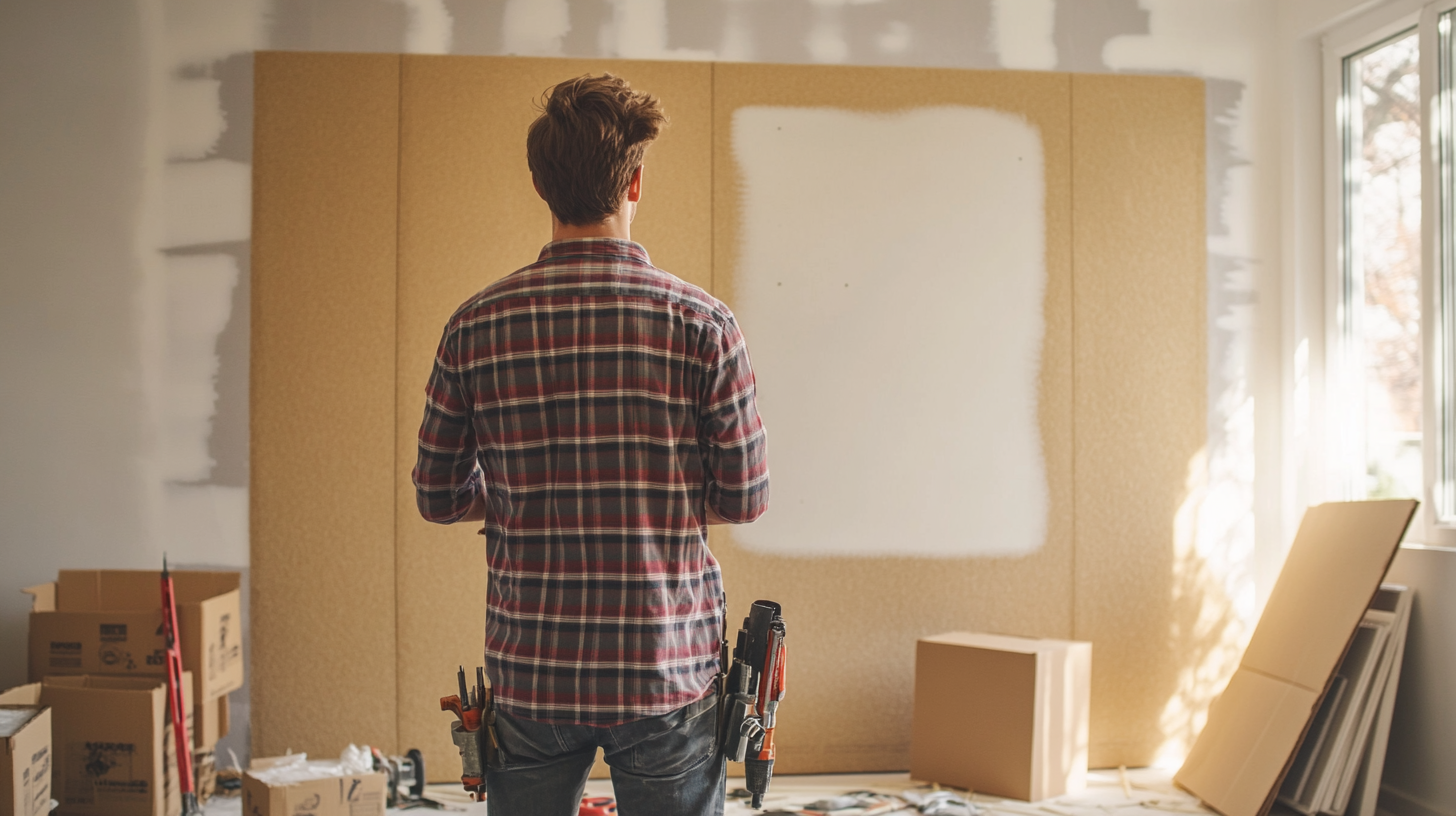
Green Glue Noiseproofing Compound goes between two rigid layers of building material, such as two sheets of drywall. You spread it across the back of the second layer, press that layer into position, and screw it to the framing within 15 minutes while the compound is still wet. Sealing the panel edges afterward preserves the result. This guide walks through the full application process for both tubes and 5-gallon pails. If you are new to the product, start with what Green Glue is and how it works.
What You'll Need
Applying Green Glue takes the compound itself plus a few standard tools most people already own.
- Green Glue Compound, sold in 28 oz tubes or 5-gallon pails
- A caulking gun (a standard 32 oz gun for tubes) or a bulk dispensing gun for pails
- A second rigid layer: drywall, plywood, OSB, or MDF at least 1/2 inch thick
- Drywall screws: 1-1/4 inch for the first layer, 1-5/8 or 1-7/8 inch for the second
- Acoustical sealant for the perimeter and penetrations
- A utility knife to open tube nozzles
- A bucket of water to keep the gun clean between panels
At least one of the two rigid layers must be moisture-permeable, such as unpainted drywall, so the compound can cure properly.
How Much Green Glue You Need (Coverage)
Apply two tubes of Green Glue per 4-by-8-foot sheet of drywall, which equals one tube per 16 square feet of surface area.
Three tubes per sheet mark the maximum useful density. The performance gain past two tubes is small, and going beyond three tubes makes the layer too thick, which lowers its damping ability. For most walls, two tubes per sheet give the best balance of cost and result.
A 5-gallon pail holds roughly 23 tubes' worth of compound and covers about 365 square feet, close to 11 sheets of 4-by-8 drywall. A case of 12 tubes covers about 192 square feet, or six sheets. Both formats use the same two-tubes-per-sheet rate.
How to Apply Green Glue Compound - Step-by-Step
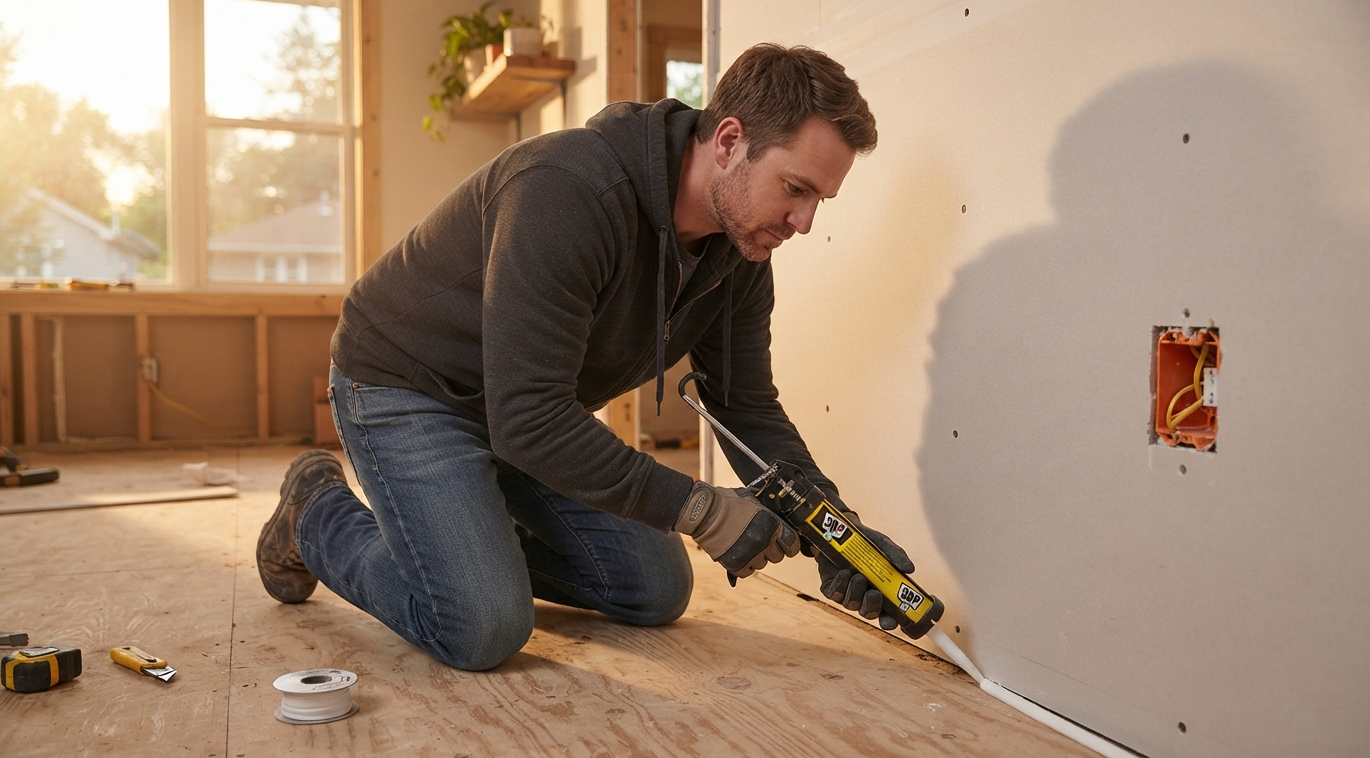
Lay the second layer of drywall flat or lean it against a wall before you begin, so you can reach the back surface with the gun.
Step 1 - Load the Gun
For tubes, cut a 1/4 inch hole in the tip, screw on the nozzle, cut the nozzle opening, and drop the tube into a 32 oz caulking gun. For pails, prime the bulk dispenser with water or WD-40 until it draws and releases smoothly, then fill the reservoir with compound.
Step 2 - Apply in a Random Pattern
Cover the whole back of the panel with squiggles or lines, leaving a 2 to 3 inch border around the edges so you can handle the board. Even distribution matters more than the exact pattern.
Step 3 - Mount the Panel Immediately
Lift the drywall against the first layer and set it correctly on the first try. Do not slide it once it makes contact, since sliding smears the compound and thins the damping film.
Step 4 - Fasten Within 15 Minutes
Screw the panel to the framing using the same screw pattern as the first layer, with 1-5/8 or 1-7/8 inch screws. The compound has to compress between the layers to work, so finish fastening before it starts to set.
Step 5 - Stagger the Seams
Offset the joints of the second layer from those of the first, which lets you seal the assembly later without caulking the first layer.
Applying Green Glue from Tubes vs Pails
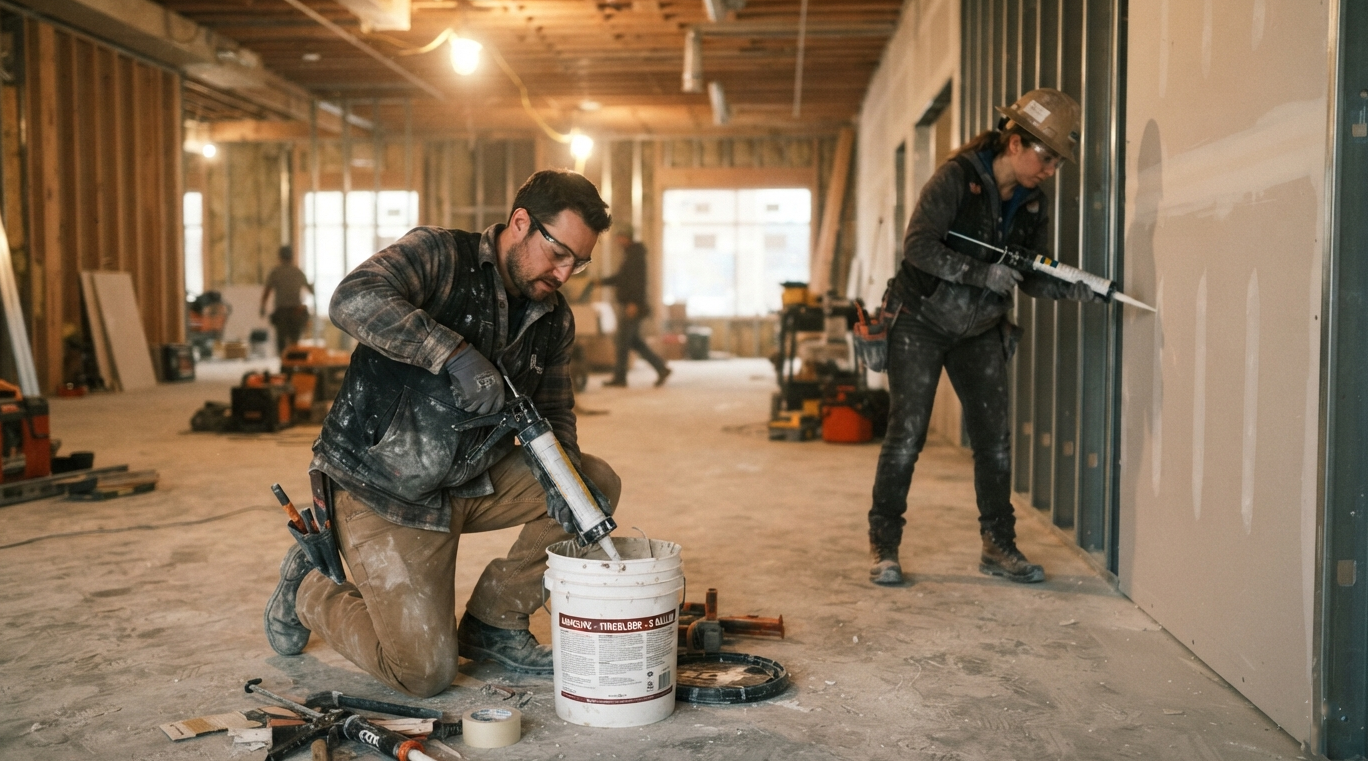
Tubes suit projects under about 700 square feet, while 5-gallon pails lower the cost per square foot on larger jobs.
With tubes, you cut the nozzle, load it into a 32-oz caulking gun, and dispense straight onto the panel. A case of 12 tubes covers roughly six sheets, so tubes work well for a single room or a small assembly.
With a pail, insert the dispensing gun's cone tip about 2 inches into the compound and draw back the plunger to fill the reservoir. Keep the barrel of the gun from touching the compound to limit mess, and prime the dispenser with water or WD-40 beforehand.
Green Glue cures slowly while wet, so you can leave the dispensing gun submerged in a bucket of water between panels, or even for several days, without it hardening.
Sealing the Edges After Installation
Unsealed gaps around a panel let sound leak through and undercut the damping work, so seal the perimeter and every penetration once the drywall is up.
Run a bead of acoustical sealant around the edge of the finished layer and around outlets, switch boxes, and any pipe or duct openings. Because you staggered the second-layer seams, the sealant closes the assembly without any need to caulk the first layer. For a full breakdown of how acoustical sealant blocks sound leaks, see our dedicated guide.
Acoustical sealant stays permanently flexible and holds airborne sound at joints. You can find compatible products in our acoustical sealants selection.
Curing and Finishing the Wall
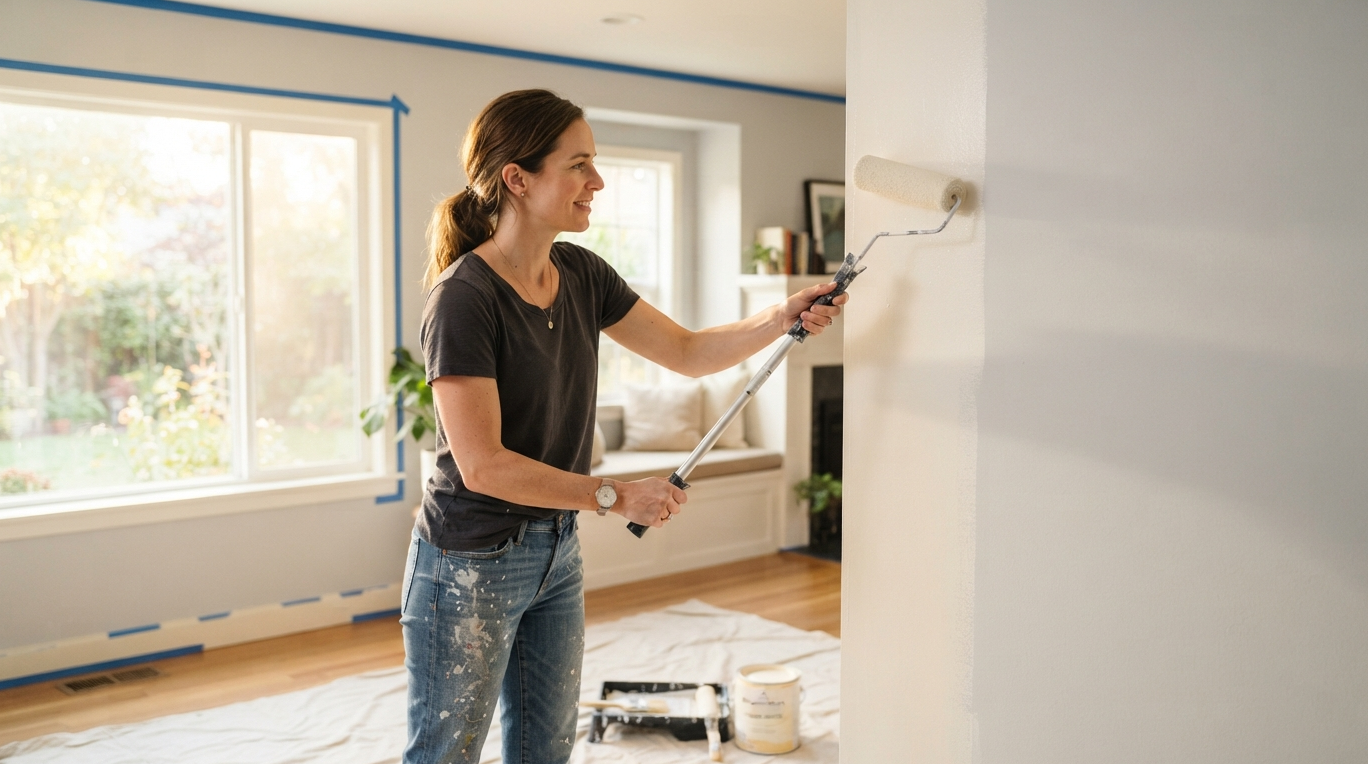
Finish the top layer of drywall the same way as any wall: tape the joints, apply joint compound, sand, and paint.
Green Glue reaches full damping performance after about 30 days as it cures, so the soundproofing continues to improve for weeks after installation. For the mechanism behind this, see how Green Glue's damping works.
The compound needs no special treatment during finishing. It stays hidden and tacky between the panels and requires no drying time before you close up the wall.
Common Green Glue Application Mistakes
The most common mistake is sliding the top panel after it touches the first layer, which smears the compound and thins the damping film. Set each panel in its final position on the first try.
Timing errors come next. If you fasten too late and miss the 15-minute window, the compound starts to set and cannot compress evenly between the layers. Coverage errors matter just as much: less than two tubes per sheet weakens damping, especially at low frequencies, while more than three tubes builds a layer thick enough to stiffen and reduce performance.
Two finishing mistakes quietly cost you results. Skipping the perimeter seal leaves open gaps at the edges that let sound bypass the damped panel. Treating Green Glue as an adhesive causes the same kind of failure, since it never dries hard and the panel still needs screws both to hold it in place and to compress the compound.
Packing the compound into wall cavities does nothing at all. Green Glue only works when pressed between two rigid layers, so it has no effect when sprayed onto framing or stuffed into a gap.
Recent posts


