
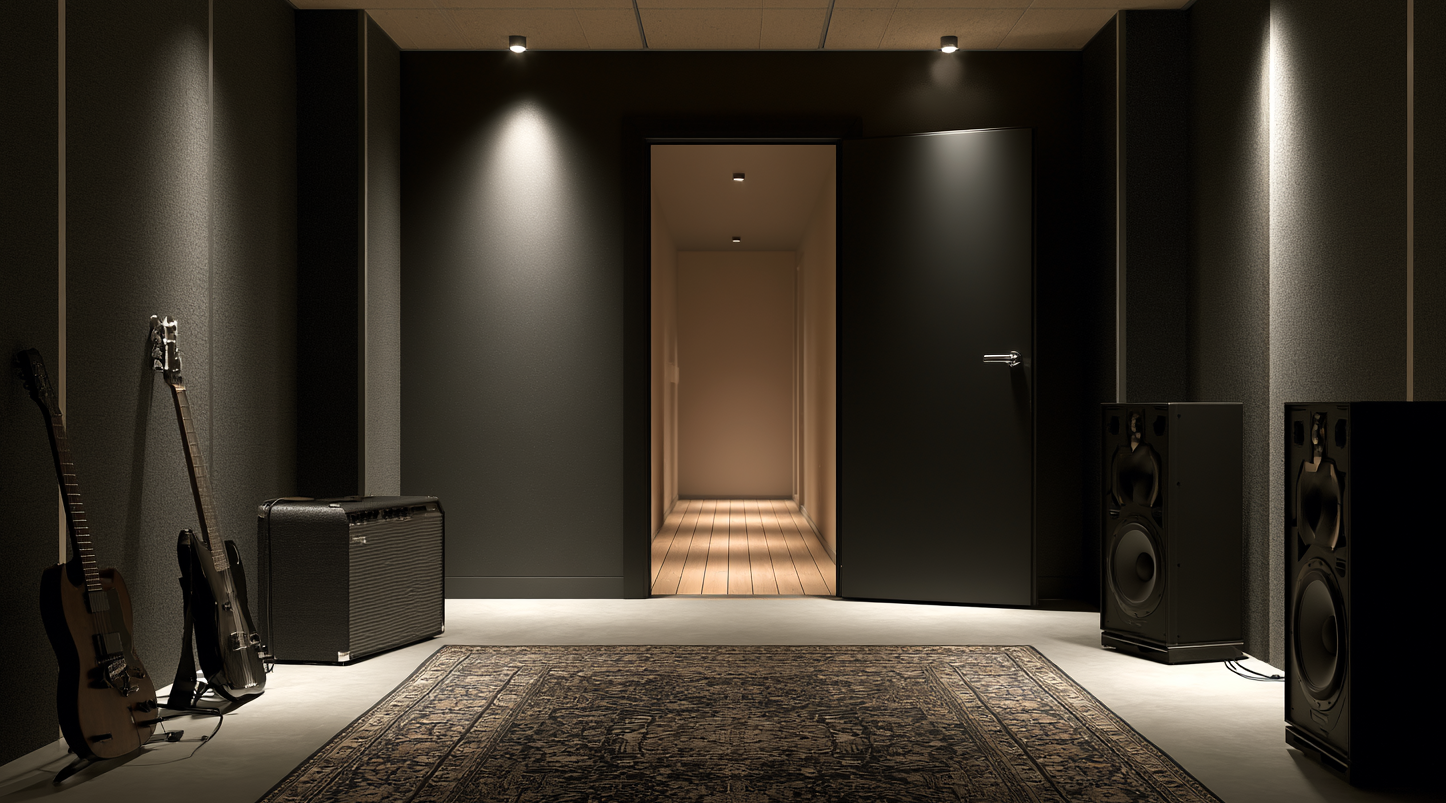
Containing sound inside a room comes down to four actions: closing the air paths, adding mass to the surfaces, breaking the vibration path through the structure, and quieting the source itself. Skipping any one of them puts a ceiling on what the others can achieve.
What It Takes to Keep Sound Inside a Room
A room contains sound only as well as its weakest surface allows. Six planes enclose the space, and treating five of them beautifully while leaving the sixth alone produces almost no measurable improvement.
In most homes the weak surface is the door. A hollow core door performs somewhere around STC 15 to 20 against roughly STC 33 to 34 for the standard wall it sits in, and the gap underneath it moves air freely in both directions.
Field results also fall short of published figures. Laboratory ratings assume perfect sealing and no flanking, and real rooms typically land five to ten points lower.
Decide What You Are Containing
Speech and music set different targets, and confusing them wastes money in both directions.
For conversation privacy, a home office or a therapy room, the useful range sits around STC 45 to 50. At that level normal speech stops being intelligible through the wall and raised voices become muffled.
For music, drums, home theatre or anything with real bass, the target moves to STC 55 and above, and full containment of a drum kit belongs above 60. Reaching that in an existing room usually means construction rather than sealing.
One caution applies to every published number. STC measures between 125 Hz and 4000 Hz, so the bass from a subwoofer, a kick drum or a bass amp falls outside what the rating describes.
Find the Leaks Before You Buy Anything
Locate the actual paths before spending on materials, because the result depends far more on where the work goes than on which product goes there.
Put a speaker in the room playing something with steady content at a realistic volume, close the door, and walk the perimeter outside with someone else adjusting the level. Listen at each of these points:
- The gap under the door and along its jambs
- Electrical outlets and switch plates on shared walls
- Supply and return air vents
- The joint where the wall meets the ceiling
- Window frames and any trim gaps
- The floor at the base of the wall
Sound will be noticeably louder at one or two of these than everywhere else. Those are the places worth your first dollar.
Seal Every Air Path
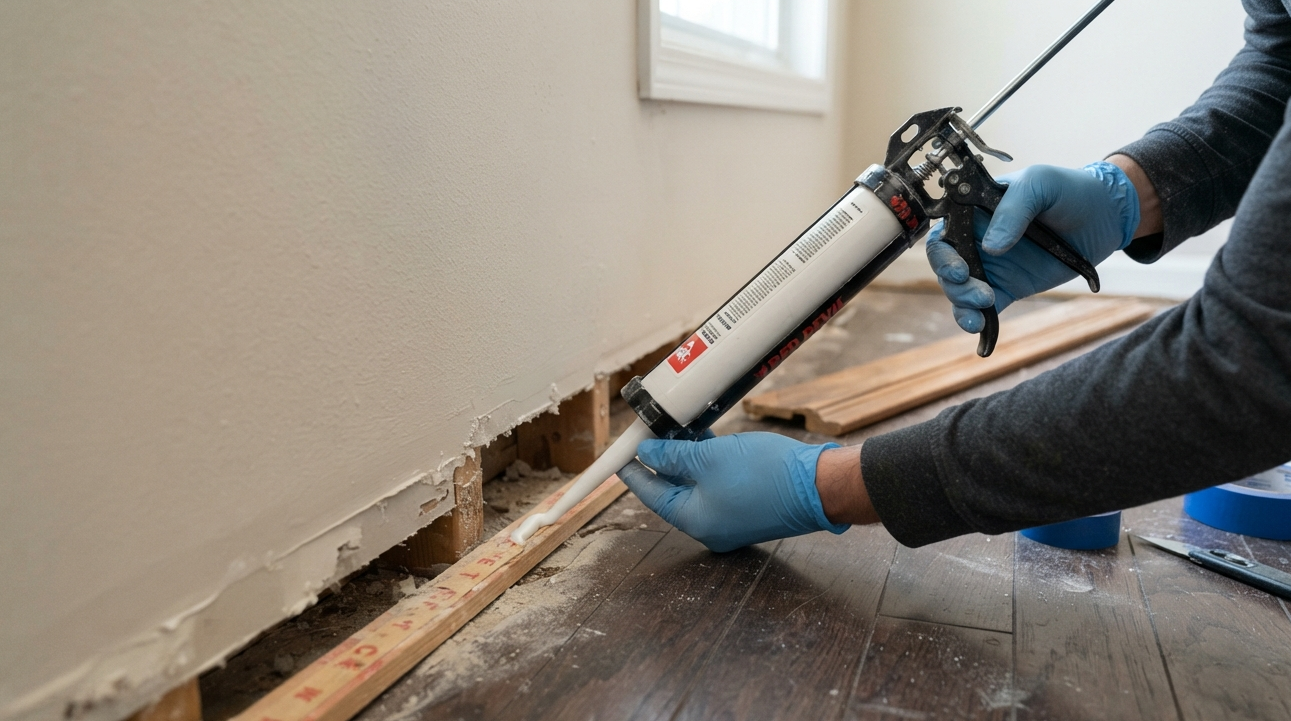
Air and sound travel through the same openings, which makes sealing the cheapest available improvement and the step most often skipped.
Use a non hardening acoustical sealant at the perimeter joints, around pipe and cable penetrations, and at the base of the wall behind the trim. Standard silicone caulk cures rigid and cracks as the building moves.
Electrical boxes on shared walls take putty pads behind the plate. Boxes installed back to back in the same stud bay leak badly, and offsetting one of them into an adjacent bay solves the problem permanently.
Leave intentional ventilation openings alone while you work. The next two sections cover why.
The Door and the Windows
The door leaks more than anything else in a typical room, and upgrading it changes the result faster than any wall treatment.
A solid core slab moves the door from roughly STC 15 to 20 up to around 30 to 35, and the swap costs a fraction of what a wall build does. Fit perimeter door seals on the jambs and head, then an automatic drop seal or a threshold at the bottom. A sealed hollow door still beats an unsealed solid one in many rooms, so start with the seals if the budget is tight.
Windows leak through the frame perimeter more often than through the glass. Sealing the frame costs very little. An interior storm panel or a removable acoustic plug adds real mass over the opening, and neither requires replacing the window.
HVAC and Ventilation
Shared ductwork connects rooms acoustically no matter how well the walls perform. A supply and a return opening in the same duct run carry speech between rooms with almost no loss.
Options without redesigning the system include lining the nearest duct section, fitting a lined plenum box behind the register, or adding a length of flexible duct with bends to break the straight path. A ducted system serving several rooms usually needs an HVAC professional to modify safely.
Sealing a room you occupy for hours has a limit. Fresh air has to reach the space, so plan how it gets in before you close everything else off, and never seal a room containing a fuel burning appliance.
Reduce the Sound at the Source
Less sound entering the walls means less sound leaving the room, and this is the cheapest lever available.
Vibration travelling into the structure bypasses every air seal you install. Isolation pads under studio monitors, a riser under a drum kit, and rubber feet under an amplifier interrupt that path at the point where it starts.
Placement matters as much as isolation. Moving a speaker cabinet or amplifier off the shared wall and angling it toward the interior of the room reduces what reaches the neighbouring space. A guitar amp facing a party wall is a loudspeaker aimed at your neighbour.
Practical substitutions do more than most materials. An electronic kit, headphone monitoring, a load box for a tube amp, or simply rehearsing at a lower level often solves the complaint that started the project.
Adding Mass and Decoupling to the Walls
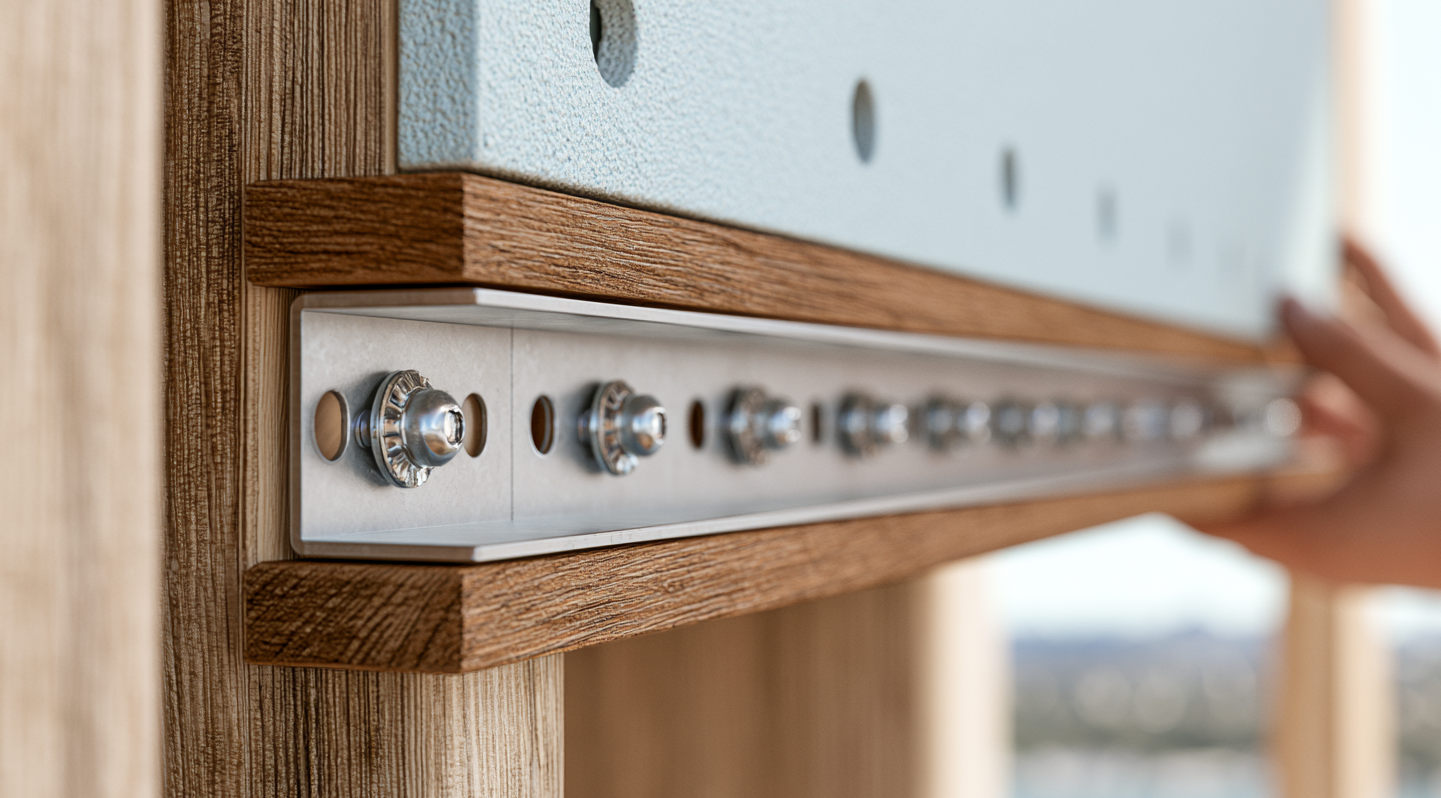
Three approaches exist, and they differ in depth, cost and result.
A second layer of 5/8 inch drywall with a damping compound such as Green Glue spread between the layers costs about five eighths of an inch of room depth. The compound runs near a dollar per square foot in materials and does most of the work in this option, because two boards screwed together without it vibrate as a single stiffer board.
Mass loaded vinyl adds roughly the weight of another drywall layer in about an eighth of an inch, which suits rooms where depth is scarce. SONOpan offers a lighter route under a drywall face.
Resilient isolation clips carrying hat channel deliver the largest gain from a single wall. The drywall attaches to the channel and never touches the framing, which interrupts the vibration path that carries low frequencies straight through. Budget roughly three inches of depth per treated wall, and expect published assemblies in this configuration to land in the low to mid fifties.
Adding one board directly into the studs is the option that disappoints people. The mass goes up modestly, the vibration path stays intact, and the improvement rarely justifies the labour.
The Ceiling and the Floor
Sound leaves upward and downward as readily as sideways, and apartments lose most of it through the floor.
Above the room, the treatment mirrors the walls: clips and channel with a new drywall layer, at a cost of two to three inches of headroom. A wall built up to the ceiling line while the cavity above it runs continuous over the top leaves an open path regardless of what the wall itself achieves.
Below the room, impact energy travels through the structure directly. Carpet with a pad, an acoustic underlayment, or rubber matting under equipment stops it at the point of entry, and nothing added to a ceiling below fully compensates for skipping this.
If You Rent or Cannot Build
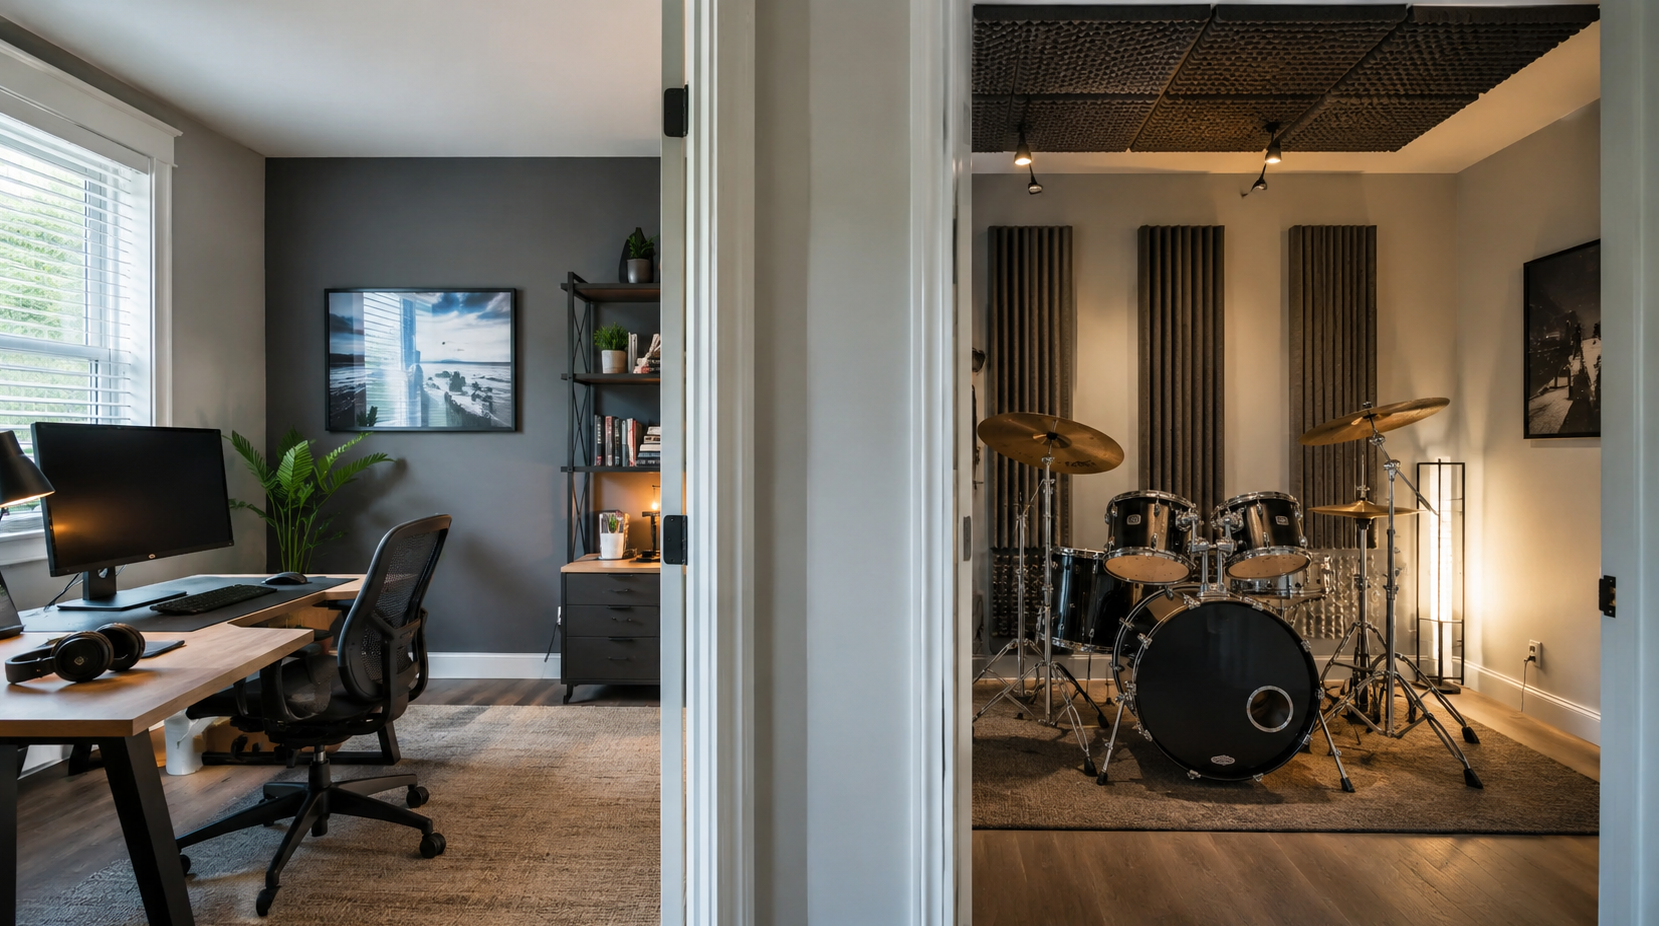
A reversible set of measures exists, and it delivers real improvement for speech while falling well short for music.
- Removable adhesive perimeter seals on the door frame, plus a slide on door sweep that requires no drilling
- Heavy furniture, bookcases packed with books, or a wardrobe against the shared wall
- Carpet with a dense pad, or large rugs over a hard floor
- A removable window plug cut to friction fit inside the reveal
- Foam gaskets behind outlet and switch plates, which come out at move out
- Equipment moved off shared walls and lifted onto isolation pads
Acoustic curtains belong in this list with a caveat. Hung across a window or a doorway they add a modest amount of mass and reduce the reflections that make a room loud in the first place, and they will not turn a party wall into a barrier.
Set expectations accordingly. This tier softens speech and takes the edge off a television. Drums and a subwoofer will still travel.
Where to Spend First
Match the spending to the target you set earlier, since the sequences differ. Each tier assumes the one above it is already done.
|
Budget |
What it covers |
Works against |
Construction needed |
|
Under $400 |
Door seals and a bottom seal, sealed outlets and penetrations, source moved off shared walls onto isolation pads |
Speech |
No |
|
$800 to $2,500 |
Solid core door, window plug or insert, duct treatment, second layer of 5/8 inch drywall with damping compound on the shared walls |
Speech and moderate music |
Yes |
|
$3,000 and up |
Clips and hat channel with double drywall on walls and ceiling, treated floor, sealed throughout |
Music and drums |
Yes, significant |
The first tier resolves more complaints than its price suggests, because most rooms leak through openings rather than through wall mass. Move to the third tier only when the source is genuinely loud, since the depth it consumes is permanent. Our breakdown of what soundproofing costs covers the individual line items.
Planning the Room
Work in order: identify the target, find the leaks, seal them, quiet the source, then add mass and decoupling where the sound still gets out. Reversing that sequence usually means redoing part of it.
If you want the room reviewed before buying materials, our team can look at your layout, the source and the surfaces it shares, and say which steps will pay back. Browse the sound isolation materials we supply, or call +1-888-661-7233, Monday through Friday, 8am to 4pm EST.
Recent posts


