
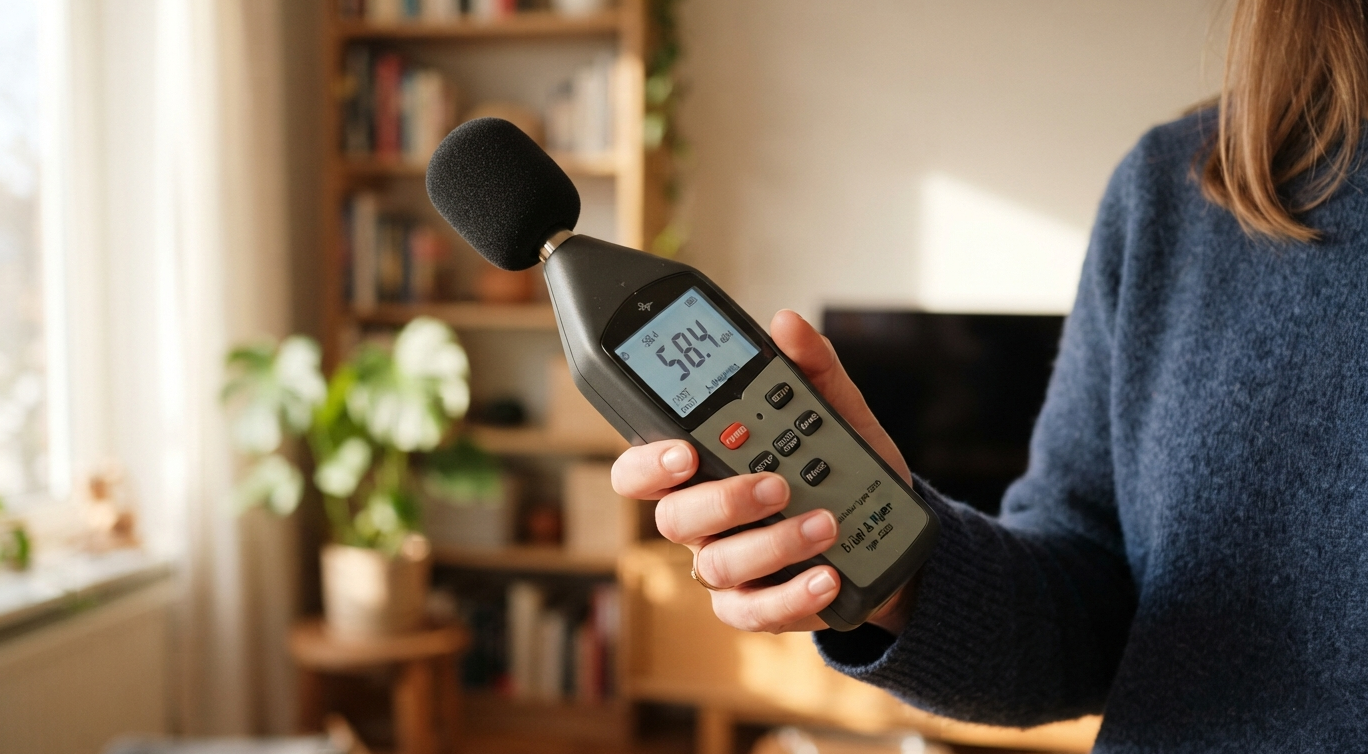
An SPL meter, short for sound pressure level meter, is a device that measures how loud sound is and shows the result in decibels (dB). It uses a calibrated microphone to measure the pressure of sound waves in the air, turning loudness into an objective number rather than a guess. The same tool is often called a sound level meter.
What Is an SPL Meter?
An SPL meter is a handheld or mounted instrument that measures sound pressure level, the physical strength of a sound, and displays it in decibels.
The letters stand for sound pressure level, which is why the readings appear on a decibel scale. A quiet library reads around 40 dB, a normal conversation around 60 dB, and a loud concert can pass 110 dB.
People use the term interchangeably with sound level meter. Both describe the same class of device: a microphone, processing circuitry, and a display that reports how loud the sound is at that spot.
What Does an SPL Meter Measure (and How)?
An SPL meter measures sound pressure level in decibels, referenced to the quietest sound a healthy human ear can detect.
That reference point is a pressure of 20 micropascals, which the scale treats as 0 dB. Each reading above it indicates how much stronger the measured sound is than the hearing threshold. Most meters cover a range from about 30 dB up to 130 dB, which spans a whisper to the threshold of pain.
The device works in a straight line from sound to number. The calibrated microphone converts air-pressure changes into an electrical signal; the circuitry applies your chosen settings; and the display shows the level in decibels.
One limit is worth knowing upfront. An SPL meter measures only the level, so it tells you how loud a sound is but nothing about its tone, pitch, or quality.
Key SPL Meter Settings - Weighting and Response
Two settings shape what an SPL meter reports: frequency weighting and response speed.
Frequency weighting determines how the meter responds to different pitches. A-weighting reduces the low frequencies to match how the human ear actually hears, and it is the standard for noise rules and hearing safety, shown as dBA. C-weighting keeps the low end almost intact, which suits measuring bass-heavy sound and loud peaks, shown as dBC.
Response speed sets how quickly the reading reacts. Fast response follows short bursts and sudden peaks, while slow response averages the sound over a moment to give a steadier number that is easier to read in changing noise.
Choosing the pair depends on the job. Hearing-safety checks usually use A-weighting on slow, while measuring the punch of a subwoofer calls for C-weighting.
What Is an SPL Meter Used For?
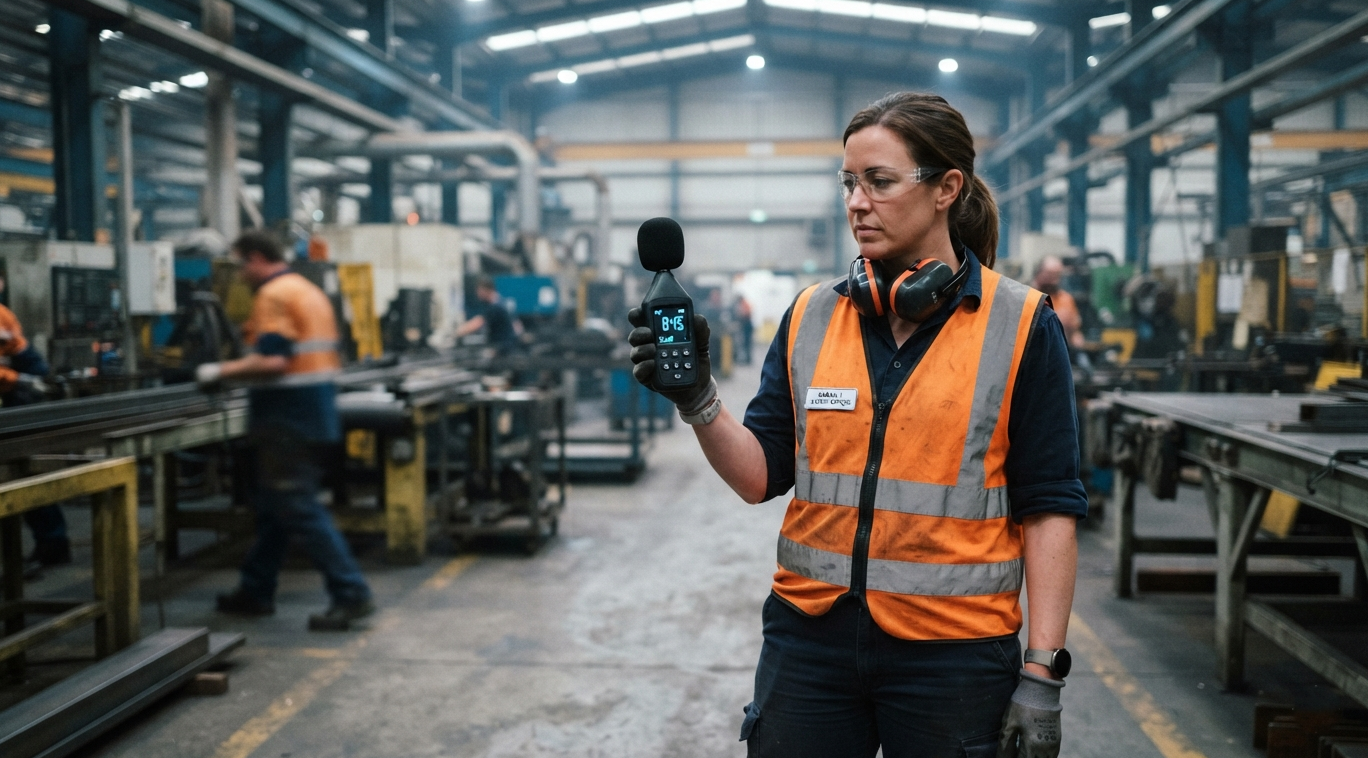
SPL meters put a number on loudness in any setting where sound level matters.
Workplace and hearing safety is the most regulated use. Agencies like OSHA and NIOSH set exposure limits, where 85 dBA is safe for about 8 hours, and every 3 dB increase roughly halves the safe time, so a meter shows whether an environment is within those limits.
Live sound and events rely on SPL meters to keep concerts and venues below legal and safe levels. Home theater owners use them to calibrate each speaker to the same level for balanced surround sound.
They also settle noise questions. You can document a neighbor or workplace noise complaint with real readings, measure environmental noise, or check the drop after adding soundproofing, such as Green Glue compound, by reading the level before and after the work.
Types of SPL Meters
SPL meters range from free phone apps to precision laboratory instruments.
Smartphone apps are the most accessible option and work for a rough idea of loudness, though the phone's built-in microphone is not calibrated, so the numbers drift and should not be used for anything official. Dedicated handheld meters cost more and give reliable, repeatable readings.
Professional meters are graded by accuracy. Class 1 meters are precision instruments used for legal and scientific measurement, while Class 2 meters are general-purpose tools accurate enough for most live sound, workplace, and home use. Both types need periodic calibration to stay accurate.
How to Read an SPL Meter
To read an SPL meter, set the weighting and response for your task, hold the microphone at ear height pointed toward the sound, and watch the trend rather than a single jumpy number.
Keep the meter away from your body and hard surfaces that reflect sound, since both skew the reading. Take the measurement over several seconds and note the average level, because sound rarely holds perfectly steady.
The table below provides common reference levels to help interpret a reading.
|
Sound |
Approximate level |
|
Whisper |
30 dB |
|
Normal conversation |
60 dB |
|
City traffic |
85 dB |
|
Live concert |
110 dB |
|
Threshold of pain |
130 dB |
SPL Meters at a Glance
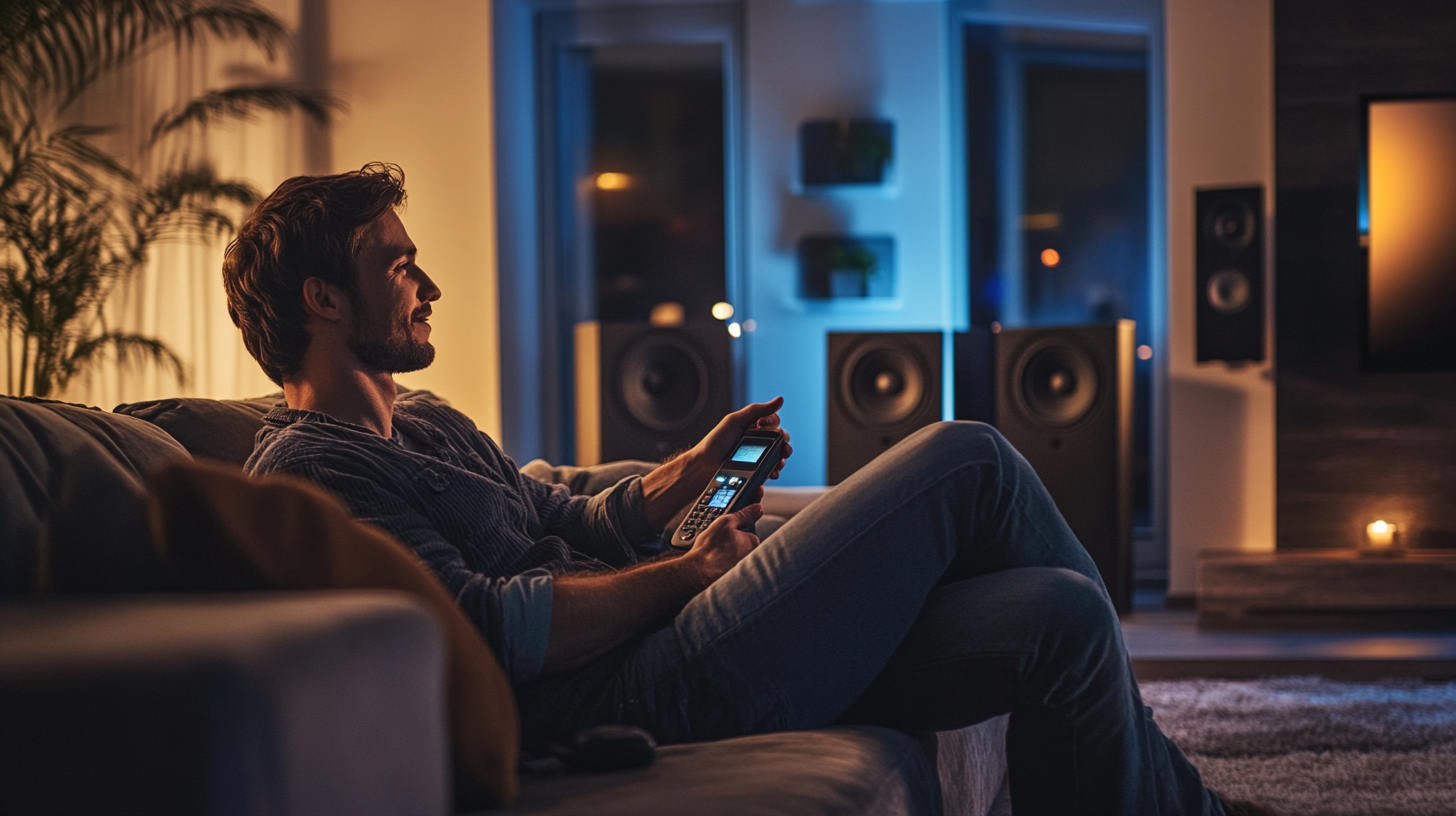
An SPL meter turns loudness into a number you can act on, which is why it shows up everywhere from concert stages to factory floors to living rooms. At its core, it does one thing well: it reads sound pressure through a calibrated microphone and reports the level in decibels.
For most people, a Class 2 handheld meter set to A-weighting covers hearing-safety and general noise checks, while C-weighting handles bass-heavy sound and speaker calibration. Match the weighting and response to the task, take a reading over several seconds rather than trusting a single peak, and remember that the meter measures how loud a sound is, not how good it sounds. That distinction is what keeps an SPL meter useful and honest.
Recent posts


