
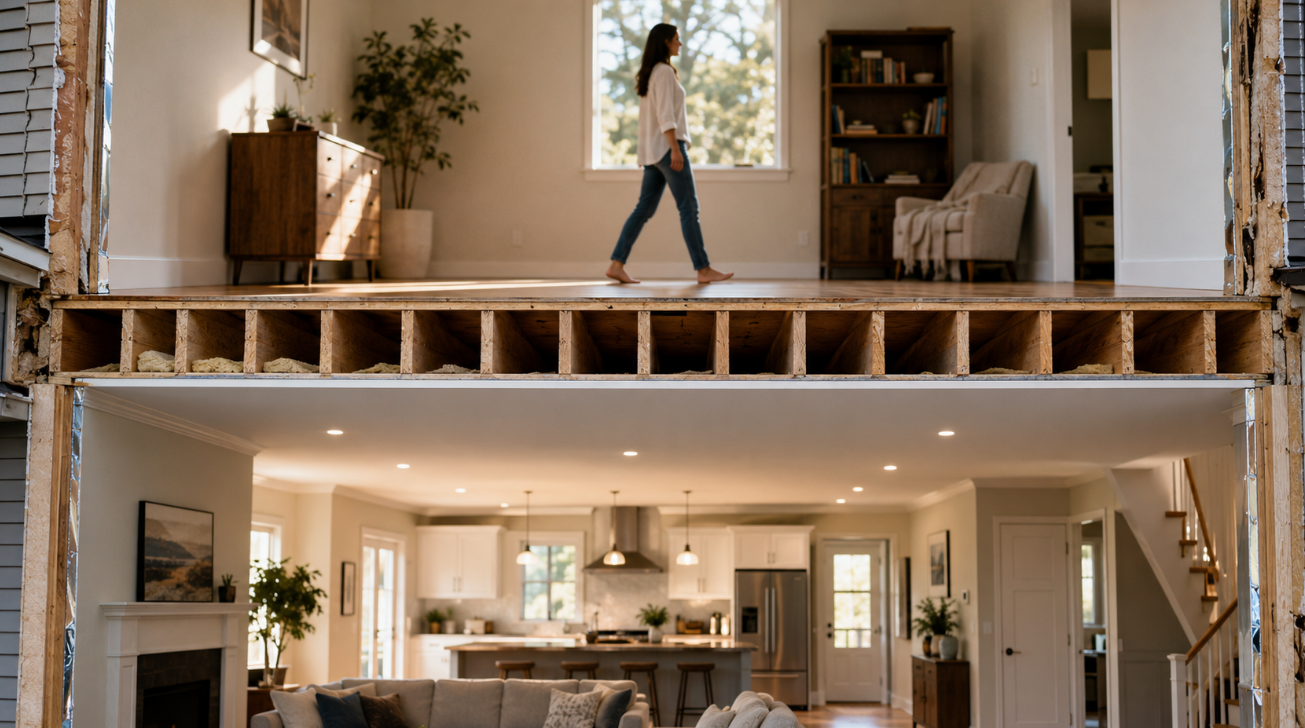
Sound moves between floors through the joist cavity, through the structure itself, and through every opening cut into the ceiling. Four routes are available without pulling any drywall down: treating the floor in the room above, sealing the ceiling penetrations, blowing insulation into the closed cavity, and building mass onto the underside of the existing ceiling.
What You Can Realistically Achieve Without Opening the Ceiling
A typical wood joist floor with hardwood or vinyl above and drywall below sits at roughly IIC 30 for impact noise, which is why footsteps carry so clearly in most houses.
Combining the methods below can take a floor assembly into a range where conversation upstairs becomes inaudible and walking becomes a soft thud rather than a sharp knock. Bass from a subwoofer and a running treadmill will still come through.
Two things stay out of reach with the ceiling closed. You cannot hang the drywall on isolation hangers fixed to the joists, and you cannot pack the cavity to full density with batts. Both require access from below.
Airborne or Impact? Identify the Noise First

Airborne noise reaches you through the air on the other side: voices, television, music. Impact noise starts as a physical strike on the floor above and travels through the joists as vibration.
The difference decides where your money goes. Cavity insulation contributes about five STC points against airborne noise and nothing at all against footsteps, according to published assembly data from Weyerhaeuser. Decoupling the ceiling improves both by roughly ten points.
Test it by standing in the room below while someone upstairs talks, then walks in hard shoes. If the walking dominates, most of the work belongs on the floor above.
Start From the Room Above
Impact noise is cheapest to stop at the source, and none of this touches the ceiling.
Carpet with a quality pad delivers the largest single gain available. On the same structure, carpet commonly adds around 20 IIC points over tile or vinyl, which is often enough on its own to settle a footfall complaint.
Where carpet is unwanted, a rubber or cork acoustic underlayment beneath hardwood, laminate or LVT raises impact performance substantially. Keep the mat clear of the walls at the perimeter, since any contact hands the vibration straight into the structure.
Smaller measures add up in the meantime. Area rugs along walking routes, felt pads under chair legs, and moving a treadmill or free weights onto rubber mats each cut impact energy before it enters the floor.
Seal the Openings in the Existing Ceiling
Every hole cut through the ceiling drywall is a direct air path, and recessed lighting is usually the worst of them.
Work through the ceiling and close what you find:
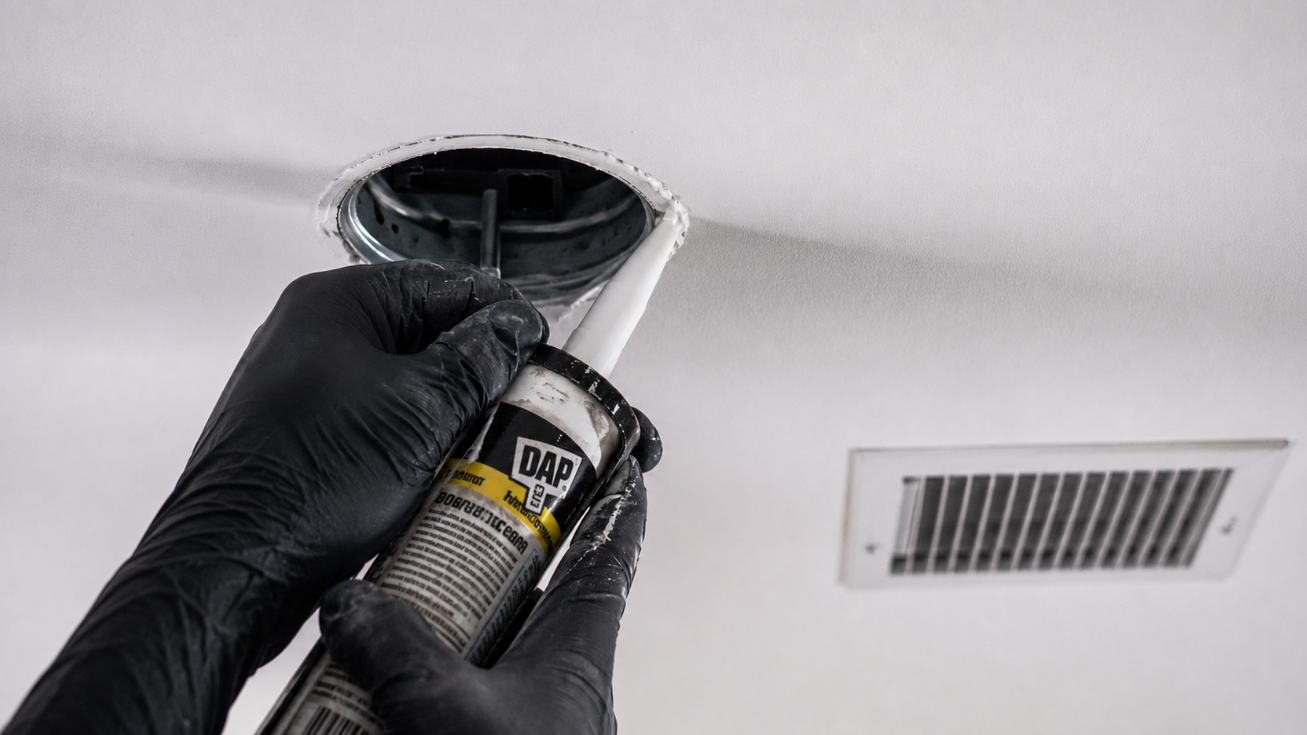
- Recessed light housings, using a listed enclosure rated for the fixture type
- Ceiling registers and return grilles
- Plumbing and wiring penetrations near walls
- Junction boxes for fans and fixtures, treated with putty pads
- The perimeter joint where the ceiling meets the wall
Use a non hardening acoustical sealant at joints and penetrations. Check the listing on any recessed fixture before covering it, because insulation contact on a non IC rated housing creates a fire risk.
Blow Insulation Into the Joist Cavity
Dense pack insulation can be installed through small holes drilled in the existing drywall, then patched and painted. Cellulose or blown fiberglass both work, and the holes run around two inches.
Expect roughly five STC points from a filled cavity, which handles television and conversation noticeably better. Footsteps will sound almost the same afterward, since the vibration path through the joists remains untouched.
Two cautions apply. Wiring, ductwork and blocking inside the cavity can prevent even coverage, and old plaster with lath tends to crack around the drilling. Installers who do retrofit insulation daily will scope both quickly.
Add Mass and Damping Over the Existing Ceiling
A second layer of 5/8 inch drywall screwed through the existing ceiling into the joists, with a damping compound spread between the two layers, costs about five eighths of an inch in height.
Damping compound such as Green Glue converts vibration between the two boards into a small amount of heat, and material cost runs near a dollar per square foot. Adding a second board without it buys far less for the same labour.
Where thickness matters, mass loaded vinyl contributes roughly the mass of another drywall layer in about an eighth of an inch, and SONOpan panels offer a lighter route with less weight hanging overhead.
Weight deserves attention here. Two layers of 5/8 inch board plus fasteners loads a ceiling well beyond what it carried before, so long screws into the joists are mandatory and an engineer should look at older framing or long spans.
Decouple With Clips and Channel
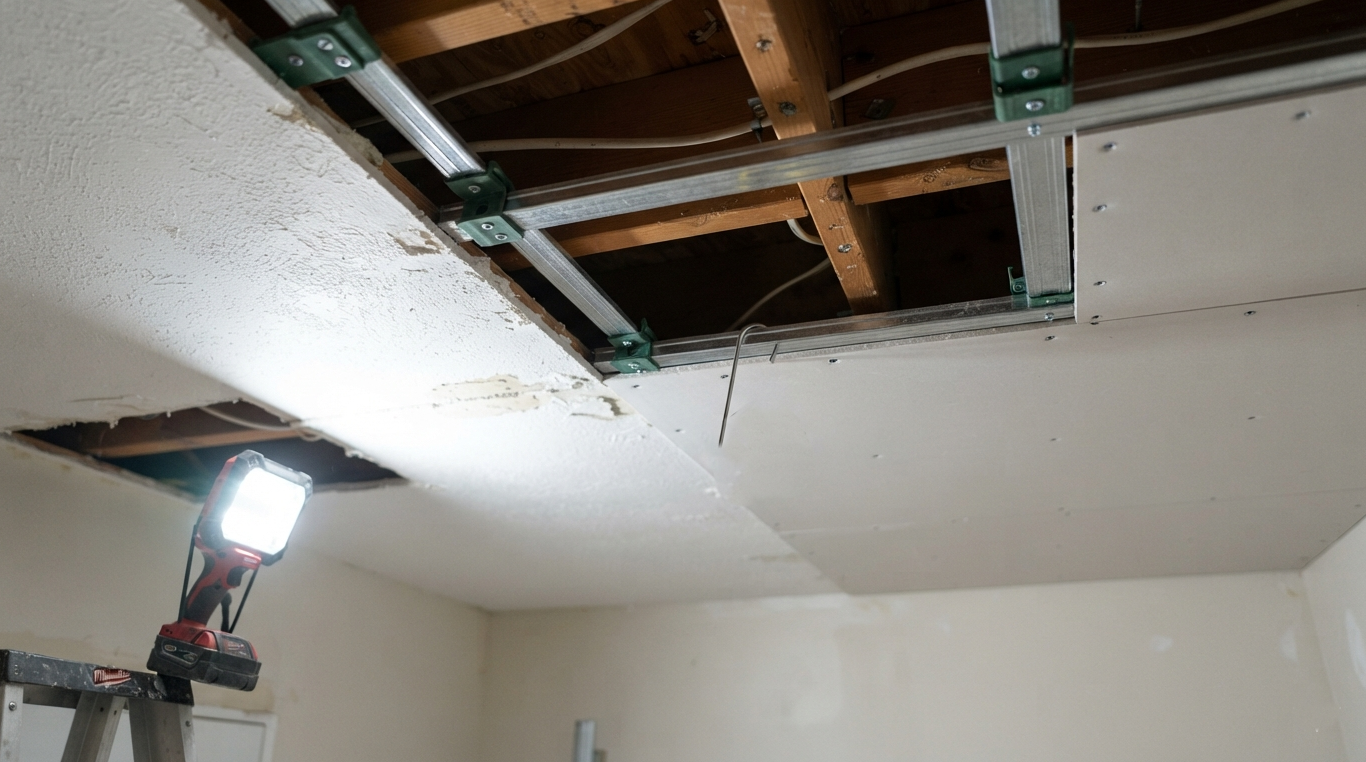
Resilient isolation clips mounted through the existing ceiling into the joists, carrying a hat channel and a new drywall layer, break the direct vibration path and deliver the largest improvement available from below. Budget around two inches of headroom.
Watch for the triple leaf problem. Existing drywall, an insulated cavity, and a new decoupled layer create three mass leaves with two air spaces, which usually weakens low frequency performance compared with two well separated leaves. Where headroom allows and the ceiling is going to be rebuilt anyway, removing the original board first produces a better result than layering over it.
Two other approaches circulate for closed ceilings. A mass spring mass sandwich using dense rebond foam between drywall layers performs well and consumes five inches or more of height, with material sourcing that runs through specialist suppliers. Suspended tile ceilings in basements gain a little through the plenum they create, though a lay in grid holds nothing like the mass of a decoupled drywall assembly.
The Paths You Cannot Close From the Ceiling
Sound flanks around a treated ceiling through any structural route that bypasses it.
The stairwell is usually the largest. An open stair connects the two floors acoustically no matter what happens overhead, and a solid door with perimeter door seals at the top or bottom of the run often does more than another layer of board.
Shared ductwork carries voices between rooms through the return path. Plumbing stacks, joists bearing on a common wall, and continuous subfloor across the whole level all transmit vibration around the ceiling plane. None of these are reasons to skip the work, only reasons to expect a limit.
Where to Spend First
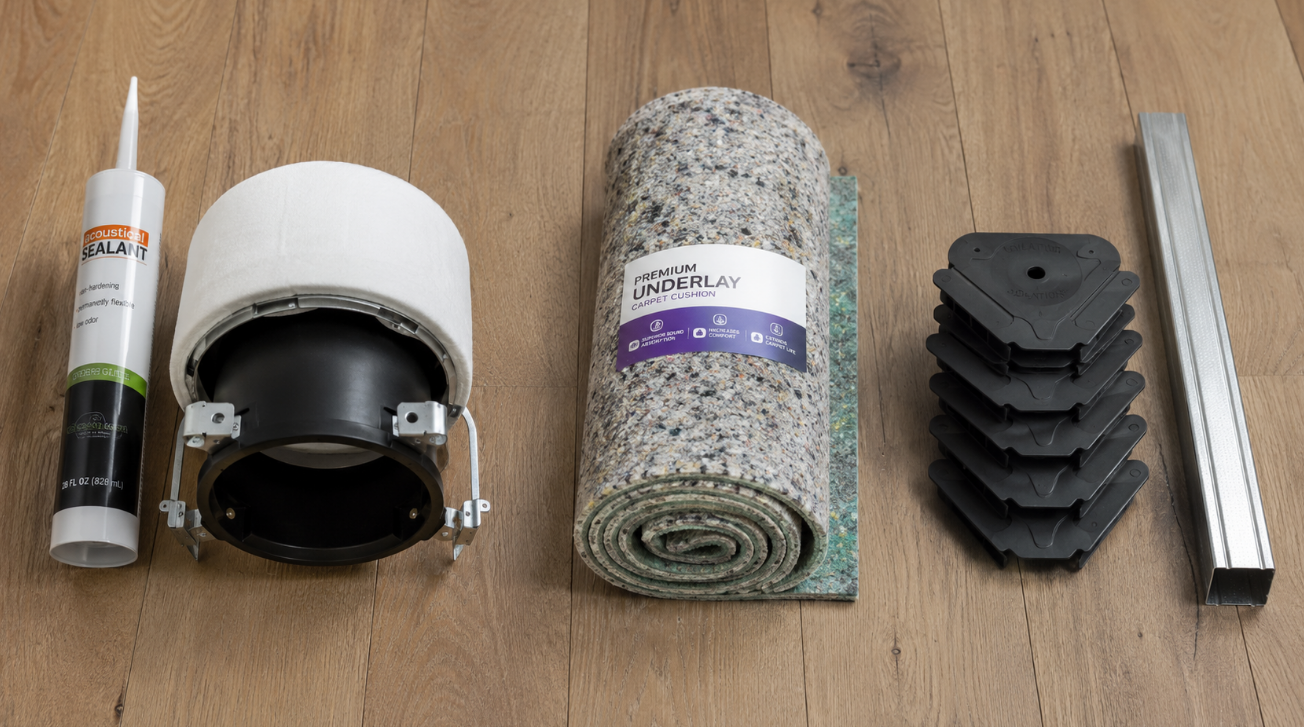
Match the spending to the noise you identified, since the sequences differ. The three tiers below are cumulative rather than alternatives: each one assumes the work in the tier above it is already done, and the cheapest measures stay worth doing even on the largest budget.
|
Budget |
What it covers |
Best against |
Ceiling touched |
|
Under $500 |
Sealing every ceiling penetration, enclosures over recessed lights, rugs and furniture pads along the main walking routes upstairs |
Impact |
No |
|
$1,000 to $3,000 |
Carpet with a quality pad or acoustic underlayment across the room above, plus blown insulation into the joist cavity |
Both |
Small patched holes only |
|
$3,000 and up |
Clips, hat channel and a new 5/8 inch layer with damping compound below, on top of the work above |
Both |
Yes, about 2 inches of height |
The pattern in that last column is the useful part. Everything up to $3,000 leaves the ceiling essentially intact, and for footstep complaints it often resolves the situation without a contractor setting foot in the lower room. Spending crosses into the top tier only when voices and television still carry after the floor above has been treated. Our breakdown of what soundproofing costs covers the individual line items.
Planning the Assembly
Order matters more than product choice: identify the noise type, treat the floor above, seal the openings, fill the cavity, then add mass and decoupling below.
If you want the assembly reviewed before buying materials, our team can look at your framing, ceiling height and noise complaint and say which steps will actually pay back. Browse the sound isolation materials we supply, or call +1-888-661-7233, Monday through Friday, 8am to 4pm EST.
Recent posts


