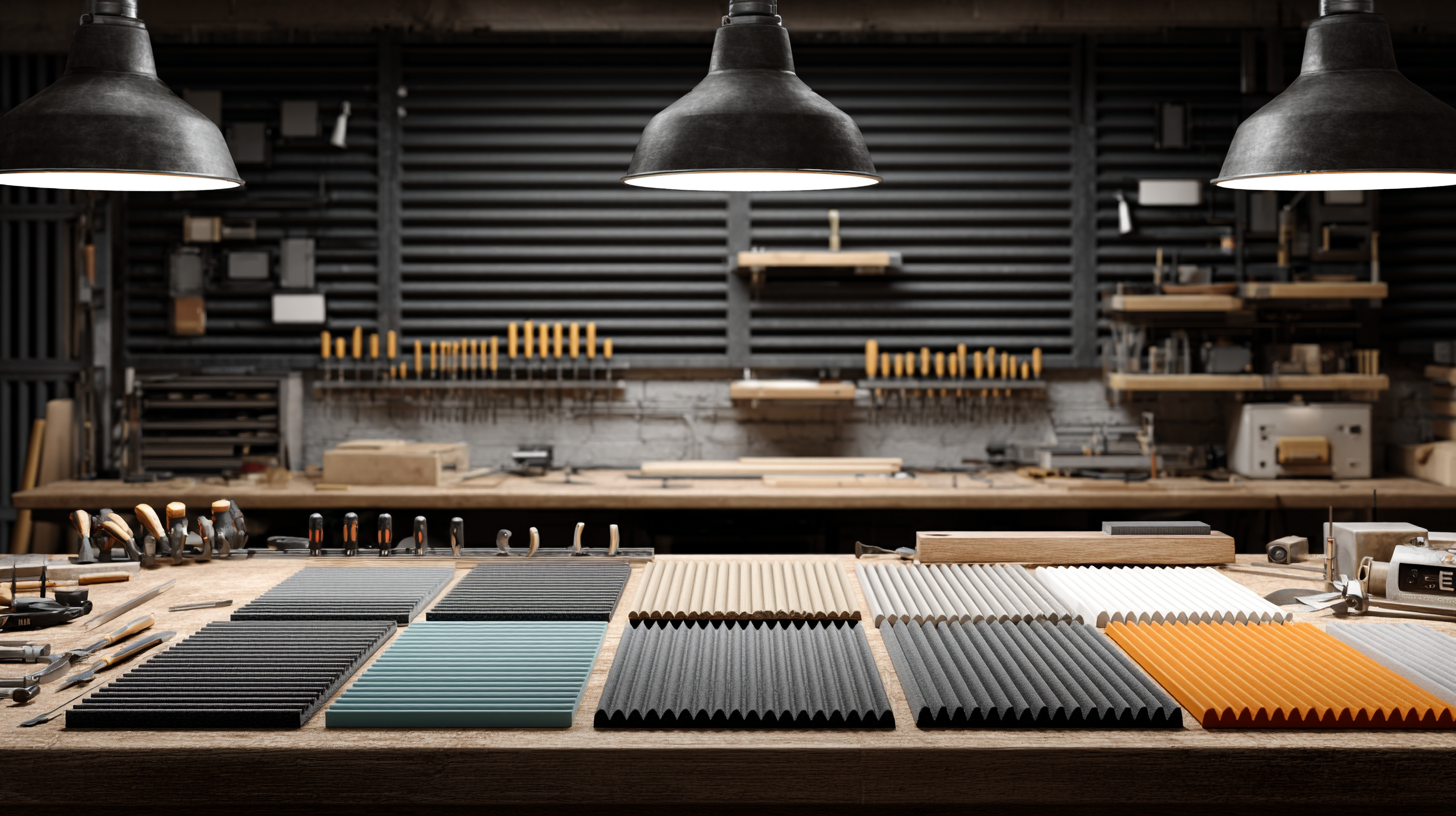
The correct way to cut an acoustic panel depends on its material. Fabric-wrapped fiberglass, mineral wool, wood slat, and acoustic foam panels each require different tools and techniques. Using the wrong method produces torn edges, delamination, or damaged facing fabric. This guide covers the cutting process for each panel type and the tools required.
Quick Reference
|
Panel Type |
Best Tool |
Key Rule |
|
Fabric-wrapped fiberglass |
Jigsaw (fine-tooth, 10+ TPI) or utility knife |
Cut face-down with jigsaw; wrap and staple fabric edge after cutting |
|
Mineral wool |
Serrated knife or long utility knife |
Single continuous strokes; no back-and-forth motion |
|
Wood slat |
Jigsaw or circular saw, fine-tooth wood blade |
Always cut from the back; secure slats before cutting |
|
Acoustic foam |
Electric carving knife or hot wire cutter |
No toothed blades; single continuous pass without stopping |
How to Cut Fabric-Wrapped Fiberglass and Mineral Wool Panels
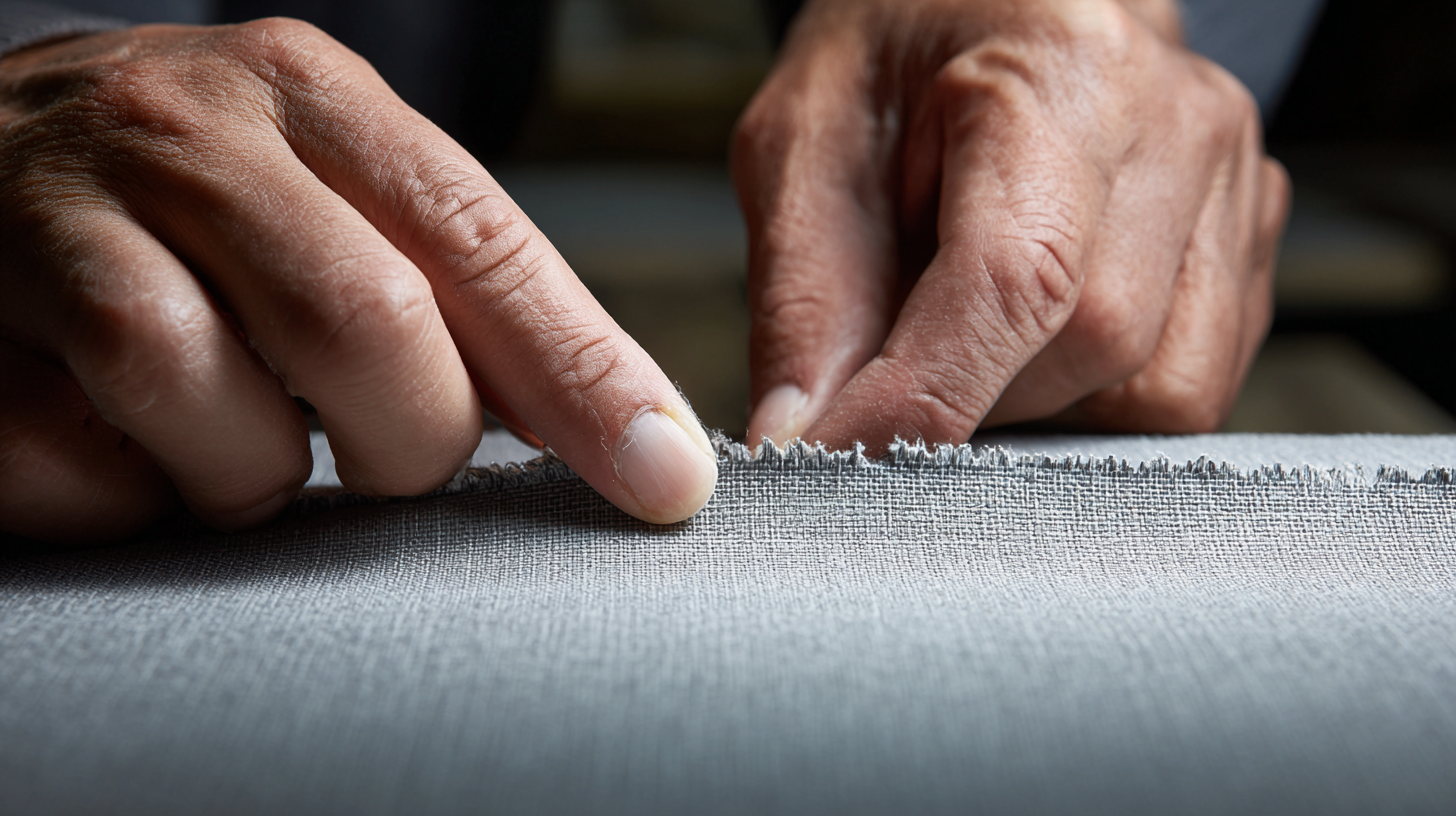
Fabric-wrapped fiberglass and mineral wool panels have a soft fibrous core covered by a stretched fabric facing. The primary risk when cutting these panels is fraying the fabric or compressing the core. Both are avoided by cutting slowly with a sharp blade and supporting the panel on both sides of the cut line.
Do not use a permanent marker to mark the cut line on a light-colored fabric facing - it bleeds through and leaves a visible stain. Use a pencil on the fabric surface, or mark the cut line on the back of the panel with chalk.
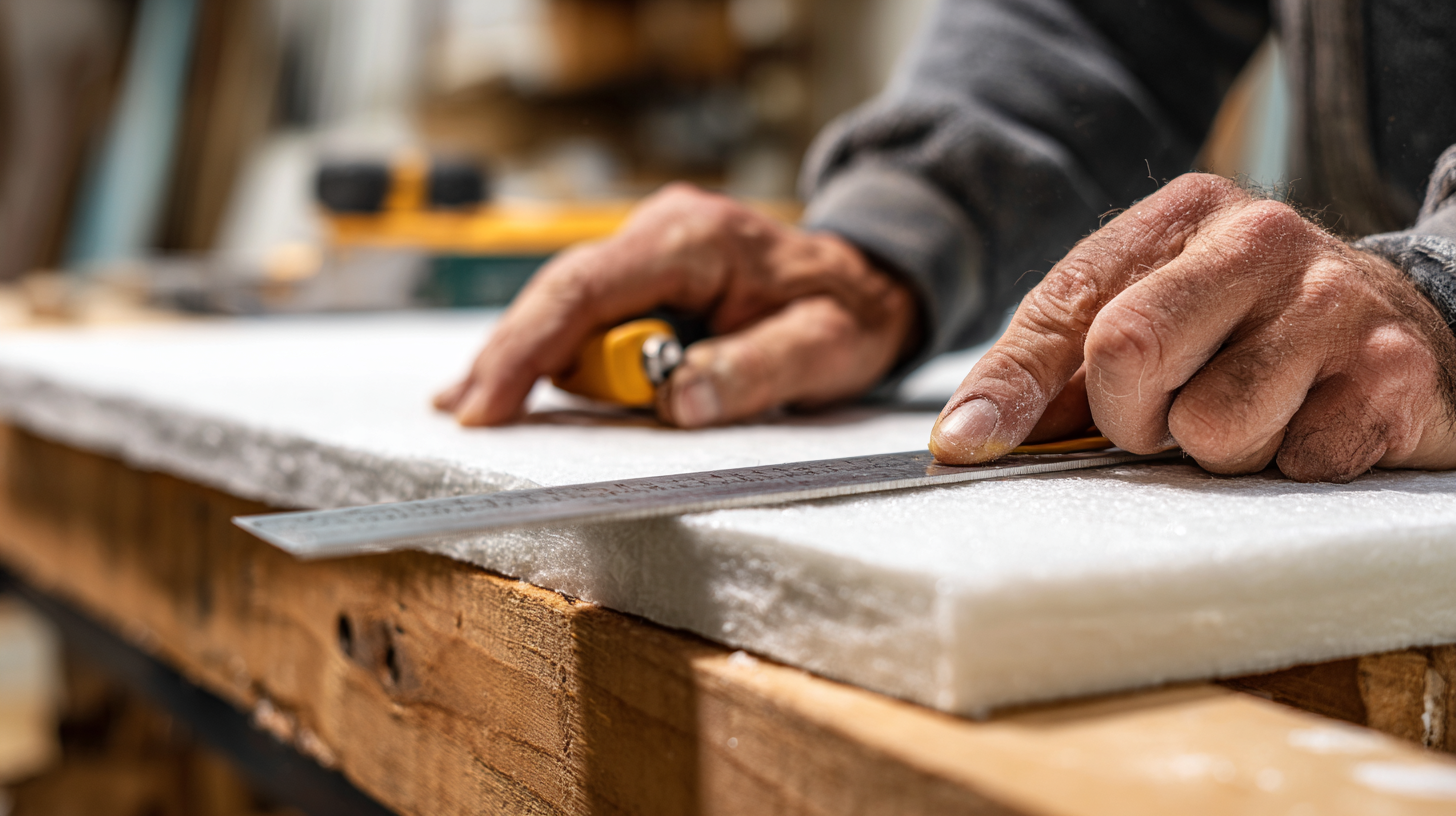
Cutting with a utility knife (recommended for straight cuts up to 2 inches thick):
- Lay the panel face-up on a flat, stable surface.
- Place wooden support battens under the panel on both sides of the cut line.
- Align a metal straightedge along the cut line and clamp it in place.
- Score the fabric and core with firm, continuous strokes - do not saw back and forth.
- Make multiple passes rather than forcing the blade through in one stroke.
- Fold the panel back along the score line to separate the core cleanly.
Cutting with a jigsaw (recommended for panels thicker than 2 inches):
- Mark the cut line on the back of the panel.
- Place the panel face-down on supported battens.
- Clamp a cutting guide parallel to the cut line.
- Cut from the back using a fine-tooth blade at medium speed with light forward pressure.
- Do not force the saw - let the blade do the work.
After cutting, wrap the raw fabric edge over the exposed core and secure it with a staple gun or hot glue. An unsecured fabric edge will fray and pull back from the core within weeks of installation.
How to Cut Wood Slat Acoustic Panels
Wood slat acoustic panels consist of individual slats bonded or stapled to a felt or MDF backing. Cutting across the slats requires securing each slat adjacent to the cut line before sawing - otherwise the slats separate from the backing during the cut and produce a ragged edge.
Before marking the cut line, inspect the back of the panel along the intended cut path. If metal clips or staples run along that line, remove them carefully with a flat-head screwdriver. Then re-secure the slats on both sides of the cut line using a manual staple gun or short wood screws. This step prevents slat movement during the cut.
Cutting across slats (cross-cut):
- Mark the cut line on the back of the panel using a pencil and metal straightedge.
- Lay the panel face-down on wooden support battens on both sides of the cut line.
- Clamp a cutting guide parallel to the cut line at the correct offset for the saw's base plate.
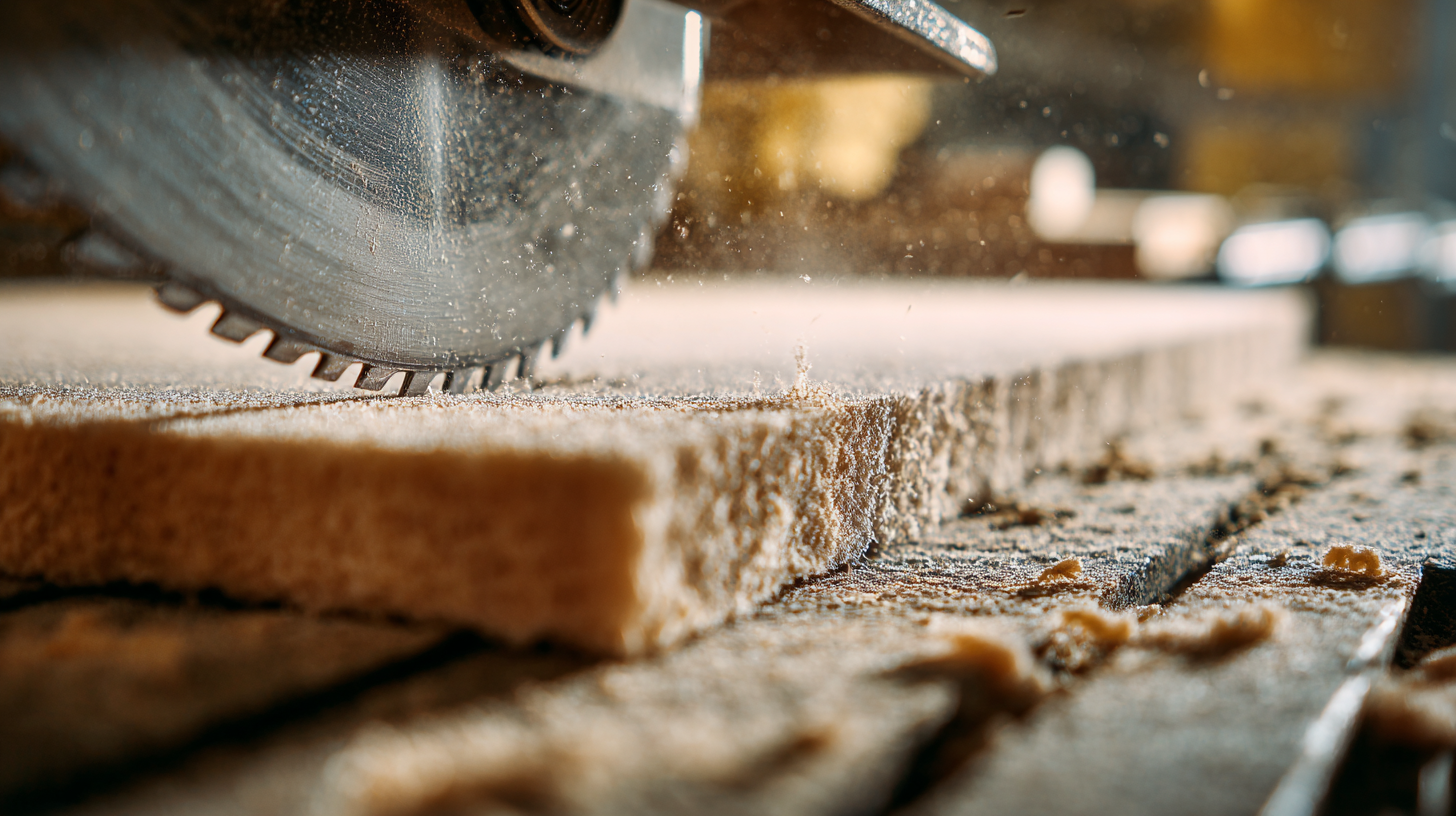
- Cut from the back using a jigsaw or circular saw with a fine-tooth wood blade.
- After cutting, sand the exposed slat ends with 180-grit sandpaper to remove splinters.
- Apply a thin coat of matching wood wax or oil to the sanded ends if the edge will be visible after installation.
Jigsaws and circular saw blades move upward on the cutting stroke. When the panel is face-down, the blade exits through the back - which is felt or MDF - and the visible wood surface stays clean. Cutting face-up reverses this: the blade tears through the veneer on exit and the cut edge cannot be sanded smooth.
Cutting along the panel length (longitudinal cut between slats):
If the cut runs parallel to the slats and passes only through the felt or MDF backing layer between them, a sharp utility knife is sufficient. No saw is needed for this cut.
How to Cut Acoustic Foam Panels
Acoustic foam compresses under saw teeth, which produces a jagged, uneven edge. The correct tool is either an electric carving knife (serrated, continuous blade) or a hot wire cutter. Both pass through foam without compression, producing a clean edge.
An electric carving knife works for straight cuts and gentle curves. Use slow, continuous strokes without stopping mid-cut - pausing causes the blade to drag and leave a visible mark at the stopping point.
A hot wire cutter is better for precise straight cuts and decorative shapes. The wire melts through the foam cleanly and leaves a slightly sealed edge that does not shed particles.
A pencil mark is not visible on open-cell foam surfaces. Use a fine-tip permanent marker, a piece of chalk, or sewing pins along the cut line to mark the path before cutting.
- Mark the cut line with a marker or pins.
- Position the panel on a flat surface with the cut line accessible.
- Make a single continuous pass along the cut line without stopping.
- No sanding or finishing is required after a clean foam cut.
Do not use a hand saw, jigsaw, or utility knife on acoustic foam. Saw teeth compress and tear the cell structure instead of slicing through it. The resulting edge is uneven and cannot be repaired. Pressing down on the foam while cutting produces the same result - let the blade or wire move freely without downward force.
How to Cut Out Sections for Outlets, Switches, and Fixtures
Cut-outs for electrical outlets, light switches, or ceiling fixtures require a starting hole before the saw can enter the panel. Without a starting hole, the blade has no entry point for an internal cut.
Rectangular cut-outs (outlets and switches):
- Mark the cut-out dimensions on the back of the panel.
- Drill a starter hole at each corner of the marked rectangle using a wood drill bit. The hole diameter must be slightly larger than the jigsaw blade thickness.
- Insert the jigsaw blade into one starter hole and cut along each side of the rectangle in sequence.
- Clean the corners with a fine wood file or folded sandpaper - the jigsaw cannot reach into corners precisely.
Drill the starter holes inside the marked outline, not on the line. The jigsaw blade occupies a measurable width, and a hole drilled on the line will shift the cut outward, making the cut-out larger than intended.
Circular cut-outs (recessed fixtures, cable pass-throughs):
Mark the center point and required diameter. Use a hole saw of the correct diameter for a single clean cut. If a hole saw is not available, drill a starter hole just inside the marked circle and cut along the circumference with a jigsaw using slow, controlled movement.
Finishing Cut Edges - Preventing Fraying and Delamination
A freshly cut acoustic panel edge is structurally vulnerable. The facing fabric can fray, the core can shed fibers, and the wood slat ends can splinter. Finishing the cut edge before installation prevents deterioration and maintains the panel's appearance on the wall.
Fabric-wrapped fiberglass and mineral wool panels
Pull the facing fabric tightly over the cut edge of the core and staple it to the back of the panel using a manual staple gun. If the fabric is too short to wrap, apply a thin bead of hot glue along the core edge and press the fabric onto it. Do not leave the core exposed - bare fiberglass sheds glass fibers and the edge will deteriorate visibly within months.
Wood slat panels
Sand the cut ends of the slats with 180-220 grit sandpaper on a sanding block. After sanding, apply a thin coat of matching wood wax, oil, or finish to seal the end grain. Unfinished end grain absorbs moisture and swells over time, which can cause slats to lift from the backing.
Mineral wool panels (unfaced, for cavity installation)
No edge finishing is required when the panel is installed inside a wall or ceiling cavity and the cut edge is not visible. For exposed installations, apply a bead of acoustic sealant along the cut edge to prevent fiber shedding.
Acoustic foam panels
A clean cut from an electric carving knife or hot wire requires no finishing. If the edge is uneven due to a tool error, apply a thin layer of acoustic panel adhesive along the cut face and press it flat against a straight surface until dry.
Tools Required to Cut Acoustic Panels - By Panel Type
The tool requirement varies by panel construction. A utility knife that works cleanly on mineral wool will tear the facing fabric of a fiberglass panel. The table below lists the recommended cutting tool and blade specifications for each panel type.
|
Panel Type |
Primary Tool |
Blade / Spec |
|
Fabric-wrapped fiberglass |
Jigsaw or utility knife |
Fine-tooth blade, 10+ TPI |
|
Mineral wool (unfaced) |
Serrated knife or utility knife |
Long blade, single-pass strokes |
|
Wood slat (felt-backed) |
Jigsaw or circular saw |
Fine-tooth wood blade, cut from back |
|
Acoustic foam |
Electric carving knife or hot wire cutter |
Continuous blade, no teeth |
Blade tooth count determines cut quality on fibrous materials. A high TPI (teeth per inch) rating - 10 or above - produces a clean edge on fiberglass and mineral wool by making small, rapid cuts with minimal tearing. A low-TPI blade designed for rough lumber will shred the surface fibers and leave a ragged edge that cannot be repaired.
In addition to the panel-specific tools, every cut requires: a metal straightedge or cutting guide, clamps to secure the guide, a pencil or chalk for marking, and wooden support battens placed under the panel on both sides of the cut line.
Acoustic Wall Panels at Sound Pro Solutions
Sound Pro Solutions carries fabric-wrapped fiberglass panels, mineral wool panels, and acoustic foam in standard sizes suitable for custom trimming. All panels ship with verified NRC data.
Available sizes include 1×1 ft, 2×2 ft, and 2×4 ft in thicknesses from 1 to 3 inches. Panels can be ordered in quantity for projects requiring custom fitting to non-standard wall dimensions.
For product recommendations based on your installation requirements, contact Sound Pro Solutions at (888) 661-7233 or visit soundprosolutions.com.
Recent posts


