The range is enormous. A bedroom vocal setup and a commercial tracking room share almost nothing in common except a microphone. But once you understand where the money actually goes, the numbers stop being intimidating and start being useful. The answer to how much does a studio cost depends on what kind of space you're building and how seriously you treat the room itself. This guide breaks it down by type with real costs for the part most people underestimate: not the gear, but the space you record in.
The Short Answer (And Why It's More Useful Than "$500 to $1 Million")
Four levels. Four budgets. Pick the one closest to your situation.
|
Studio Type |
Total Room Cost |
|
Bedroom / closet setup |
$500 – $2,000 |
|
Vocal booth / podcast room |
$2,000 – $8,000 |
|
Dedicated home studio (1 room) |
$5,000 – $25,000 |
|
Multi-room / commercial studio |
$30,000 – $150,000+ |
These numbers cover the room only. Framing, isolation, acoustic treatment, doors, sealing. Not microphones, interfaces, or monitors. Gear is a separate line and doesn't depend on the room.
The specific number within each range comes down to three things: square footage, how much isolation you need, and how precisely you treat the acoustics inside. A small booth with basic panels lands at the low end. That same booth with decoupled walls, a floating floor, and full coverage pushes toward the top. So, how much is a studio in the middle? That's where most people land, and where the best value lives. The middle of each range gives you serious results without the diminishing returns at the top.
Where Your Money Actually Goes (And Where People Waste It)
Here's the pattern we see constantly. Someone budgets $10,000 for a home studio. They spend $8,000 on gear and $500 on the room. Then they wonder why a $3,000 microphone sounds like it's recording inside a bathroom. The room is the instrument. Everything else plugs into it.
When you break down how much does a home studio costs, the meaningful answer is the room budget split into three layers. Each layer does a different job. Skip any of them, and it shows up in every recording you make.
Construction and Framing
Walls, ceiling, floor structure. If you're converting a spare bedroom, most of this exists. Garage or unfinished basement means new stud walls, subfloor, or ceiling framing.
Expect $10 to $40 per square foot for basic construction. A 150-square-foot room might run $1,500 to $6,000. DIY framing saves roughly half. Hiring a contractor adds speed and code compliance.
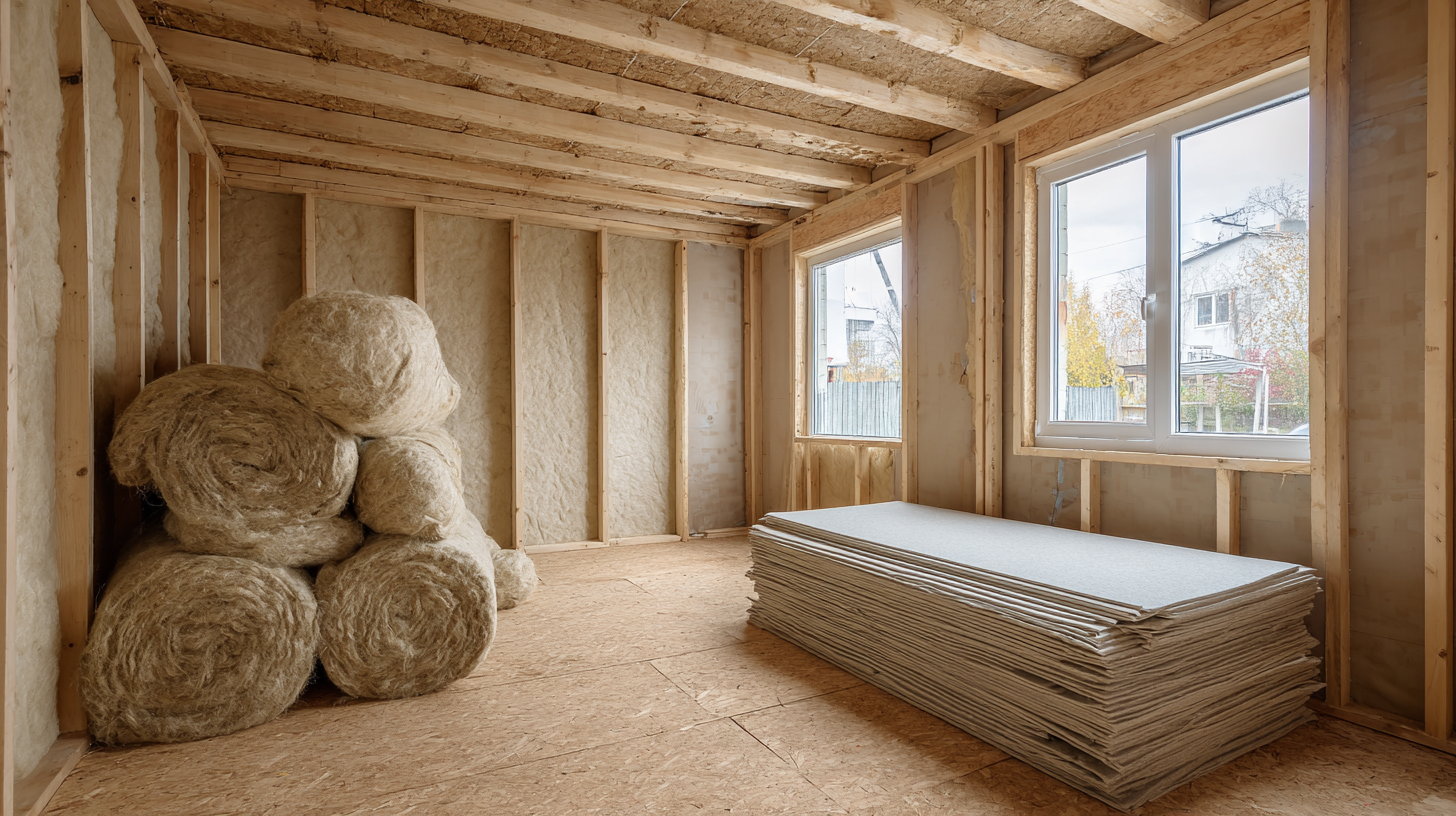
Soundproofing (Isolation)
This layer stops sound from crossing between rooms. It's the biggest variable in the cost to build a studio. Mass-loaded vinyl adds mass. Green Glue between drywall layers damps vibration. Isolation clips like the Resilmount A237R decouple surfaces from framing. Door seals close every gap around entries. Acoustic caulk handles every remaining seam and joint.
Budget $5 to $30 per square foot. A single wall with Green Glue and double drywall costs far less than decoupling an entire room with clips, hat channel, and MLV. This is where budgets swing the most. The jump from "noticeably quieter" to "truly soundproof" requires significantly more material, more labor, and more money. Where you land on that spectrum depends on what you're recording and who lives on the other side of the wall.
Acoustic Treatment
Panels, bass traps, ceiling clouds. This layer controls reflections, echoes, and frequency buildup inside the room. Without it, the space sounds harsh and uneven, no matter how well it's isolated.
Budget $500 to $5,000 or more, depending on size and coverage goals. A bedroom needs four to six acoustic panels at reflection points and a couple of corner traps. A dedicated studio needs 60 to 70 percent wall coverage, full corner treatment, and a ceiling cloud. The materials are often the cheapest part of the entire build. Knowing where to place them is what makes the difference between a room that sounds professional and one that sounds like an expensive experiment.
Cost Breakdown by Studio Type
Numbers above show the framework. Now let's put real dollars to specific scenarios. Each one assumes you're working with an existing space and focuses on room treatment, not gear.
Bedroom or Closet Studio ($500–$2,000)
The entry point. You already have four walls, a ceiling, and a door. The goal is to improve what's there without construction.
Start with four to six acoustic panels at the first reflection points on the walls. A pair of four-inch corner traps handles the worst bass buildup. An L-shape door seal and an automatic door bottom close the gap around the entry. If one wall faces a noisy hallway or neighbor, a layer of MLV under a second sheet of drywall with Green Glue makes a real difference. Total materials for a 100-square-foot bedroom run $500 to $1,500. Add another few hundred if you hire someone to hang the drywall. For anyone wondering how much it costs to open a studio on a tight budget, this is the honest starting point. It won't be silent, but it will sound dramatically better than an untreated room.
Vocal Booth or Podcast Room ($2,000–$8,000)
Small, enclosed, purpose-built for voice. Typically, 30 to 60 square feet. Isolation and absorption both matter because every surface is close to the microphone.
Walls get double drywall with Green Glue. Isolation clips and the hat channel decouple the structure. Mineral wool fills every cavity. Solid-core door with full perimeter seals. Inside, two-inch panels cover 60 to 70 percent of the walls. Four-inch panels in corners. Ceiling cloud above the recording position. Budget $2,000 to $4,000 DIY, $5,000 to $8,000 with a contractor.
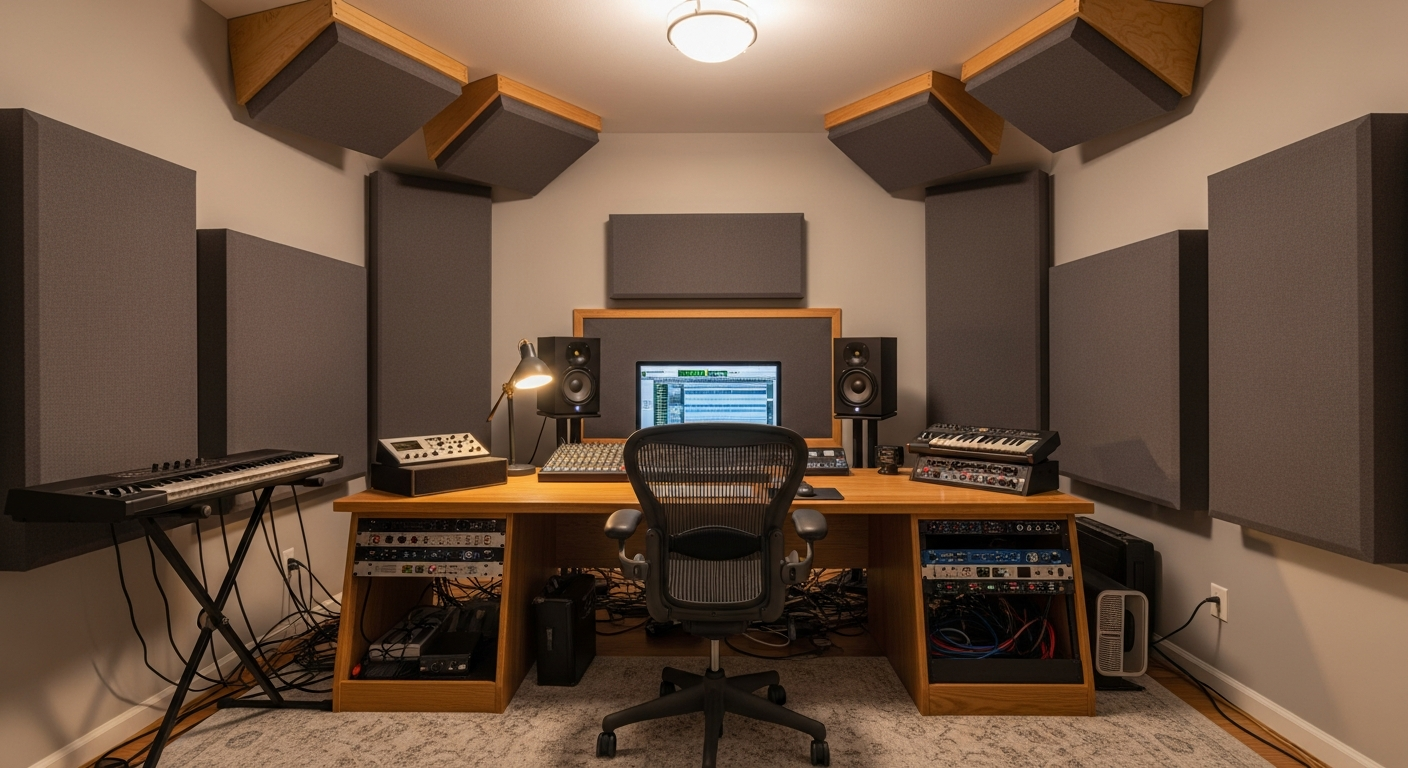
Dedicated Home Studio ($5,000–$25,000)
A full room, typically 150 to 300 square feet, for recording, mixing, or both. This is where most serious home producers land when they calculate the cost of building a studio that performs at a near-professional level.
Walls get the full treatment: mineral wool in cavities, MLV on studs, double drywall with Green Glue, and isolation clips on shared walls. The ceiling mirrors the wall assembly. A floating floor over rubber isolators decouples from the slab below. A solid-core door with commercial-grade seals closes the room. Acoustic panels cover walls and corners. A ceiling cloud controls overhead reflections.
DIY builds land between $5,000 and $12,000 in materials. Hiring professionals for framing, drywall, and electrical pushes the total to $15,000 to $25,000. The room at this level competes with commercial spaces that cost three times as much.
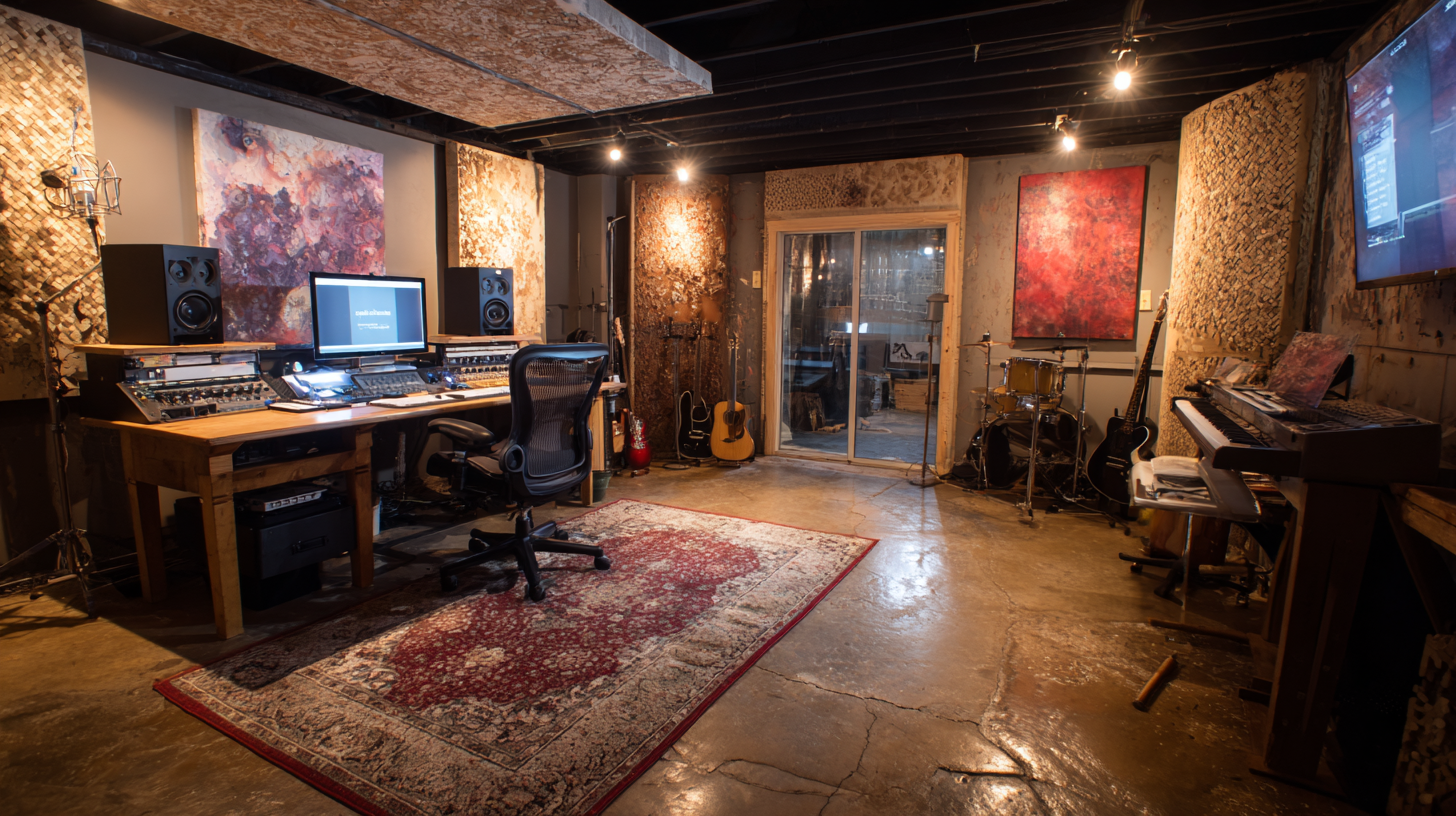
Multi-Room or Commercial Studio ($30,000–$150,000+)
Control room, live room, isolation booth. Floating floors throughout. Specialized studio doors rated STC 50 or higher. Dedicated HVAC with sound-baffled ducts. Professional acoustic design with calibrated panel placement and tuned bass trapping.
Acoustic treatment alone in a multi-room facility can run $10,000 to $30,000. But even at this scale, panels and treatment are a fraction of the total construction cost. The bulk goes to structural isolation, mechanical systems, and specialized labor. Most commercial builds require an acoustic consultant from day one.
Start With the Room, Not the Gear
Equipment upgrades are easy. A better microphone this month, studio monitors next quarter, a new interface when the budget allows. Each piece slots in without touching anything else. The room doesn't work that way. Once walls are finished and furniture is in place, adding isolation means ripping drywall off, reframing, and starting over. That's twice the cost and three times the frustration. Getting the room right the first time is the single smartest investment in any studio build.
The good news is you don't need to do everything at once. Start with the biggest weaknesses. Seal the door. That alone eliminates the most common source of sound leakage. Treat the corners with thick panels to clean up bass buildup. Add panels at first reflection points on the walls and a cloud on the ceiling. Each step produces an audible improvement. You'll hear the difference after the first panel goes up, and every addition after that compounds the result.
The room shapes every recording you'll ever make in it. Gear comes and goes. The space stays.
Not sure how many panels your room needs, what thickness works best, or where to start with isolation? Sound Pro Solutions carries every material covered in this guide and can help you build a plan around your specific dimensions and budget. Browse the full product catalog or call +1-888-661-7233.
Recent posts


